10Useful Adjustment Settings Useful Adjustment Settings

Switching the vertical drive frequency (AV mode only)

You can switch the vertical drive frequency for screen display between 75 Hz and 100 Hz. Choose the drive frequency that better suits your input signals.

1Press HOME MENU.

2Select “Option” (/ then ENTER (ENTER/DISP.)).

3Select “Drive Mode” (/).

4Select “75Hz” or “100Hz” (/).

Option


Position


Auto Size

Off

4:3 Mode


Drive Mode

75Hz

5Press HOME MENU, INPUT 1 to INPUT 6 (INPUT) to exit the menu.

NOTE

This setting can be made for each input source separately.

This setting is disabled when 480i, 480p, 1080i@60 Hz, 720p@60 Hz, 1080p@24 Hz, 1080p@60 Hz, 4.43 NTSC signals, or NTSC signals are input.

Adjusting image positions (AV mode only)

Adjust the horizontal and vertical positions of images on the Plasma Display.

1Press HOME MENU.

2Select “Option” (/ then ENTER (ENTER/DISP.)).

3Select “Position” (/ then ENTER (ENTER/DISP.)).

4Select “H/V Position Adjust” (/ then ENTER (ENTER/ DISP.)).

Position

H/V Position Adjust

Reset

5Adjust the vertical position (/) or the horizontal position (/).

6Press HOME MENU, INPUT 1 to INPUT 6 (INPUT) to exit the menu.

NOTE

To restore the factory defaults for all items, press / to select “Reset” in step 4, and then press ENTER (ENTER/

DISP.). A confirmation screen appears. Press / to select “Yes”, and then press ENTER (ENTER/DISP.).

Adjustments are stored separately according to input source.

When using he INPUT1 terminal, this function is not available.

30

Adjusting image positions and clock automatically (PC mode only)

Use Auto Setup to automatically adjust the positions and clock of images coming from a personal computer.

1Press PC AUTO SET UP on the remote control unit.

• Auto Setup starts.

2Press HOME MENU, INPUT 1 to INPUT 6 (INPUT) to exit the menu.

NOTE

When Auto Setup is finished, “Auto Setup completed.” appears.

Even when “Auto Setup completed” appears, Auto Setup may have failed, depending on conditions.

Auto Setup may fail with a PC image composed of similar patterns or monochrome. If not successful, change the PC image and try again.

Be sure to connect the computer to the unit and switch it on before starting Auto Setup.

Adjusting image positions and clock manually (PC mode only)

Usually you can easily adjust the positions and clock of images using Auto Setup. Use Manual Setup to optimise the positions and clock of images when necessary.

1Press HOME MENU.

2Select “Option” (/ then ENTER (ENTER/DISP.)).

3Select “Manual Setup” (/ then ENTER (ENTER/DISP.)).

4Select the item to be adjusted (/ then ENTER (ENTER/ DISP.)).

Manual Setup


H/V Position Adjust


Clock

0

Phase

0

Reset


5Perform adjustment (/ and /).

With “Clock” or “Phase” selected, you can change the parameter using /.

6Press HOME MENU, INPUT 1 to INPUT 6 (INPUT) to exit the menu.

NOTE

To restore the factory defaults for all the items, press / to select “Reset” in step 4, and then press ENTER (ENTER/DISP.).

A confirmation screen appears. Press / to select “Yes”, and then press ENTER (ENTER/DISP.).

En

Page 30
Image 30
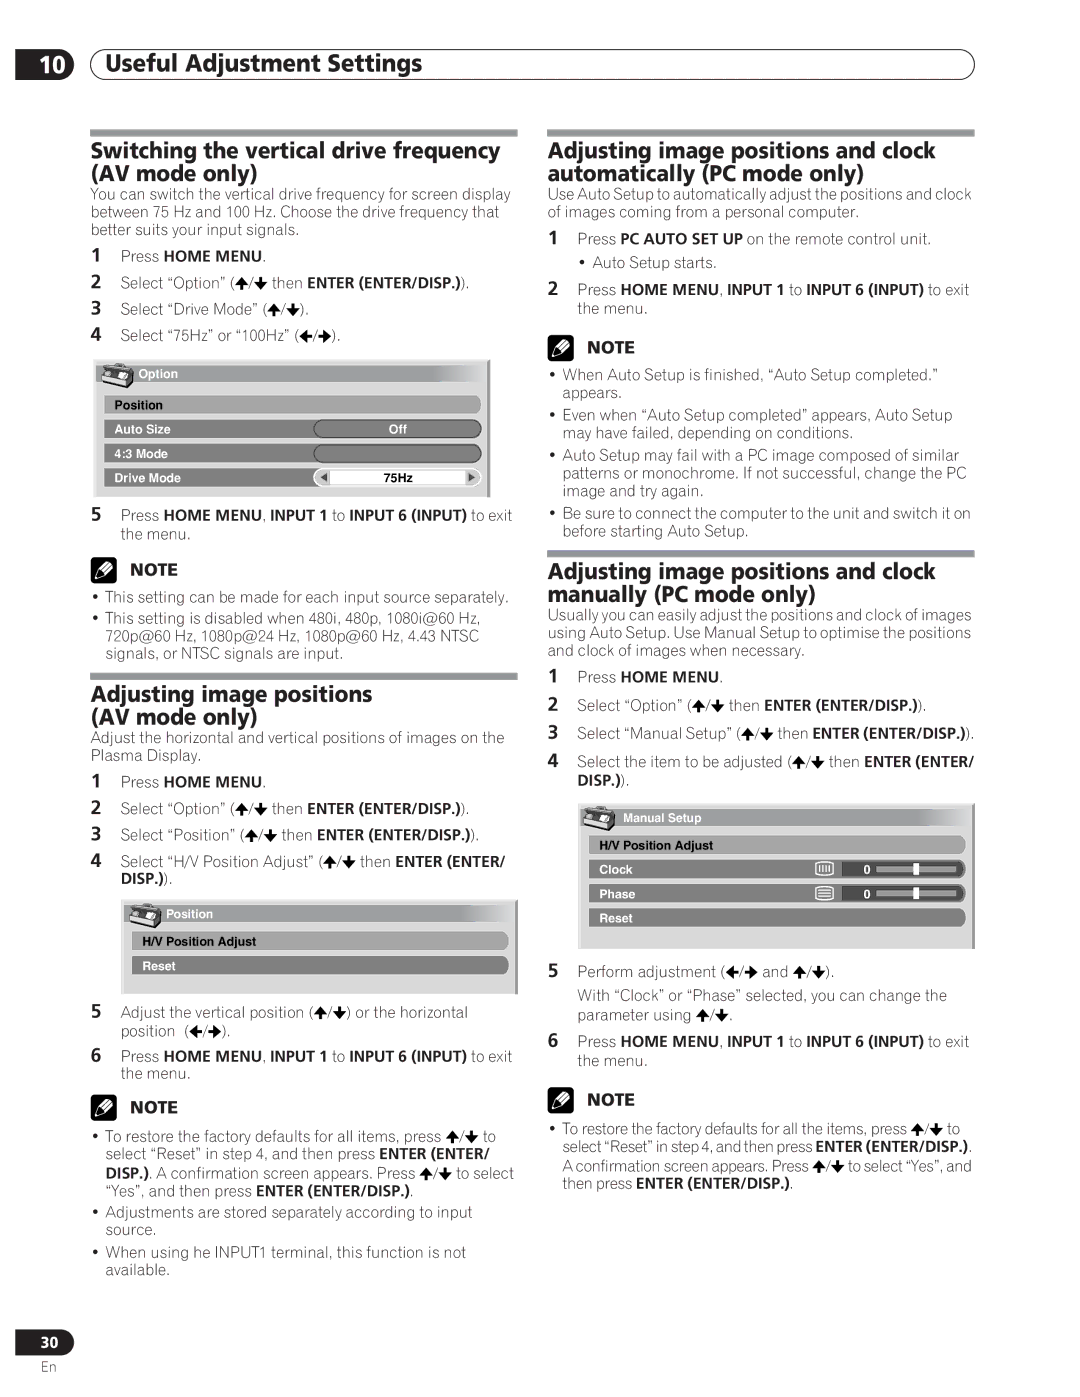
Pioneer PDP-5000EX manual Switching the vertical drive frequency AV mode only, Adjusting image positions AV mode only

PDP-5000EX specifications

The Pioneer PDP-5000EX is a flagship model in the realm of plasma television technology, renowned for its exceptional picture quality and cutting-edge features. Launched in the early 2000s, this model has made a significant impact in the world of home entertainment, blending advanced display technologies with user-friendly design.

A standout feature of the PDP-5000EX is its impressive 50-inch screen size, which delivers an expansive viewing experience that is perfect for home theaters and large living spaces. The display utilizes a native resolution of 1366x768 pixels, ensuring that images are sharp and vibrant. This resolution, combined with the plasma display technology, provides deep blacks and a remarkable contrast ratio, bringing movies and gaming to life.

The PDP-5000EX employs Pioneer’s proprietary PureColor technology, which enhances color accuracy and vibrancy. This technology allows the display to reproduce a wider color gamut than many competing models, resulting in lifelike visuals that captivate viewers. Additionally, the panel is capable of offering a wide viewing angle, making it ideal for group viewings where multiple angles are often needed without a loss in picture quality.

This model is also known for its exceptional motion handling capabilities, which minimizes blurring in fast-moving scenes, a feature that is particularly beneficial for action movies and sports broadcasts. The PDP-5000EX is equipped with advanced video processing technology, allowing it to upscale lower resolution content effectively, ensuring that even standard definition programs look their best.

Connectivity is another strong point of the PDP-5000EX, featuring multiple inputs including HDMI, component video, and S-Video, catering to a wide array of devices from gaming consoles to Blu-ray players. The inclusion of various inputs ensures that users can easily integrate the television into their existing home theater setups without hassle.

In terms of design, the PDP-5000EX sports a sleek and modern aesthetic, with a slim profile and minimal bezels, making it an attractive addition to any room. The lightweight design allows for easy wall mounting or placement on television stands.

Overall, the Pioneer PDP-5000EX stands out as a remarkable plasma television that combines superior picture quality, thoughtful design, and versatile connectivity. Its legacy in the home entertainment market is a testament to the innovation and craftsmanship that Pioneer is known for. Whether used for cinematic experiences, gaming, or everyday television watching, the PDP-5000EX continues to be a cherished choice for discerning viewers.