2. Installation
The following chapters explain how to install the base and connect the monitor to your personal computer.
2.1 Installing the Base
Follow these steps to install the base:
1.Lay the monitor face down.
2.Assemble the base to the arm with screw.
3.Tighten the screw with a coin.
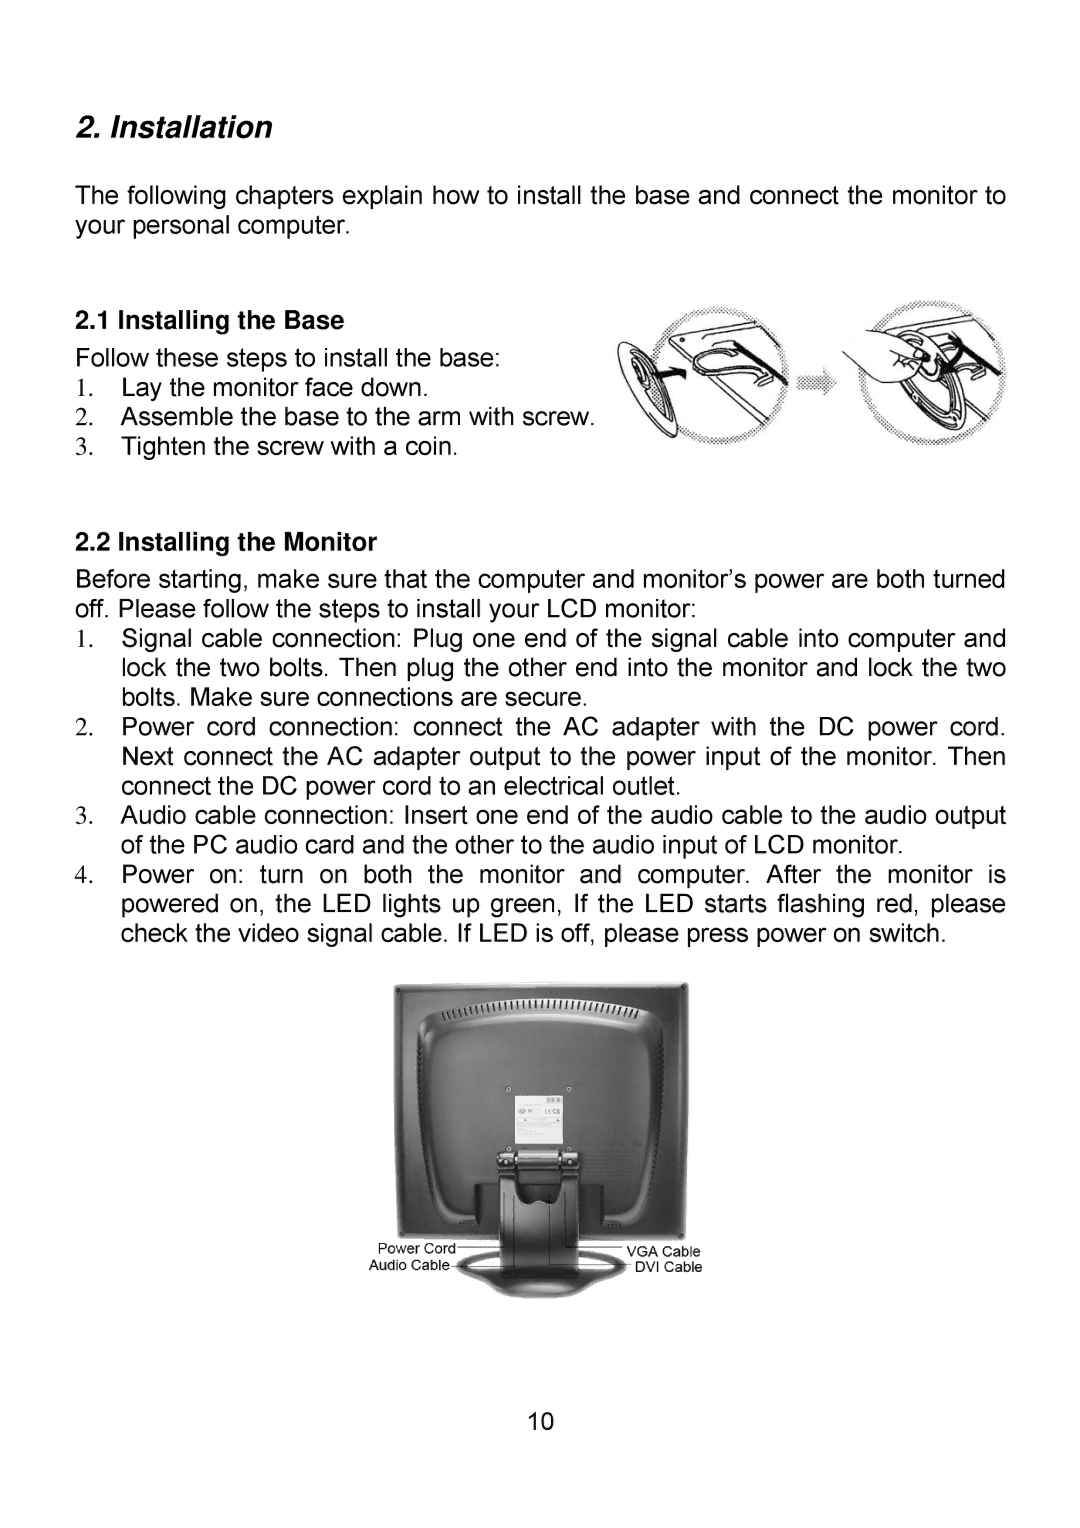
2.2 Installing the Monitor
Before starting, make sure that the computer and monitor’s power are both turned off. Please follow the steps to install your LCD monitor:
1.Signal cable connection: Plug one end of the signal cable into computer and lock the two bolts. Then plug the other end into the monitor and lock the two bolts. Make sure connections are secure.
2.Power cord connection: connect the AC adapter with the DC power cord. Next connect the AC adapter output to the power input of the monitor. Then connect the DC power cord to an electrical outlet.
3.Audio cable connection: Insert one end of the audio cable to the audio output of the PC audio card and the other to the audio input of LCD monitor.
4.Power on: turn on both the monitor and computer. After the monitor is powered on, the LED lights up green, If the LED starts flashing red, please check the video signal cable. If LED is off, please press power on switch.
10