SSD Notebook Installation Quick Start Guide
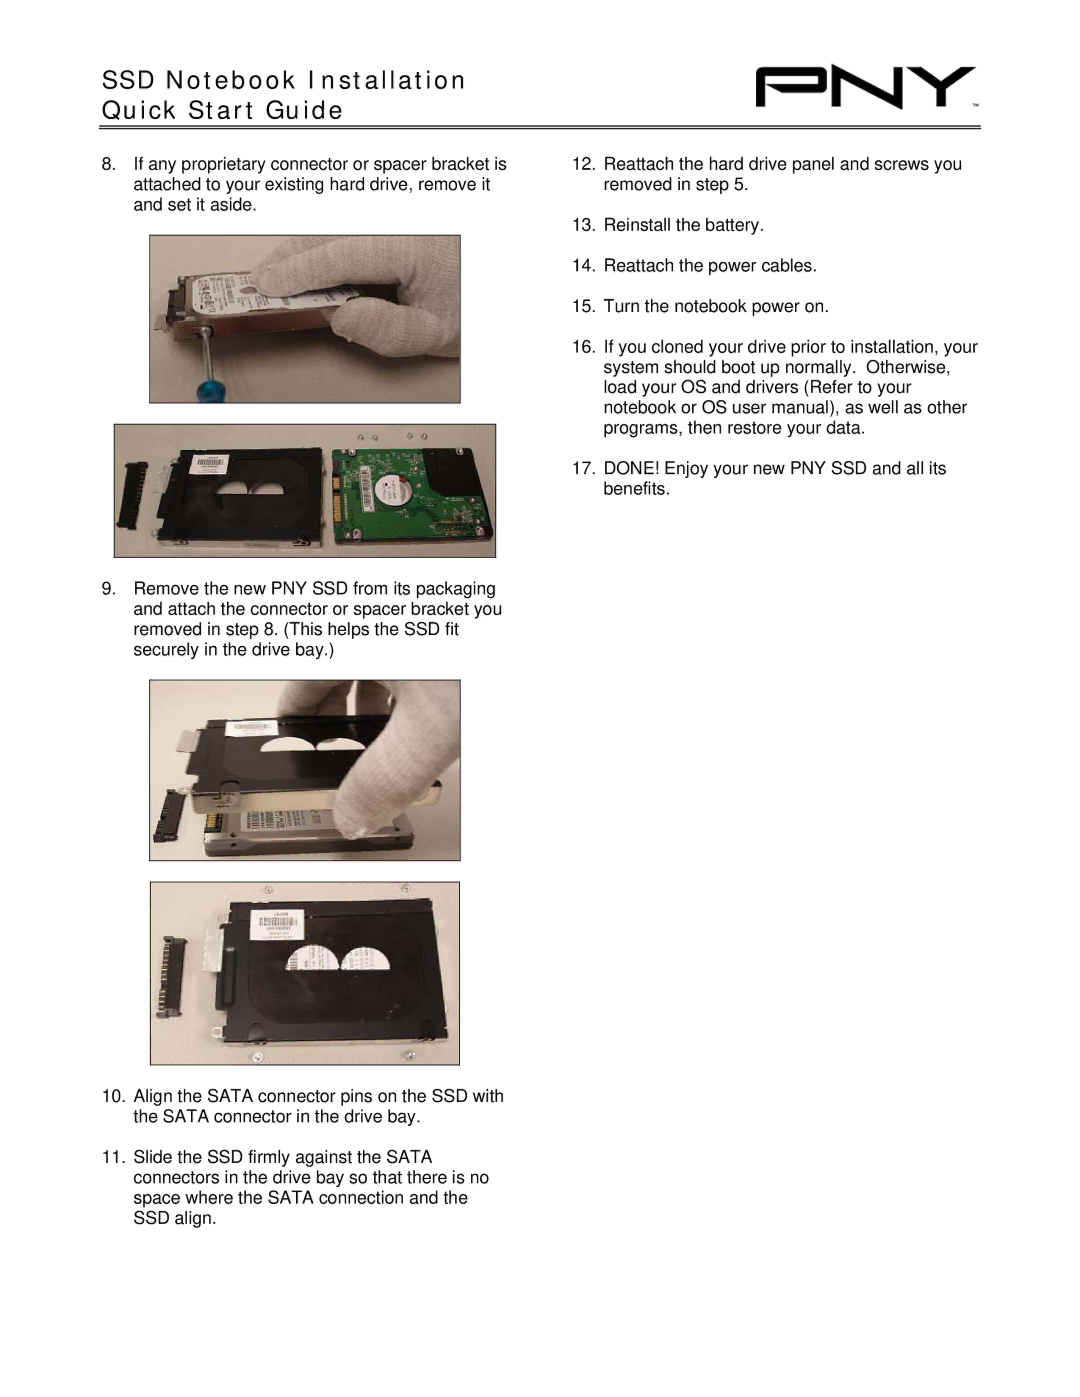
8.If any proprietary connector or spacer bracket is attached to your existing hard drive, remove it and set it aside.
9.Remove the new PNY SSD from its packaging and attach the connector or spacer bracket you removed in step 8. (This helps the SSD fit securely in the drive bay.)
10.Align the SATA connector pins on the SSD with the SATA connector in the drive bay.
11.Slide the SSD firmly against the SATA connectors in the drive bay so that there is no space where the SATA connection and the SSD align.
12.Reattach the hard drive panel and screws you removed in step 5.
13.Reinstall the battery.
14.Reattach the power cables.
15.Turn the notebook power on.
16.If you cloned your drive prior to installation, your system should boot up normally. Otherwise, load your OS and drivers (Refer to your notebook or OS user manual), as well as other programs, then restore your data.
17.DONE! Enjoy your new PNY SSD and all its benefits.