Copyright © C.Crane Company, Inc. 2006

Switching Modes

There are four modes: “AM”, “FM”, “MUSIC”, and “VOICE”. To switch between these, press the MODE button repeatedly.

Voice Recording

Switch to the “MUSIC” mode and press the red REC button. The small red light above the display screen should be lit, indicating that you are now recording. After saying a few words stop the recording by pressing the Y / $ (play) button. You should now see some numbers scrolling across the display. This represents the recording you just made. To play the file back press Y / $ (play) button. (You may need to adjust the volume.)

AM Recording

Switch to “AM” mode. (To switch between modes press the MODE button repeatedly.) Press HH (right) or GG (left) on the control circle to tune to another frequency. Once you have selected a station, begin recording by pressing the red REC button. The small red light above the display screen should be lit, indicating that you are now recording. When you are finished recording press the Y / $ (play) button. The recording light should now be off. To replay your AM recording, switch to “MUSIC” mode. A folder icon named AM will now appear on the screen. Highlight the AM folder by pressing I (down). Once highlighted press HH (right) to open the AM folder. You should now see some numbers scrolling across the display. This represents the recording you just made. To play the file back press Y / $ (play) but- ton. (You may need to adjust the volume.)

Retrieving Your Recording

The “MUSIC” mode contains all recordings made on the Radio YourWay LX, except for scheduled recordings. If you recorded using a scheduled recording, your file will be found in the “VOICE” mode in a folder titled “SCHEDULE”. If you made a manual recording in the “AM” mode, your file will be stored in the “MUSIC” mode in a folder titled “AM”. All other types of recordings will be stored in their respective folders (FM recordings will be stored in the “FM” folder, etc ... ). To open a folder scroll I (down), highlight the folder you would like to open and press HH (right). Once the folder is open you will see a line of numbers beginning with a letter and ending with

.MP3. This is a recorded file. For example: A001I05112109432700590.mp3

This is how it is broken down:

A = AM

001 = recording number (#1)

I05 = year recorded (2005)

1121 = date recorded (11/21)

094327 = time recording started (9:43 27)

00590 = frequency (590)

. MP3 = format of recording

To play this file press Y / $ (play).

Timer Recording

You can program the Radio YourWay LX to automatically record your favorite broadcast by using the daily or weekly timer function.

Note: You cannot set a timer recording while the unit is playing, recording, or in a menu.

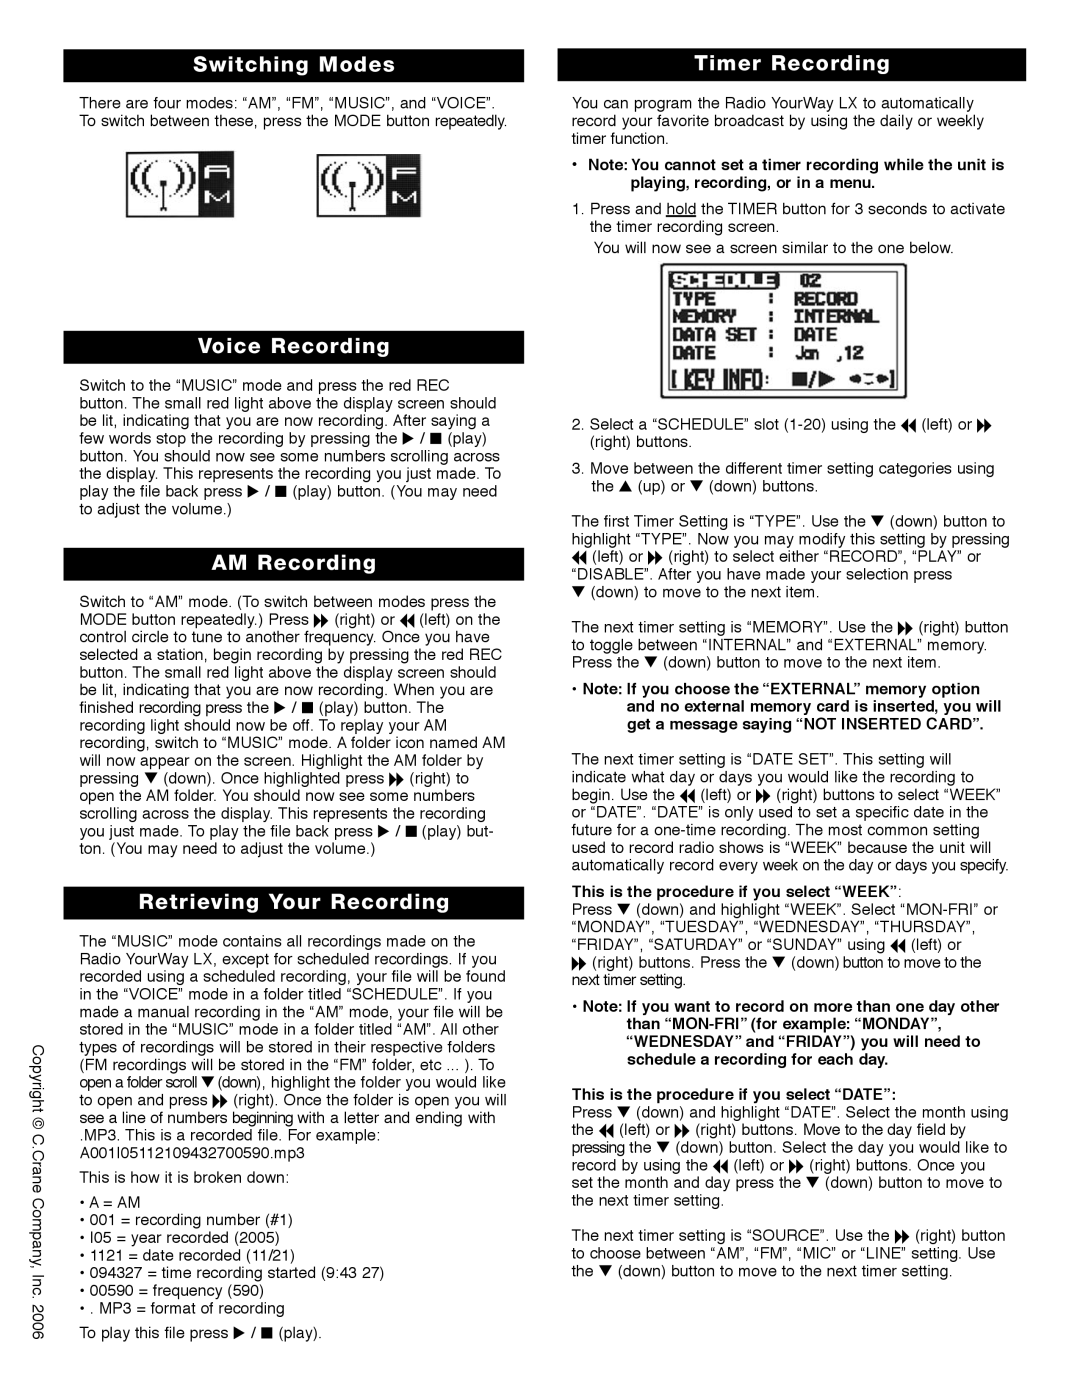
1.Press and hold the TIMER button for 3 seconds to activate the timer recording screen.

You will now see a screen similar to the one below.

2.Select a “SCHEDULE” slot (1-20) using the GG (left) or HH (right) buttons.

3.Move between the different timer setting categories using the U (up) or I (down) buttons.

The first Timer Setting is “TYPE”. Use the I (down) button to highlight “TYPE”. Now you may modify this setting by pressing

GG(left) or HH (right) to select either “RECORD”, “PLAY” or “DISABLE”. After you have made your selection press

I (down) to move to the next item.

The next timer setting is “MEMORY”. Use the HH (right) button to toggle between “INTERNAL” and “EXTERNAL” memory. Press the I (down) button to move to the next item.

Note: If you choose the “EXTERNAL” memory option and no external memory card is inserted, you will get a message saying “NOT INSERTED CARD”.

The next timer setting is “DATE SET”. This setting will indicate what day or days you would like the recording to begin. Use the GG (left) or HH (right) buttons to select “WEEK” or “DATE”. “DATE” is only used to set a specific date in the future for a one-time recording. The most common setting used to record radio shows is “WEEK” because the unit will automatically record every week on the day or days you specify.

This is the procedure if you select “WEEK”:

Press I (down) and highlight “WEEK”. Select “MON-FRI” or “MONDAY”, “TUESDAY”, “WEDNESDAY”, “THURSDAY”, “FRIDAY”, “SATURDAY” or “SUNDAY” using GG (left) or

HH(right) buttons. Press the I (down) button to move to the next timer setting.

Note: If you want to record on more than one day other than “MON-FRI” (for example: “MONDAY”, “WEDNESDAY” and “FRIDAY”) you will need to schedule a recording for each day.

This is the procedure if you select “DATE”:

Press I (down) and highlight “DATE”. Select the month using the GG (left) or HH (right) buttons. Move to the day field by pressing the I (down) button. Select the day you would like to record by using the GG (left) or HH (right) buttons. Once you set the month and day press the I (down) button to move to the next timer setting.

The next timer setting is “SOURCE”. Use the HH (right) button to choose between “AM”, “FM”, “MIC” or “LINE” setting. Use the I (down) button to move to the next timer setting.

Page 3
Image 3
PoGo Products Radio quick start Switching Modes, Voice Recording, AM Recording, Retrieving Your Recording, Timer Recording

Radio specifications

PoGo Products Radio has emerged as a significant player in the audio content delivery market, particularly for those who seek a blend of portability and high-quality sound. Designed with the modern user in mind, PoGo Products Radio incorporates advanced technologies and key features that elevate the listening experience.

One of the standout characteristics of PoGo Products Radio is its compact and lightweight design. This portability makes it an ideal companion for both indoor and outdoor activities, whether you're at home, picnicking in the park, or enjoying a day at the beach. The ergonomic design not only enhances ease of transport but also ensures that it fits seamlessly into any environment, echoing the ethos of versatility that PoGo Products embodies.

Audio quality is paramount for any radio, and PoGo Products Radio excels in this area. It utilizes cutting-edge audio engineering to produce rich and clear sound, ensuring that users can enjoy their favorite music, talk shows, or news broadcasts without distortion. This high-fidelity sound is complemented by an innovative speaker system that offers deep bass and crisp highs, providing a well-rounded auditory experience.

Connectivity options are expansive with PoGo Products Radio. It supports both Bluetooth and Wi-Fi, allowing users to stream content effortlessly from smartphones, tablets, or computers. Furthermore, with built-in presets, accessing favorite stations is as simple as the push of a button. The addition of DAB+ technology ensures users can receive a wide variety of channels with superior signal clarity, making it a future-proof choice for radio enthusiasts.

Another noteworthy feature is the user-friendly interface that PoGo Products Radio boasts. With an intuitive touchscreen display and easily navigable menus, getting to your desired station or playlist is swift and hassle-free. Alongside this, PoGo Products Radio includes an integrated rechargeable battery, providing hours of uninterrupted playback on a single charge.

Moreover, the device comes equipped with smart features such as voice control compatibility and alarm functions. This connectivity and integration into smart home ecosystems aligns with contemporary user expectations, making PoGo Products Radio not just a radio, but a multifunctional device that adapts to modern lifestyles.

In conclusion, the PoGo Products Radio stands out with its blend of portability, superior audio quality, extensive connectivity options, user-friendly features, and smart technology integration. It represents the future of radio, catering to both traditional listening habits and modern streaming preferences, making it a valuable addition to any audio lover's collection.