PROGRAMMING THE REMOTE
Teaching Method
From time to time the
The remote control provides visual feedback via the status light that is located at the top left of the remote control, and the Source/Device buttons. The status light glows in three colors (red, orange and green). These lights will assist you in programming in the learning section of the remote control.
NOTE: You have 20 seconds to perform each step. If the source button light goes off, you need to back up a step and do it again. You can exit the learning mode by pressing the CNCL (cancel) button at any time in the process.
Quick Instructions
Place the
1.Press LEARN for two seconds
2.Select device type with source buttons
3.Push button to be taught on the
4.Push and hold the button on other remote
5.Wait for green light
6.Release button & press/hold it again until green light blinks, release
7.Repeat steps 3 - 6 for other buttons
8.Press SAVE
Start from the beginning for each device.
Detailed Instructions
Place the
1.Press and hold the LEARN button on the
2.Select the Source/Device mode in which you would like to teach the new command. The Source/Device button will light up. For example if you wanted to teach a command to the MENU button in the DSS mode on the remote, you would select the DSS Source/Device button and then continue the instructions below to teach the new command to the MENU button.
3.Press the button on the
4.On the source remote control (original equipment remote control), press and hold the button for the command to be learned until the status light on the
5.Release the button on the source remote control.
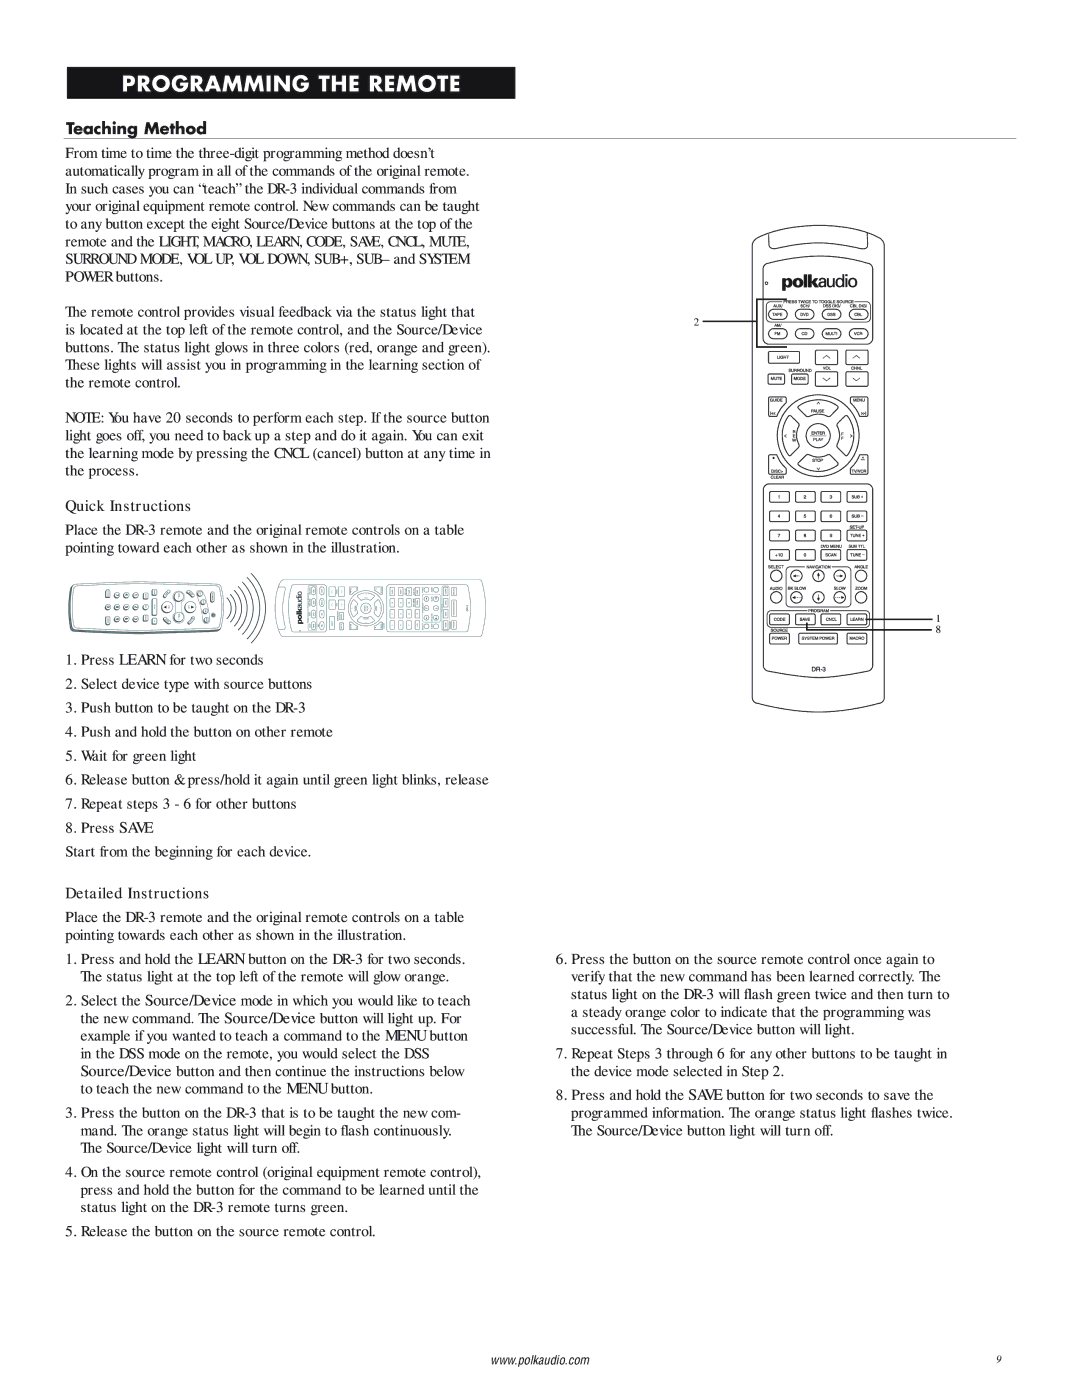
2
1
8
6.Press the button on the source remote control once again to verify that the new command has been learned correctly. The status light on the
7.Repeat Steps 3 through 6 for any other buttons to be taught in the device mode selected in Step 2.
8.Press and hold the SAVE button for two seconds to save the programmed information. The orange status light flashes twice. The Source/Device button light will turn off.
www.polkaudio.com | 9 |