RM6000 specifications
Polk Audio has a longstanding reputation for designing high-performance audio products that enhance the listening experience. Among its lineup is the RM6000, a compact but powerful speaker system that continues to be a favorite for home theater enthusiasts and audiophiles alike.The RM6000 is characterized by its sleek design, featuring a contemporary aesthetic that allows it to blend seamlessly into any home environment. Its stylish enclosure comes in a range of finishes, making it not only a functional audio component but also a visual complement to modern decor.
At the heart of the RM6000’s performance is its innovative driver technology. The system incorporates Polk's Dynamic Balance technology, which ensures a smooth frequency response and minimizes distortion across the spectrum of sound. This technology is particularly useful for producing clear and accurate mid and low frequencies, making it ideal for both music and movie playback.
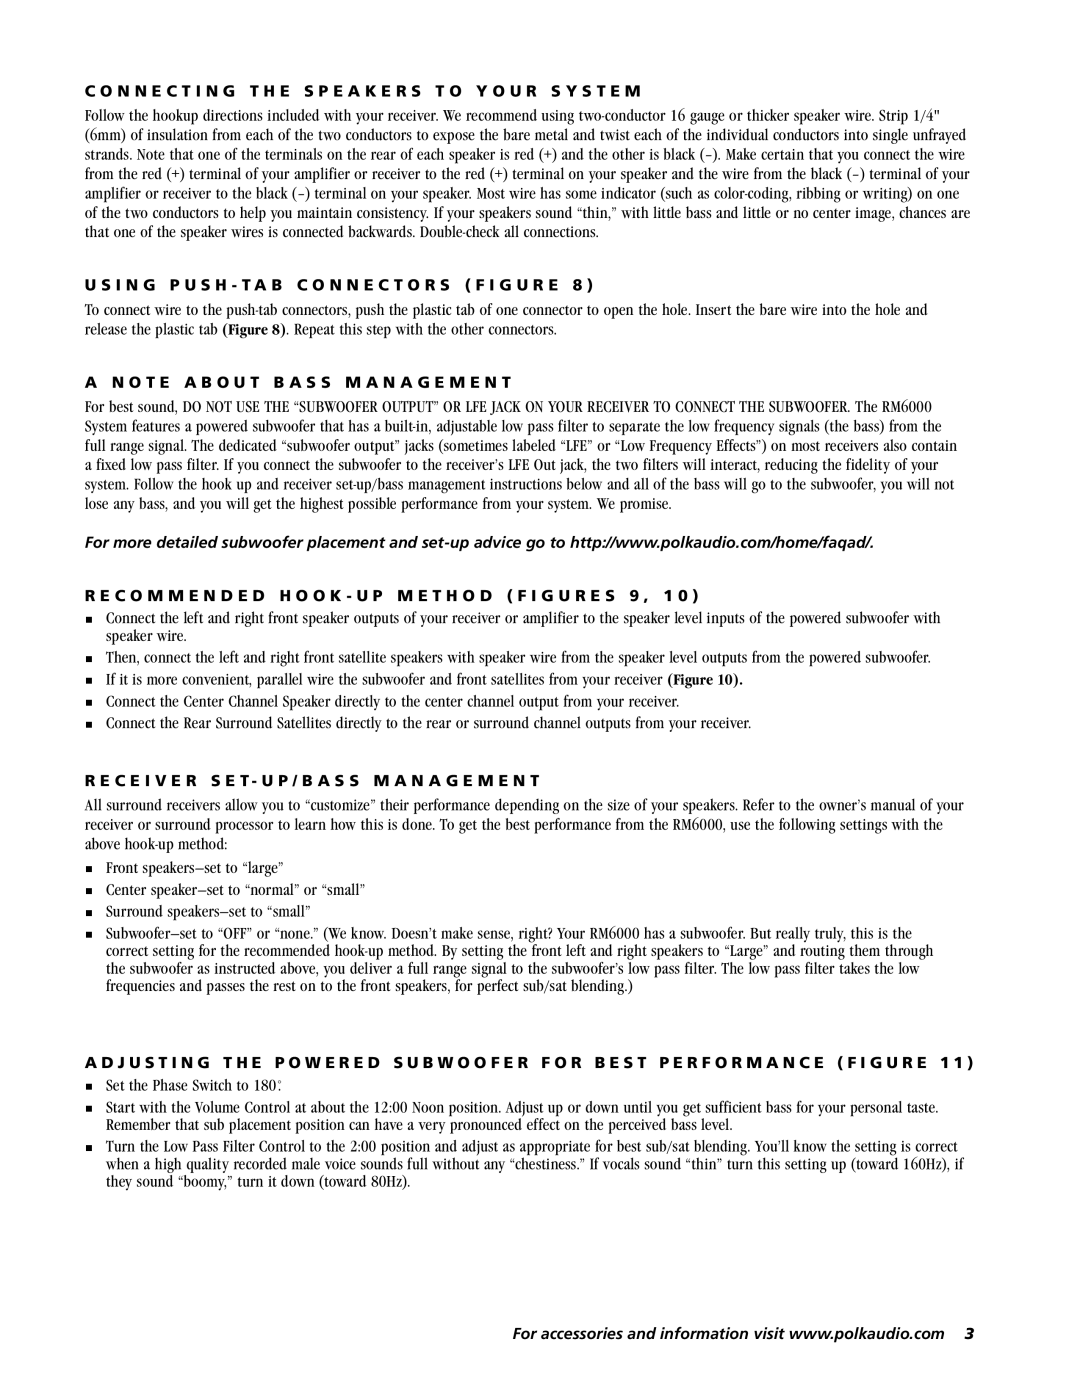
The RM6000 typically includes multiple speakers within a compact design, usually featuring satellite speakers and a subwoofer. The satellite speakers are engineered to deliver precise imaging and spacious soundstage, while the subwoofer provides deep, resonant bass that can fill a room without overwhelming the higher frequencies. This combination offers an immersive listening experience, whether you’re watching an action movie or enjoying your favorite album.
Moreover, Polk Audio has expertly integrated the RM6000 with advanced crossover technology. The precise crossover management allows for seamless integration between the satellite speakers and the subwoofer, ensuring that each driver operates within its optimal frequency range. This enhances the overall sound quality by providing a balanced and coherent audio output.
Compatibility is another key feature of the RM6000. The system is designed to work effortlessly with various audio and video components, making it a versatile choice for anyone looking to upgrade their home audio setup. Its efficiency and performance make it suitable for both small and large rooms.
In conclusion, the Polk Audio RM6000 stands out for its combination of sleek design, advanced driver technology, and excellent sound quality. It embodies Polk's commitment to delivering powerful audio products that enhance any listening environment. Whether for movie nights or music sessions, the RM6000 is engineered to provide an unforgettable auditory experience.
