
SR6500 specifications
The Polk Audio SR6500 is a remarkable example of high-performance car audio components designed for audiophiles seeking exceptional sound quality. This two-way component speaker system features advanced technology that ensures a powerful and dynamic audio experience.One of the standout features of the SR6500 is its 6.5-inch midrange driver. This driver is crafted from high-quality materials, including a reinforced polypropylene cone and butyl rubber surround, which enhance durability and provide excellent bass response. The cone’s design allows for efficient sound reproduction, ensuring that both low and high frequencies are delivered with clarity and precision.
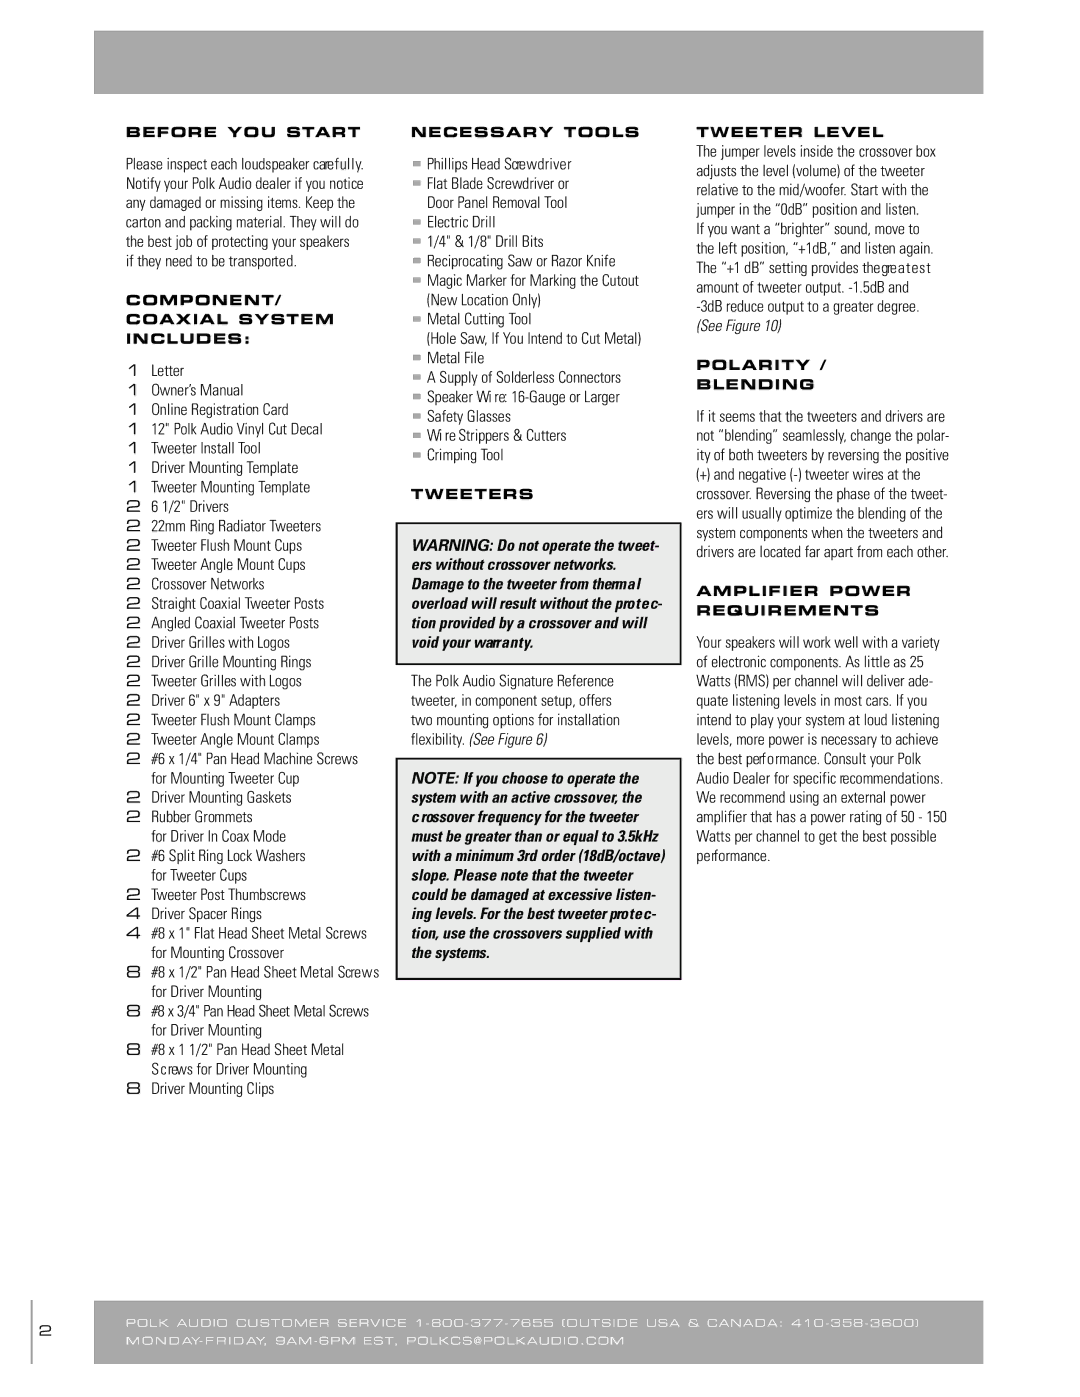
The tweeter in the SR6500 is equally impressive. It utilizes a 1-inch silk dome design that provides smooth and detailed high frequencies. The silk dome contributes to a warm sound signature, which is particularly beneficial for those who enjoy listening to a diverse range of musical genres. The tweeter is also pivoting, allowing for customizable sound staging and directing the audio precisely where listeners want it.
In terms of installation, the SR6500 is designed with versatility in mind. The speakers come equipped with a slim crossover network that enables smooth transitions between the woofer and tweeter. The crossover features high-quality components, including top-notch capacitors and inductors, which minimize signal loss and distortion. This results in a clearer sound and better overall performance.
Another notable technology embedded in the SR6500 is Polk’s patented Dynamic Balance technology. This technology involves a unique driver design that reduces unwanted resonances, ensuring that the speaker operates smoothly across its entire frequency range. The result is a lifelike audio experience that captures the nuances of live performances and recorded music alike.
The SR6500 also considers aesthetic appeal. The speakers boast a sleek and modern design with attractive grilles that seamlessly integrate into a variety of vehicle interiors. This attention to design detail enhances the overall look of any car audio system.
Overall, the Polk Audio SR6500 stands out for its exceptional sound quality, innovative technologies, and user-friendly design. Whether you’re a casual listener or a dedicated audiophile, these speakers provide a rich and immersive audio experience, making them a valuable addition to any car's sound system.