USING THE POLISHER
If your workpiece is so light that it can be moved by the rotating pad, anchor it securely to prevent possible bodily injury.
1.Read and follow the directions supplied with the product (polishes, waxes, cleaners, etc.).
2.Apply a small amount of the product directly to the polishing pad.
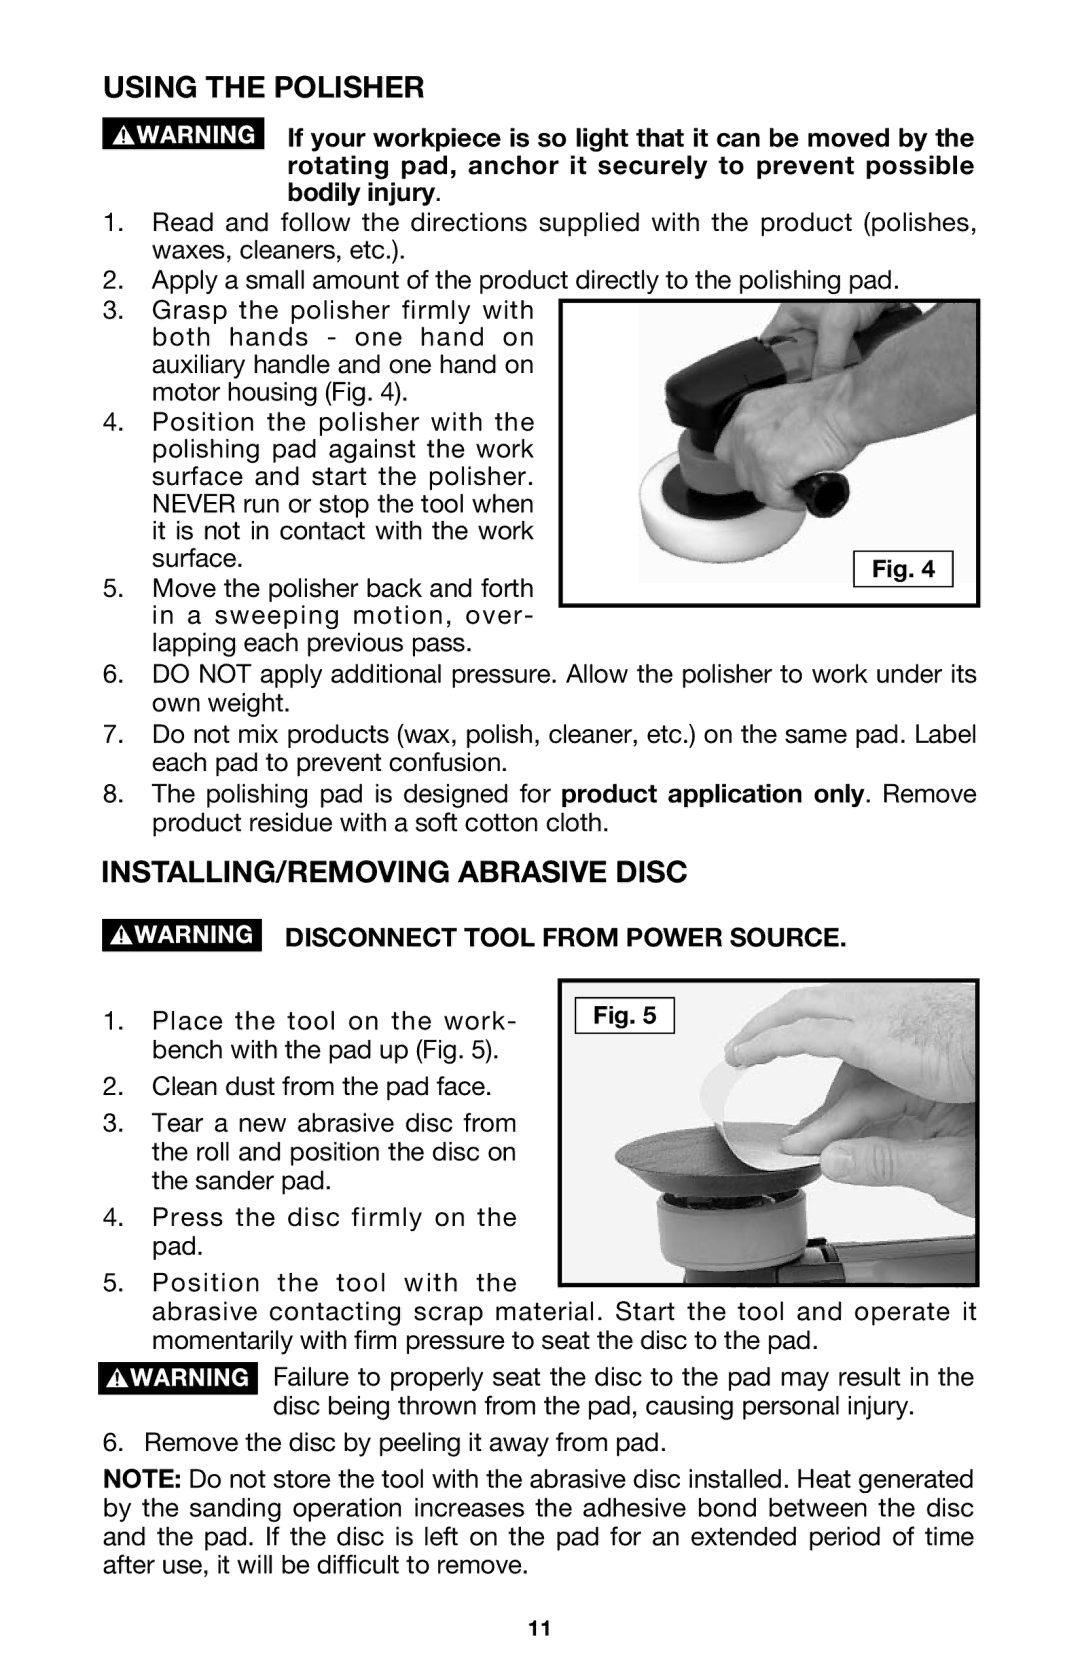
3.Grasp the polisher firmly with both hands - one hand on auxiliary handle and one hand on motor housing (Fig. 4).
4.Position the polisher with the polishing pad against the work surface and start the polisher. NEVER run or stop the tool when it is not in contact with the work
surface.
5.Move the polisher back and forth in a sweeping motion, over- lapping each previous pass.
6.DO NOT apply additional pressure. Allow the polisher to work under its own weight.
7.Do not mix products (wax, polish, cleaner, etc.) on the same pad. Label each pad to prevent confusion.
8.The polishing pad is designed for product application only. Remove product residue with a soft cotton cloth.
INSTALLING/REMOVING ABRASIVE DISC
DISCONNECT TOOL FROM POWER SOURCE.
1. Place the tool on the work- | Fig. 5 |
bench with the pad up (Fig. 5). |
|
2.Clean dust from the pad face.
3.Tear a new abrasive disc from the roll and position the disc on the sander pad.
4.Press the disc firmly on the pad.
5.Position the tool with the
abrasive contacting scrap material. Start the tool and operate it momentarily with firm pressure to seat the disc to the pad.
Failure to properly seat the disc to the pad may result in the disc being thrown from the pad, causing personal injury.
6. Remove the disc by peeling it away from pad.
NOTE: Do not store the tool with the abrasive disc installed. Heat generated by the sanding operation increases the adhesive bond between the disc and the pad. If the disc is left on the pad for an extended period of time after use, it will be difficult to remove.
11