ASSEMBLY
NOTE: This tool is shipped completely assembled. No assembly time or tools are required.
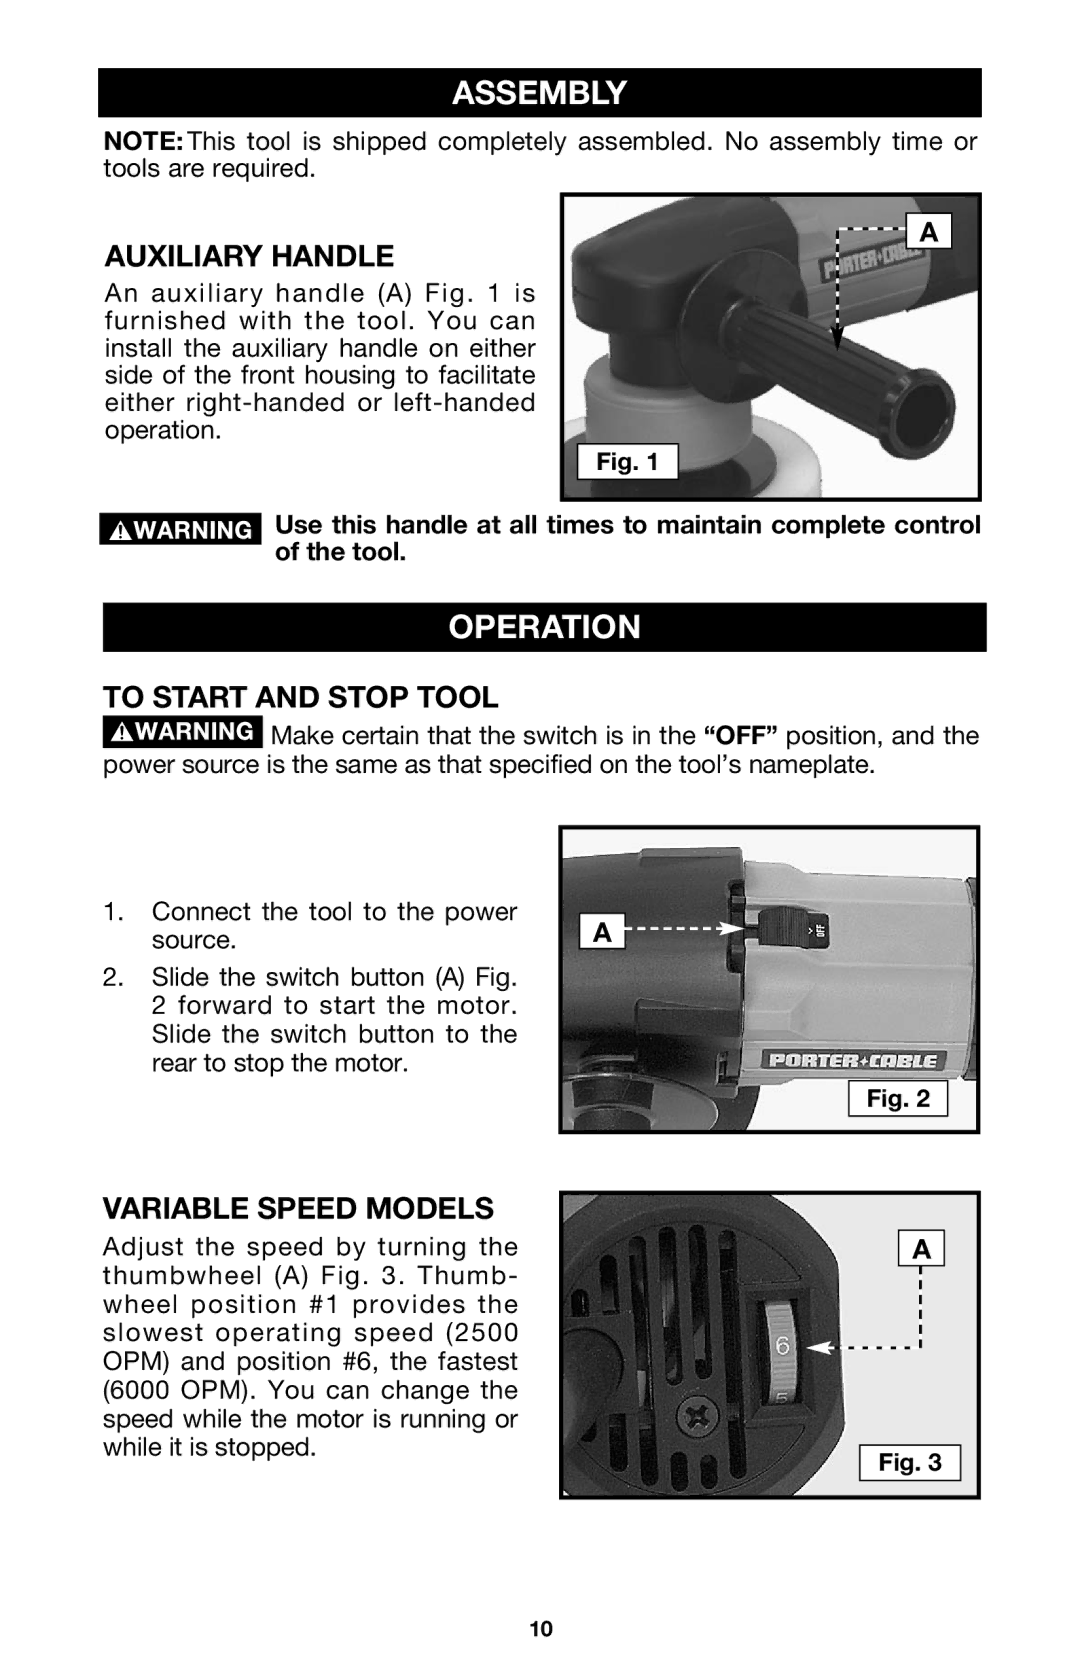
AUXILIARY HANDLE
An auxiliary handle (A) Fig. 1 is furnished with the tool. You can install the auxiliary handle on either side of the front housing to facilitate either
![]()
![]()
![]() A
A
Fig. 1
Use this handle at all times to maintain complete control of the tool.
OPERATION
TO START AND STOP TOOL
![]() Make certain that the switch is in the “OFF” position, and the power source is the same as that specified on the tool’s nameplate.
Make certain that the switch is in the “OFF” position, and the power source is the same as that specified on the tool’s nameplate.
1.Connect the tool to the power source.
2.Slide the switch button (A) Fig. 2 forward to start the motor. Slide the switch button to the rear to stop the motor.
A ![]()
![]()
Fig. 2
VARIABLE SPEED MODELS
Adjust the speed by turning the thumbwheel (A) Fig. 3. Thumb- wheel position #1 provides the slowest operating speed (2500 OPM) and position #6, the fastest (6000 OPM). You can change the speed while the motor is running or while it is stopped.
A
Fig. 3
10