ASSEMBLY
![]() WARNING: Before using chain saw, ensure all fasteners are secure.
WARNING: Before using chain saw, ensure all fasteners are secure.
CARTON CONTENTS
SChain Saw (fully assembled) S Bar Sheath
Examine parts for damage. Do not use damaged parts.
NOTE: If you need assistance or find that parts are missing or damaged, please call
ASSEMBLY
Your unit is fully assembled; no assembly is required.
OPERATION
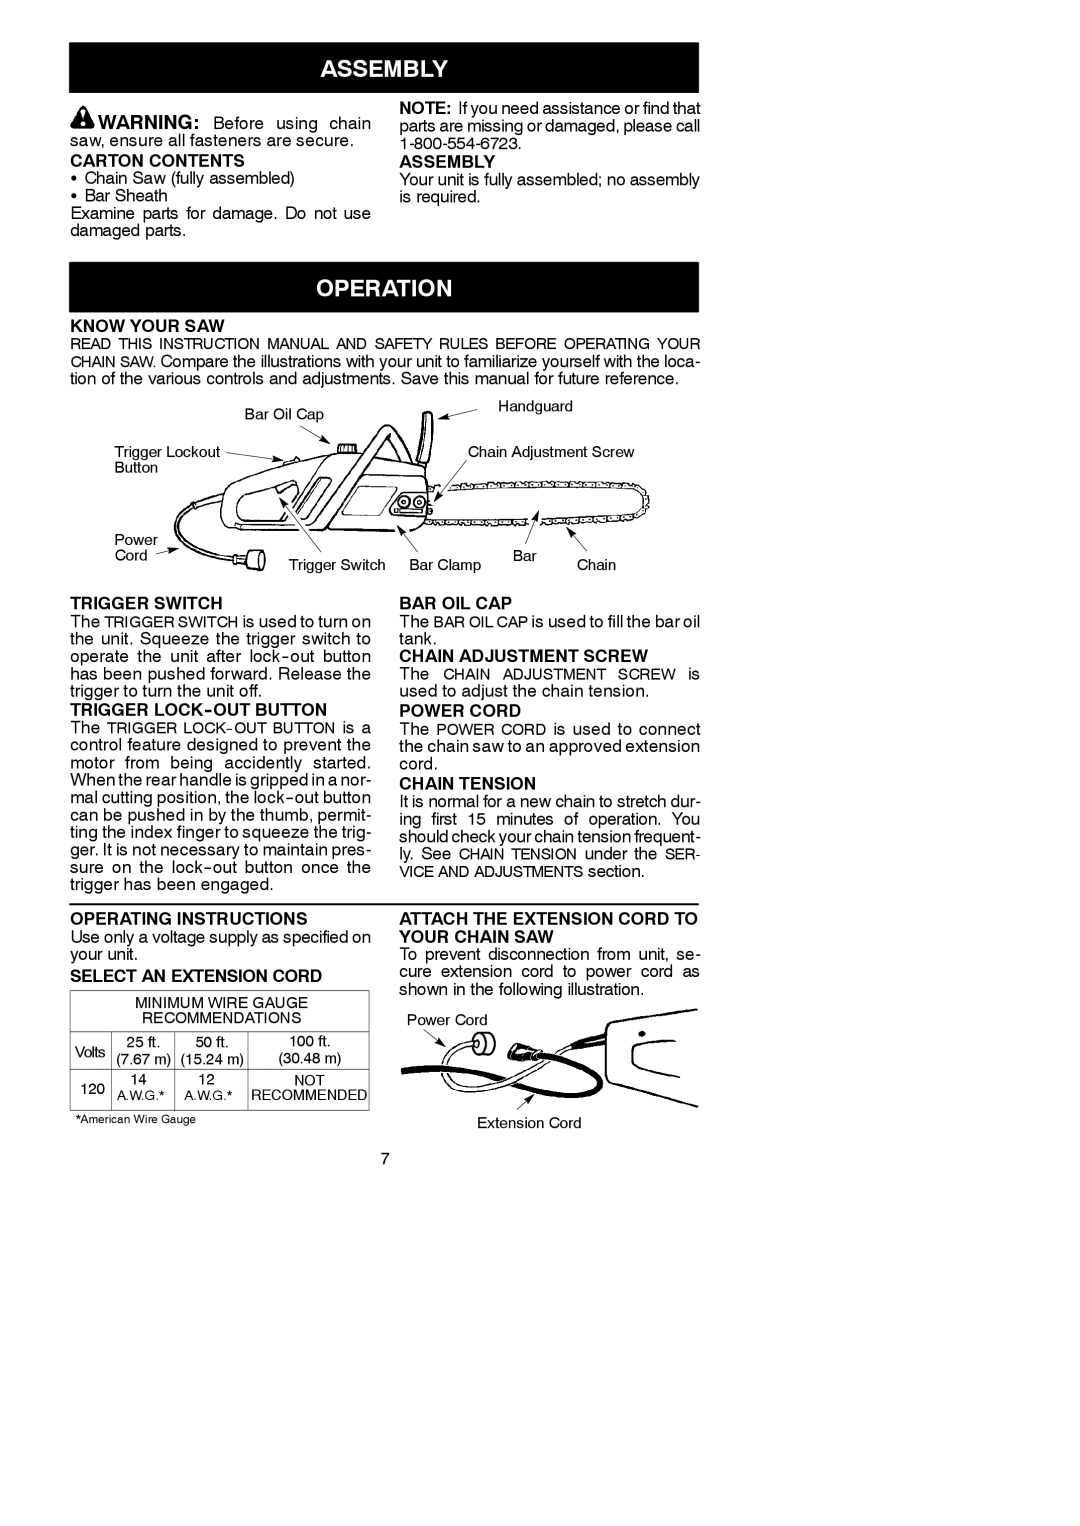
KNOW YOUR SAW
READ THIS INSTRUCTION MANUAL AND SAFETY RULES BEFORE OPERATING YOUR CHAIN SAW. Compare the illustrations with your unit to familiarize yourself with the loca- tion of the various controls and adjustments. Save this manual for future reference.
|
| Bar Oil Cap |
|
|
|
| Handguard |
|
| |||
|
|
|
|
|
|
|
|
| ||||
| Trigger Lockout |
|
| Chain Adjustment Screw | ||||||||
| Button |
|
|
|
|
|
|
|
|
|
|
|
| Power |
|
|
|
|
|
|
|
|
|
|
|
| Cord |
|
| Trigger Switch | Bar Clamp | Bar | Chain | |||||
|
|
|
|
| ||||||||
TRIGGER SWITCH |
|
| BAR OIL CAP |
|
| |||||||
The TRIGGER SWITCH is used to turn on | The BAR OIL CAP is used to fill the bar oil | |||||||||||
the unit. Squeeze the trigger switch to | tank. |
|
|
| ||||||||
operate the unit after | CHAIN ADJUSTMENT SCREW | |||||||||||
has been pushed forward. Release the | The CHAIN ADJUSTMENT SCREW is | |||||||||||
trigger to turn the unit off. |
|
| used to adjust the chain tension. | |||||||||
TRIGGER | POWER CORD |
|
| |||||||||
The TRIGGER | The POWER CORD is used to connect | |||||||||||
control feature designed to prevent the | the chain saw to an approved extension | |||||||||||
motor from being accidently started. | cord. |
|
|
| ||||||||
When the rear handle is gripped in a nor- | CHAIN TENSION |
|
| |||||||||
mal cutting position, the | It is normal for a new chain to stretch dur- | |||||||||||
can be pushed in by the thumb, permit- | ing first 15 minutes of operation. You | |||||||||||
ting the index finger to squeeze the trig- | should check your chain tension frequent- | |||||||||||
ger. It is not necessary to maintain pres- | ly. See CHAIN TENSION under the SER- | |||||||||||
sure on the | VICE AND ADJUSTMENTS section. | |||||||||||
trigger has been engaged. |
|
|
|
|
|
|
|
|
| |||
|
|
|
|
|
|
|
|
|
| |||
OPERATING INSTRUCTIONS | ATTACH THE EXTENSION CORD TO | |||||||||||
Use only a voltage supply as specified on | YOUR CHAIN SAW |
|
| |||||||||
your unit. |
|
|
|
| To prevent disconnection from unit, se- | |||||||
SELECT AN EXTENSION CORD | cure extension cord to power cord as | |||||||||||
|
|
|
|
|
| shown in the following illustration. | ||||||
| MINIMUM WIRE GAUGE |
| ||||||||||
|
|
|
|
|
|
|
|
| ||||
| RECOMMENDATIONS |
| Power Cord |
|
|
| ||||||
|
|
|
|
|
|
|
|
|
|
|
|
|
Volts | 25 ft. | 50 ft. |
| 100 ft. |
|
|
|
|
|
|
|
|
|
|
|
|
|
|
|
|
| ||||
|
|
|
|
|
|
|
|
| ||||
(7.67 m) | (15.24 m) |
| (30.48 m) |
|
|
|
|
|
|
|
| |
|
|
|
|
|
|
|
|
| ||||
120 | 14 | 12 |
| NOT |
|
|
|
|
|
|
|
|
A.W.G.* | A.W.G.* | RECOMMENDED |
|
|
|
|
|
|
|
| ||
|
|
|
|
|
|
|
|
|
| |||
*American Wire Gauge |
|
|
| Extension Cord | ||||||||
|
|
|
| 7 |
|
|
|
|
|
|
| |
