
S17DE specifications
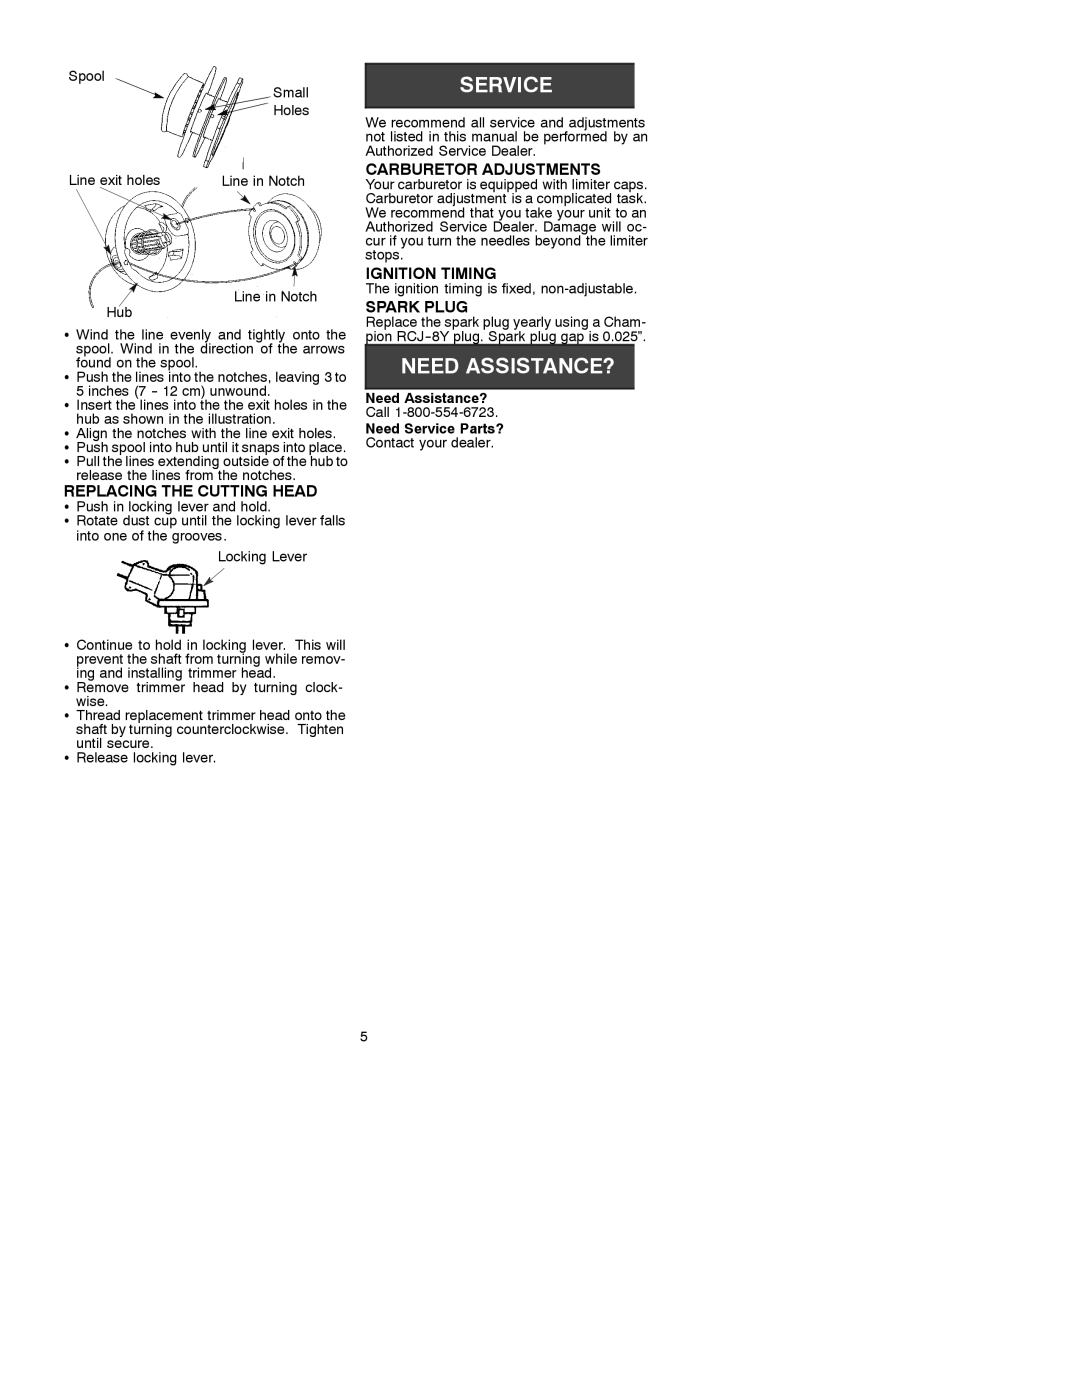
The Poulan S17DE is a powerful and versatile string trimmer designed for both residential and commercial landscaping projects. This machine stands out due to its combination of efficiency, ease of use, and innovative technology, making it an excellent choice for anyone looking to keep their lawn and garden in pristine condition.One of the main features of the Poulan S17DE is its robust 17-inch cutting swath. This wide cutting capability allows users to tackle large areas quickly, reducing the time and effort required for trimming. The trimmer's dual-line feed head efficiently disperses the line, ensuring a clean and precise cut every time. This design minimizes downtime associated with reloading, allowing for uninterrupted work on your landscaping tasks.
The power behind the Poulan S17DE comes from its reliable engine. The trimmer is equipped with a lightweight yet powerful 25cc two-cycle engine that ensures formidable performance without being overly heavy. This balance of power and weight provides users with an optimal experience, particularly for extended trimming sessions, as it minimizes fatigue while maximizing productivity.
Another essential feature is the easy start technology, which simplifies the process of getting the machine up and running. The Poulan S17DE incorporates an efficient starting system that reduces the effort needed to start the engine. This user-friendly approach makes it accessible for novices and seasoned landscapers alike.
Comfort is also a priority in the design of the Poulan S17DE. It features an adjustable handle that allows users to tailor the height and angle to their preference, ensuring that they maintain a comfortable grip during operation. The trimmer's lightweight design further enhances maneuverability, providing better control when working in tight spots or around garden edges.
Durability is a characteristic that stands out in the Poulan S17DE, with high-quality materials used in its construction. This durability not only protects the machine from wear and tear but also extends its lifespan, offering excellent value for investment.
In summary, the Poulan S17DE is a leading choice for those seeking a reliable and efficient string trimmer. Its impressive cutting width, powerful engine, user-friendly features, and ergonomic design make it ideally suited for various landscaping tasks. Whether managing a large yard or maintaining a commercial space, the Poulan S17DE combines performance, comfort, and durability for optimal results.