DUST COLLECTION
Powermatic recommends the use of a dust collection system with this
Mount the dust collector via a 4" hose to the outlet on the blade access door.
OPERATING CONTROLS
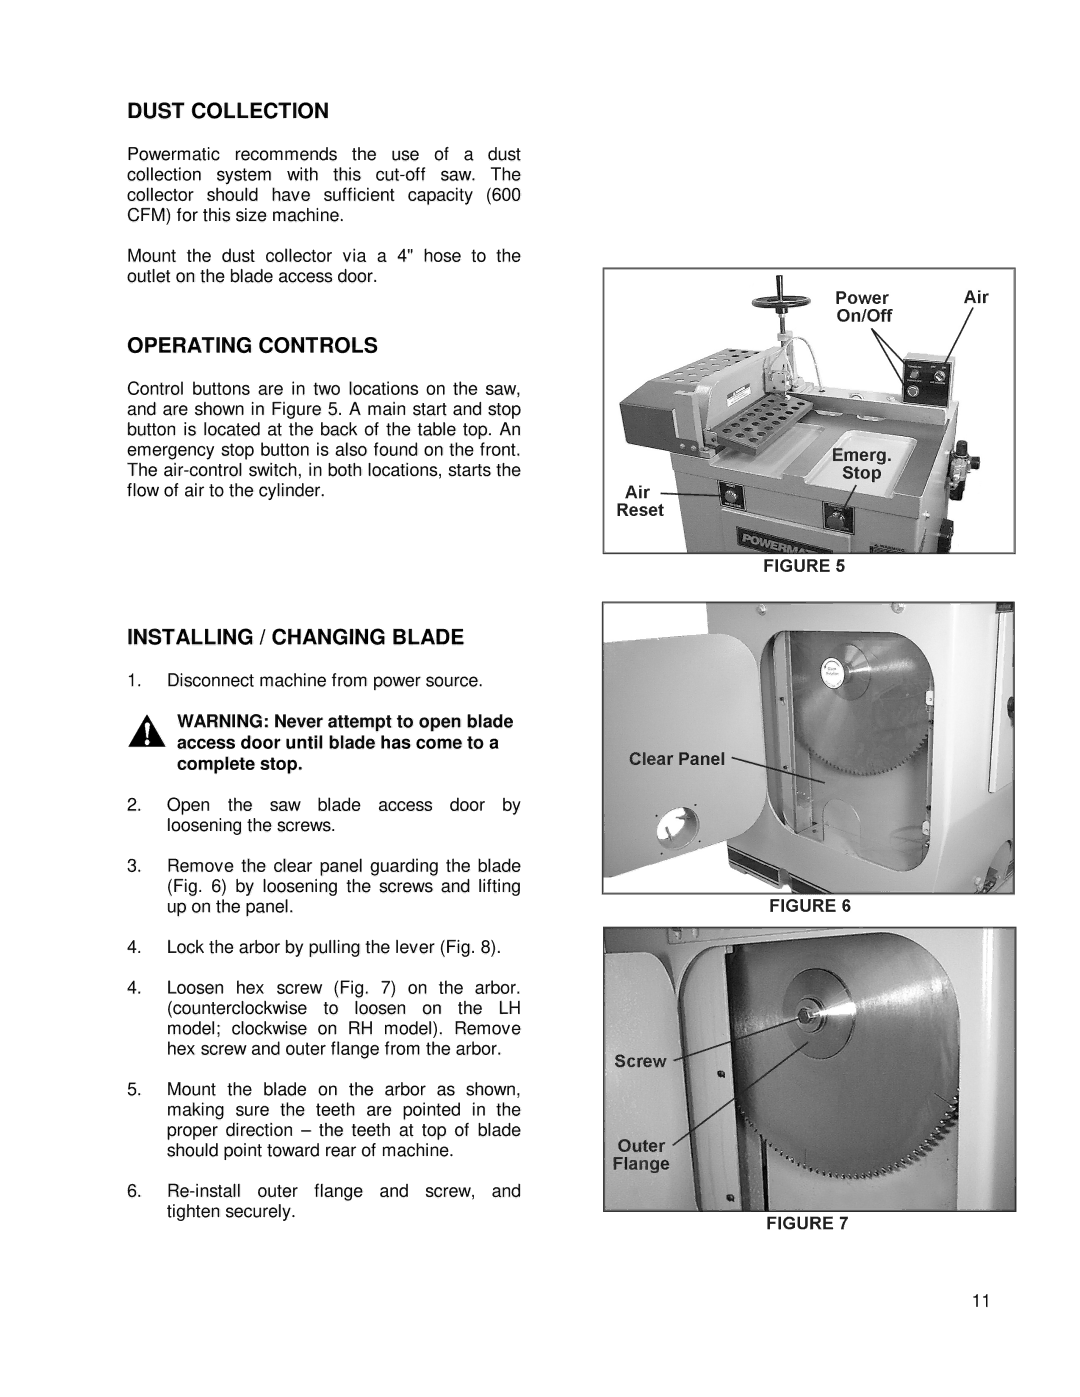
Control buttons are in two locations on the saw, and are shown in Figure 5. A main start and stop button is located at the back of the table top. An emergency stop button is also found on the front. The
INSTALLING / CHANGING BLADE
1.Disconnect machine from power source.
WARNING: Never attempt to open blade access door until blade has come to a complete stop.
2.Open the saw blade access door by loosening the screws.
3.Remove the clear panel guarding the blade (Fig. 6) by loosening the screws and lifting up on the panel.
4.Lock the arbor by pulling the lever (Fig. 8).
4.Loosen hex screw (Fig. 7) on the arbor. (counterclockwise to loosen on the LH model; clockwise on RH model). Remove hex screw and outer flange from the arbor.
5.Mount the blade on the arbor as shown, making sure the teeth are pointed in the proper direction – the teeth at top of blade should point toward rear of machine.
6.
11
