Clock/Timer
Four functions in one compact unit: timer, stopwatch, cal- endar, and clock.
Four timers in one, too! Times as many as four activities at once.
Times up to 24 hours in timer or stopwatch mode.
Calendar displays day and date to the year 2099.
Visit us on the web at www.GoPresto.com
INSTRUCTIONS
2003 by National Presto Industries, Inc.
Insert Battery Before Using:
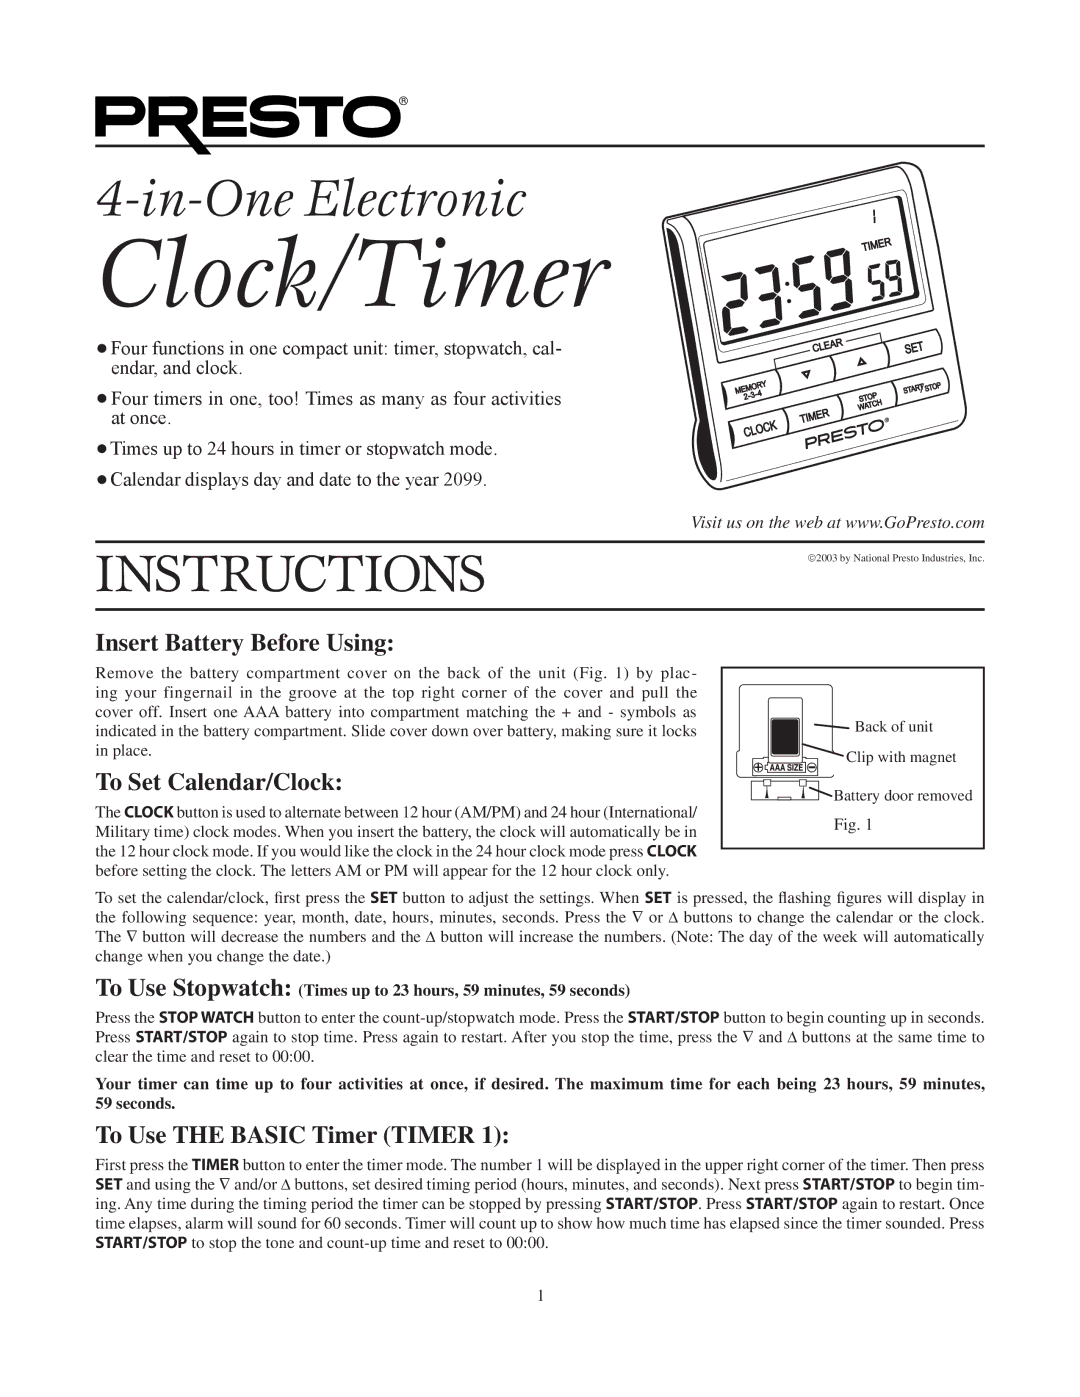
Remove the battery compartment cover on the back of the unit (Fig. 1) by plac- ing your fingernail in the groove at the top right corner of the cover and pull the cover off. Insert one AAA battery into compartment matching the + and - symbols as indicated in the battery compartment. Slide cover down over battery, making sure it locks in place.
To Set Calendar/Clock:
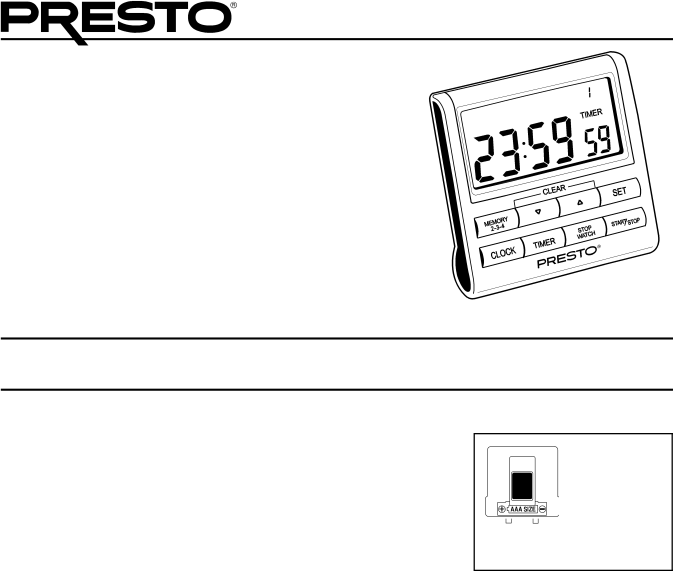
The CLOCK button is used to alternate between 12 hour (AM/PM) and 24 hour (International/ Military time) clock modes. When you insert the battery, the clock will automatically be in the 12 hour clock mode. If you would like the clock in the 24 hour clock mode press CLOCK before setting the clock. The letters AM or PM will appear for the 12 hour clock only.
![]() Back of unit
Back of unit
![]() Clip with magnet
Clip with magnet
![]() Battery door removed
Battery door removed
Fig. 1
To set the calendar/clock, first press the SET button to adjust the settings. When SET is pressed, the flashing figures will display in the following sequence: year, month, date, hours, minutes, seconds. Press the ∇ or ∆ buttons to change the calendar or the clock. The ∇ button will decrease the numbers and the ∆ button will increase the numbers. (Note: The day of the week will automatically change when you change the date.)
To Use Stopwatch: (Times up to 23 hours, 59 minutes, 59 seconds)
Press the STOP WATCH button to enter the
Your timer can time up to four activities at once, if desired. The maximum time for each being 23 hours, 59 minutes, 59 seconds.
To Use THE BASIC Timer (TIMER 1):
First press the TIMER button to enter the timer mode. The number 1 will be displayed in the upper right corner of the timer. Then press SET and using the ∇ and/or ∆ buttons, set desired timing period (hours, minutes, and seconds). Next press START/STOP to begin tim- ing. Any time during the timing period the timer can be stopped by pressing START/STOP. Press START/STOP again to restart. Once time elapses, alarm will sound for 60 seconds. Timer will count up to show how much time has elapsed since the timer sounded. Press START/STOP to stop the tone and
1
