Installation (continue)
FUEL REQUIREMENTS:
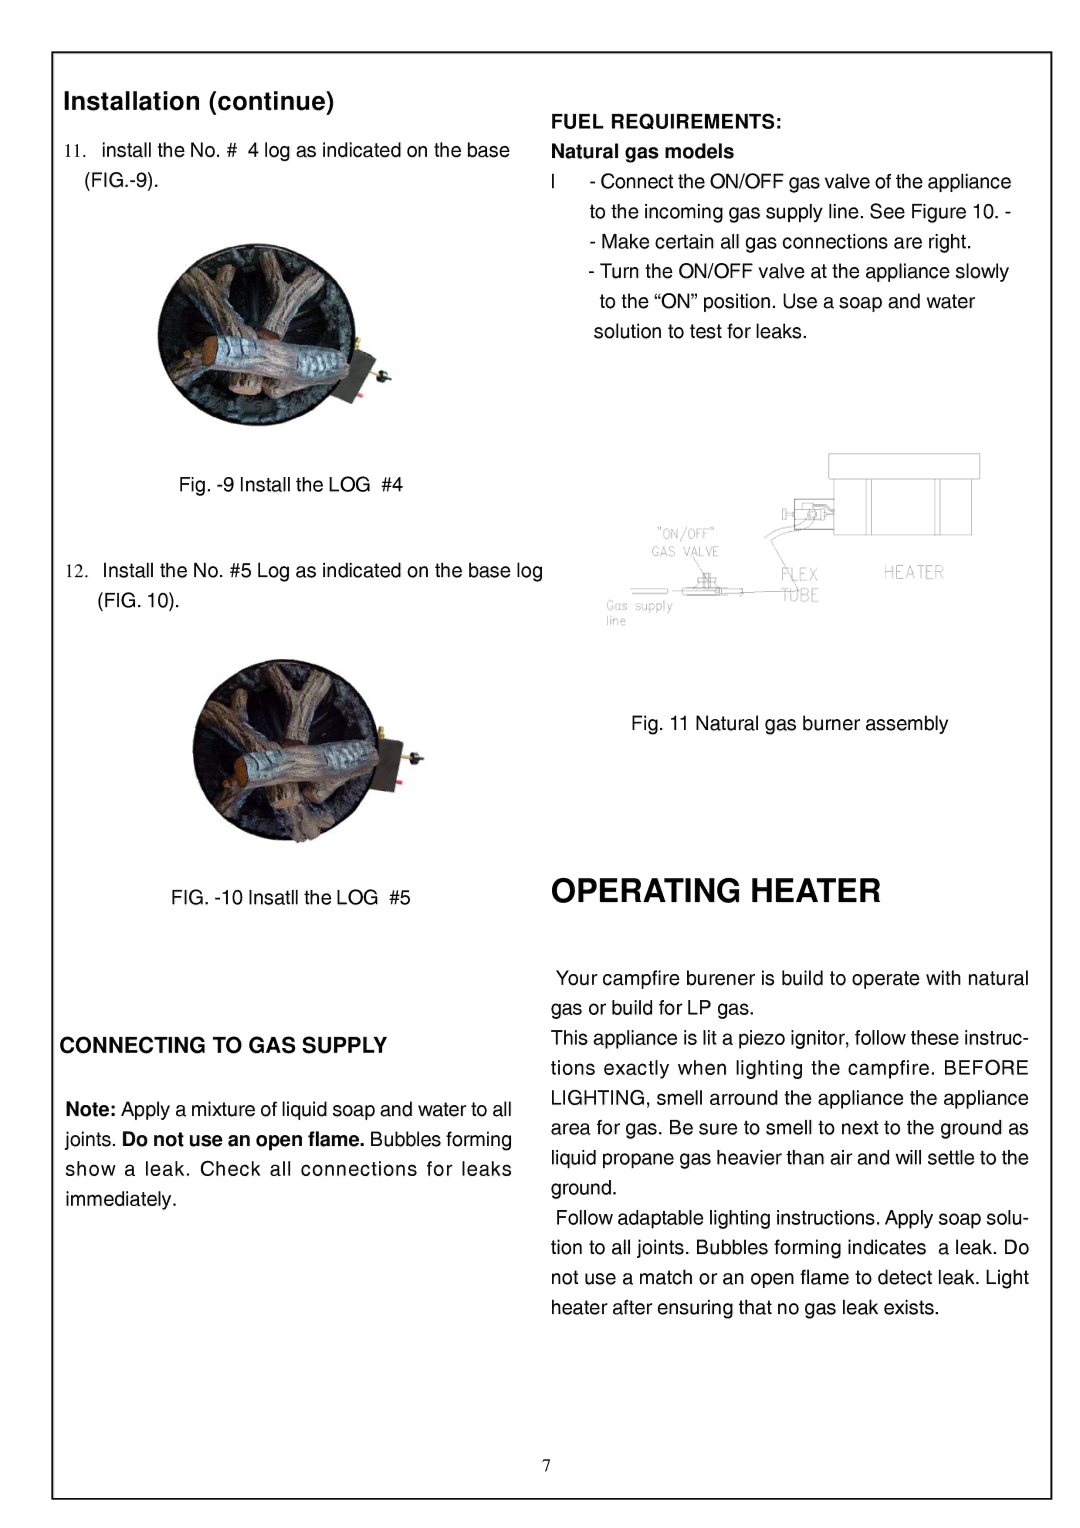
11.install the No. # 4 log as indicated on the base
Fig. -9 Install the LOG #4
12.Install the No. #5 Log as indicated on the base log (FIG. 10).
Natural gas models
l- Connect the ON/OFF gas valve of the appliance to the incoming gas supply line. See Figure 10. - - Make certain all gas connections are right.
-Turn the ON/OFF valve at the appliance slowly
to the “ON” position. Use a soap and water solution to test for leaks.
FIG. -10 Insatll the LOG #5
CONNECTING TO GAS SUPPLY
Note: Apply a mixture of liquid soap and water to all joints. Do not use an open flame. Bubbles forming show a leak. Check all connections for leaks immediately.
Fig. 11 Natural gas burner assembly
OPERATING HEATER
Your campfire burener is build to operate with natural gas or build for LP gas.
This appliance is lit a piezo ignitor, follow these instruc- tions exactly when lighting the campfire. BEFORE LIGHTING, smell arround the appliance the appliance area for gas. Be sure to smell to next to the ground as liquid propane gas heavier than air and will settle to the ground.
Follow adaptable lighting instructions. Apply soap solu- tion to all joints. Bubbles forming indicates a leak. Do not use a match or an open flame to detect leak. Light heater after ensuring that no gas leak exists.
7
