2Reset the console and start the walking belt.
Slide the speed control to the RESET position. Note: Each time the walking belt is stopped, the speed control must be moved to the RESET position before the walking belt can be restarted.
Next, slowly slide the speed control until the walking belt be- gins to move at slow speed. Carefully step onto the walking belt and begin exercising. Change the speed of the walk- ing belt as desired by moving the speed control.
To stop the walking belt, step onto the foot rails and slide the speed control to the RESET position.
3Follow your progress with the four displays.
TIME/DISTANCE dis- playÑThis display shows the elapsed time and distance that you have walked or run, in miles.
SPEED displayÑThis display shows the speed of the walking belt, in miles per hour.
CALORIES/FAT CAL-
ORIES displayÑThis
display shows the ap- proximate numbers of calories and fat calories you have burned. (See
FAT BURNING on page
14.) Every seven seconds, the display will change from one number to the other, as indicated by the mode arrows.
The displays can be reset, if desired, by pressing the ON/RESET button.
4Turn off the power.
To turn off the power, simply wait for about four minutes. If the walking belt is stationary and the console buttons are not pressed for four minutes, the power will turn off automatically.
HOW TO CHANGE THE INCLINE OF THE TREADMILL
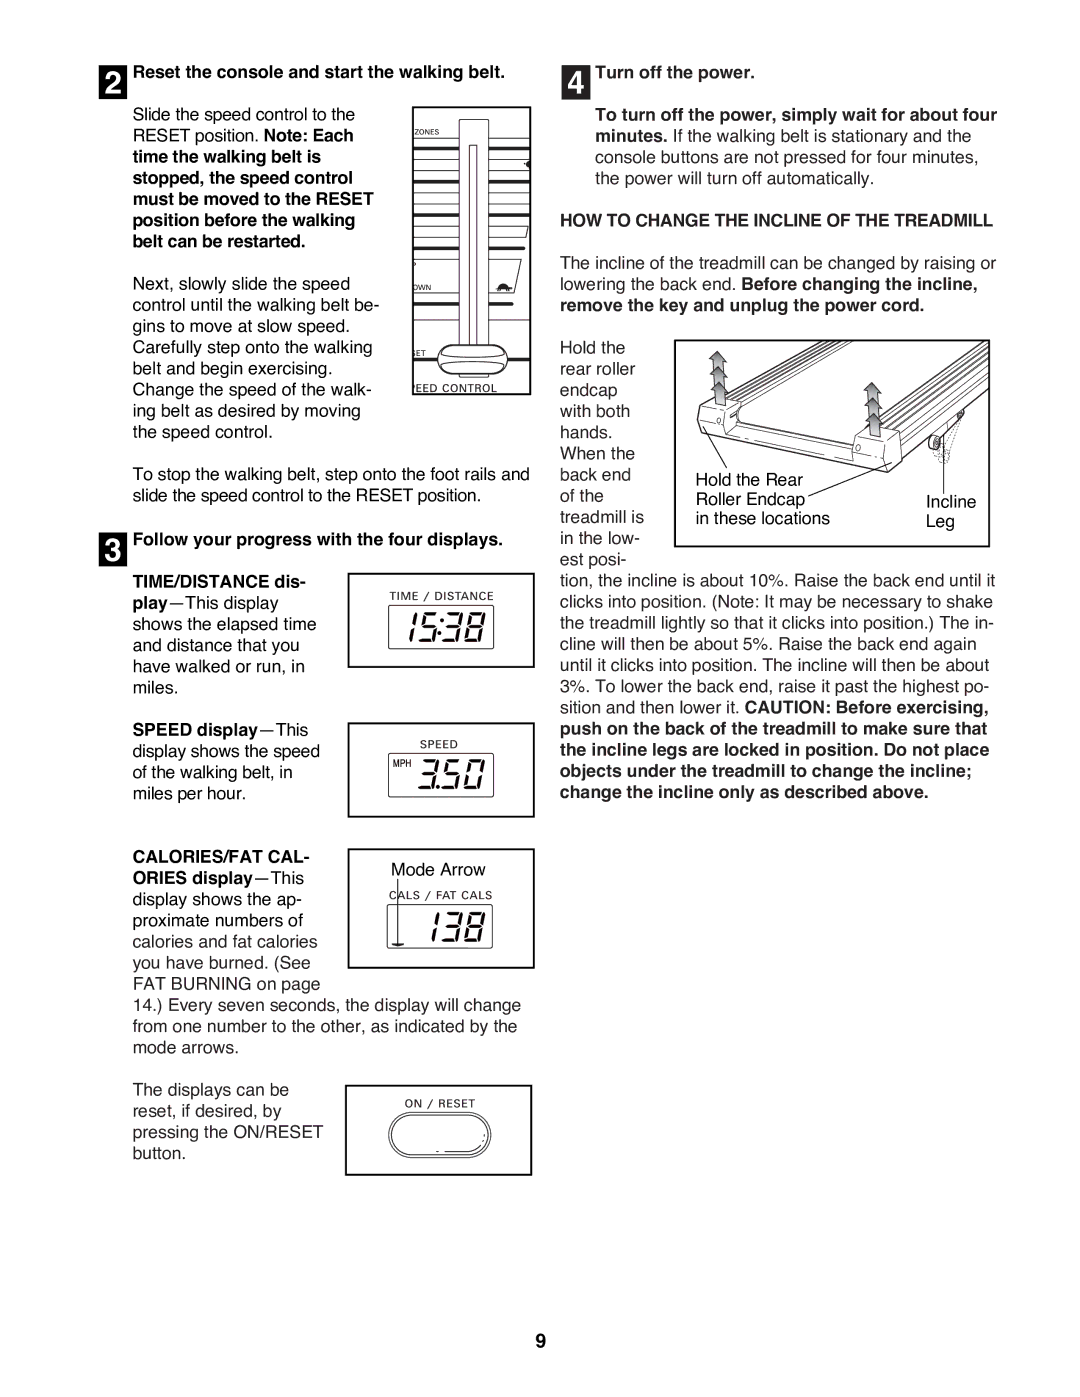
The incline of the treadmill can be changed by raising or lowering the back end. Before changing the incline, remove the key and unplug the power cord.
Hold the rear roller
endcap with both hands. When the back end
of the treadmill is in the low- est posi-
tion, the incline is about 10%. Raise the back end until it clicks into position. (Note: It may be necessary to shake the treadmill lightly so that it clicks into position.) The in- cline will then be about 5%. Raise the back end again until it clicks into position. The incline will then be about 3%. To lower the back end, raise it past the highest po- sition and then lower it. CAUTION: Before exercising, push on the back of the treadmill to make sure that the incline legs are locked in position. Do not place objects under the treadmill to change the incline; change the incline only as described above.
9