PFTL71230 specifications
The ProForm PFTL71230 treadmill is an excellent choice for fitness enthusiasts seeking a versatile and effective home workout solution. This model strikes a balance between advanced technology, user-friendly features, and practical design, making it ideal for users of all fitness levels.One of the standout features of the ProForm PFTL71230 is its impressive 2.5 CHP motor, which ensures a smooth and quiet operation even during intense workouts. This powerful motor enables users to run at speeds of up to 10 mph, catering to both walkers and serious runners alike. The treadmill also features an adjustable incline of up to 10%, allowing users to customize their workouts and target different muscle groups more effectively.
The PFTL71230 comes equipped with a spacious running surface measuring 20 inches by 55 inches. This generous size provides ample room for users to stride comfortably, reducing the chances of falls or accidents during exercise. The treadmill also boasts ProForm's innovative Pro-Shock cushioning system, which absorbs impact and offers added comfort for users, making it easier on the joints compared to traditional running surfaces.
One of the defining characteristics of this treadmill is its built-in workout programs. With 18 pre-set routines, users can easily select a workout that suits their fitness goals, whether it's weight loss, endurance improvement, or speed training. Additionally, the iFit technology enables access to interactive training experiences, allowing users to run various global routes while tracking their performance metrics in real time.
The PFTL71230 treadmill is also designed with convenience in mind. An integrated tablet holder allows users to place their devices securely while streaming fitness classes or enjoying entertainment during workouts. The console features easy-to-read display metrics that track essential data, including speed, time, distance, and calories burned, making it simple to monitor progress.
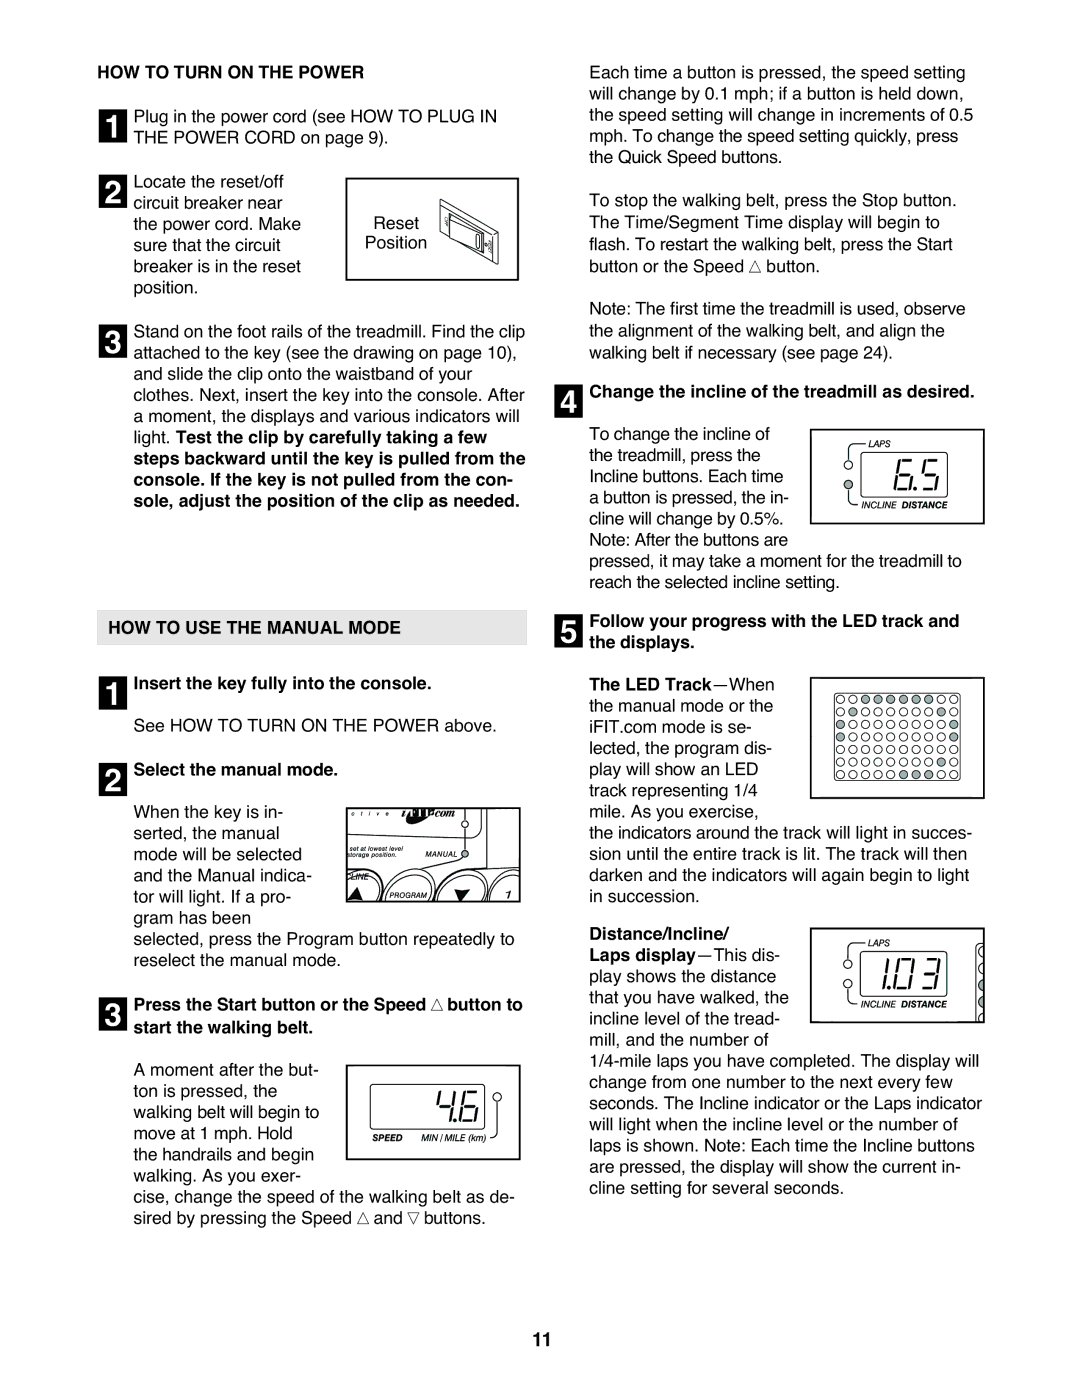
Safety features are a priority as well, with a sturdy save-key that allows users to stop the treadmill quickly in case of an emergency. With its combination of advanced technology, user-friendly design, and practical features, the ProForm PFTL71230 treadmill stands out as a reliable choice for anyone looking to enhance their fitness routine from the comfort of their home.