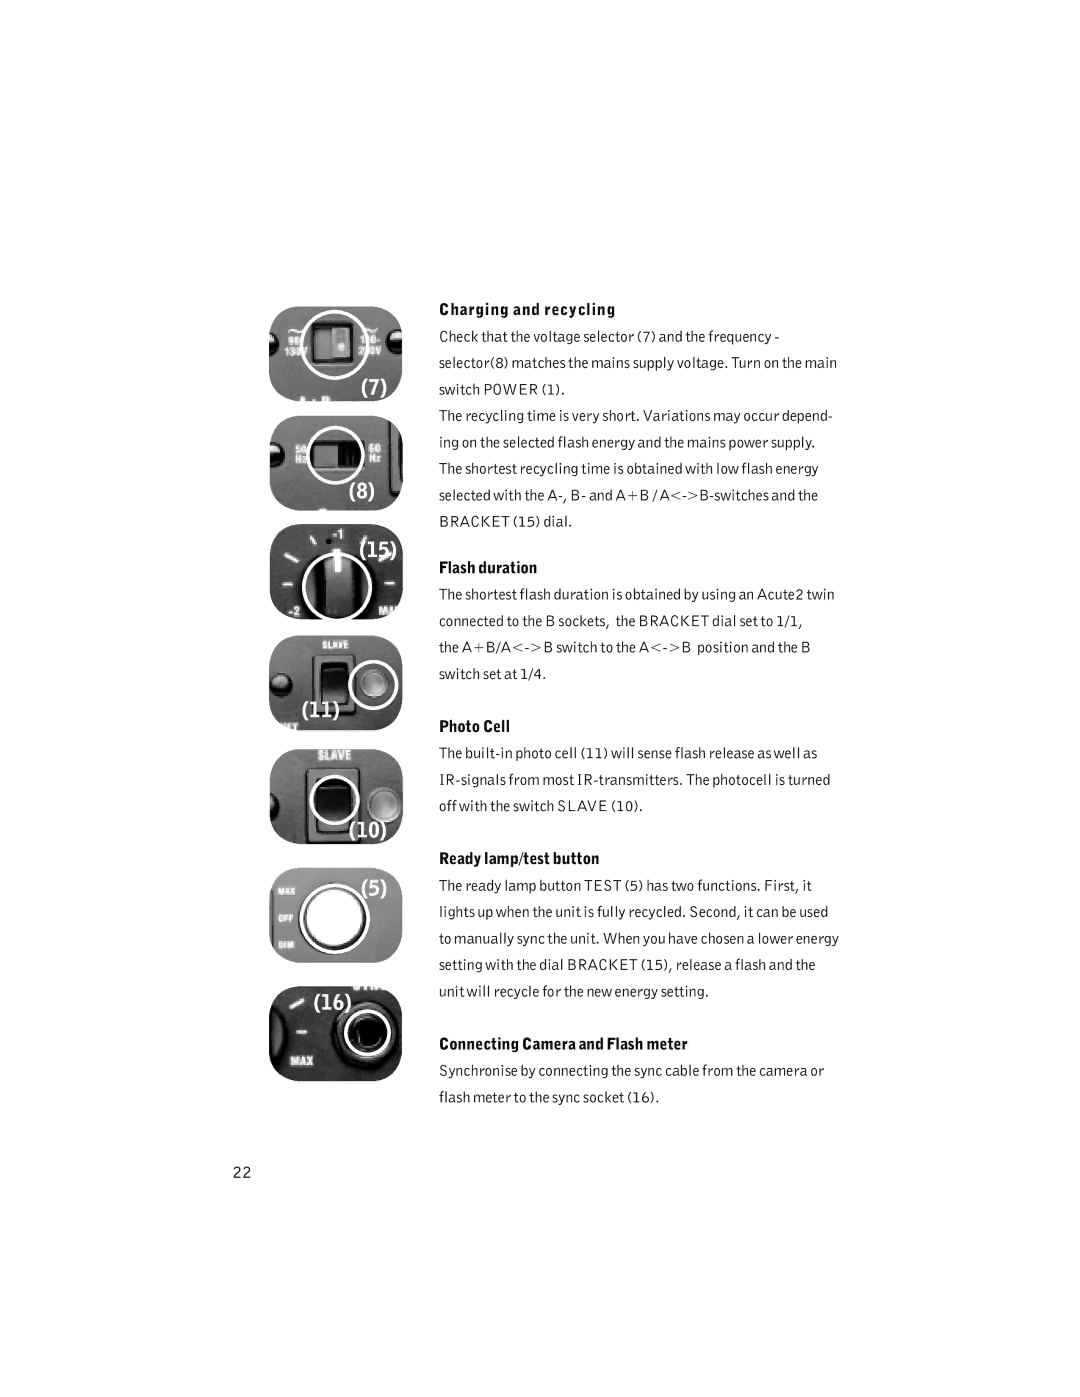
Charging and recycling
Check that the voltage selector (7) and the frequency - selector(8) matches the mains supply voltage. Turn on the main
(7)switch POWER (1).
The recycling time is very short. Variations may occur depend- ing on the selected flash energy and the mains power supply. The shortest recycling time is obtained with low flash energy
(8)selected with the
(15)
Flash duration
The shortest flash duration is obtained by using an Acute2 twin connected to the B sockets, the BRACKET dial set to 1/1, the
(11)
Photo Cell
(10)
(5)
(16)
The
Ready lamp/test button
The ready lamp button TEST (5) has two functions. First, it lights up when the unit is fully recycled. Second, it can be used to manually sync the unit. When you have chosen a lower energy setting with the dial BRACKET (15), release a flash and the unit will recycle for the new energy setting.
Connecting Camera and Flash meter
Synchronise by connecting the sync cable from the camera or flash meter to the sync socket (16).
22