3. Initial Setup
3.1. Initial Installation
The first time the unit is turned on or anytime the system is restored to the defaulted settings, the Initial Installation wizard will be displayed on the screen.
Conect the antenna cable to the RF connector at the connections panel and follow the steps displayed on the screen to set up the system basic settings (Language, Cable, etc.) and start an auto search of TV channels.
3.2. Audio/Video Source Selection
Turn on the TV by pressing the POWER button on TV or on the remote control, press SOURCE and use the direction buttons / ![]() to select the desired source depending on the equipment you have connected (AV, HDMI, VGA) or choose TV to enter these mode.
to select the desired source depending on the equipment you have connected (AV, HDMI, VGA) or choose TV to enter these mode.
3.3. DTT Mode Operations
Use CH+ or CH- buttons to tune the desired channel, or enter the channel number directly using the numeric keypad. Press OK to display on screen the list of TV and radio channels (press the / buttons to sort by group and show only the DTV, the analog TV channels, Radio channels, etc.).
Use MTS button to select the audio language broadcasting, CC button to show or hide subtitles on screen and FAV button to see a list of your favorite channels.
4. SETTINGS
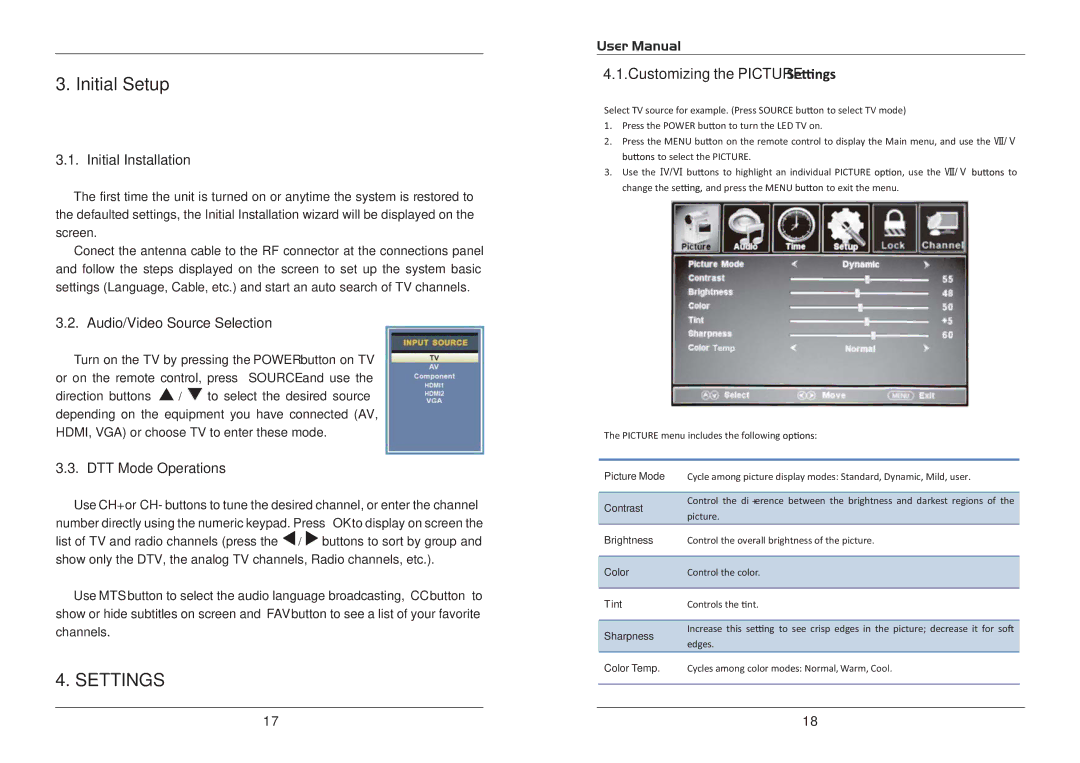
4.1. Customizing the PICTURE 
Select TV source for example. (Press SOURCE bu![]() on to select TV mode)
on to select TV mode)
1.Press the POWER bu![]() on to turn the LED TV on.
on to turn the LED TV on.
2.Press the MENU bu![]() on on the remote control to display the Main menu, and use the Ż/Ź
on on the remote control to display the Main menu, and use the Ż/Ź
![]() to select the PICTURE.
to select the PICTURE.
3.Use the Ÿ/ź bu![]() ons to highlight an individual PICTURE
ons to highlight an individual PICTURE ![]() , use the Ż/Ź
, use the Ż/Ź ![]() to
to
change the se![]() and press the MENU
and press the MENU ![]() to exit the menu.
to exit the menu.
The PICTURE menu includes the following ![]() :
:
Picture Mode |
| Cycle among picture display modes: Standard, Dynamic, Mild, user. | |||
|
|
|
|
|
|
| Contrast |
|
| Control the diīerence between the brightness and darkest regions of the | |
|
|
| picture. | ||
|
|
|
| ||
| Brightness |
| Control the overall brightness of the picture. | ||
|
|
|
|
| |
| Color |
|
| Control the color. |
|
|
|
|
|
|
|
| Tint |
| Controls the nt. | ||
|
|
|
|
| |
| Sharpness |
|
| Increase this se ng to see crisp edges in the picture; decrease it for so |
|
|
|
| edges. |
| |
|
|
|
|
| |
| Color Temp. | Cycles among color modes: Normal, Warm, Cool. | |||
|
|
|
|
|
|
17 | 18 |
