Battery Installation
It will never affect files stored in the unit to replace batteries . If you shut down the unit with normal operation , it will keep the date and time by previous setting .
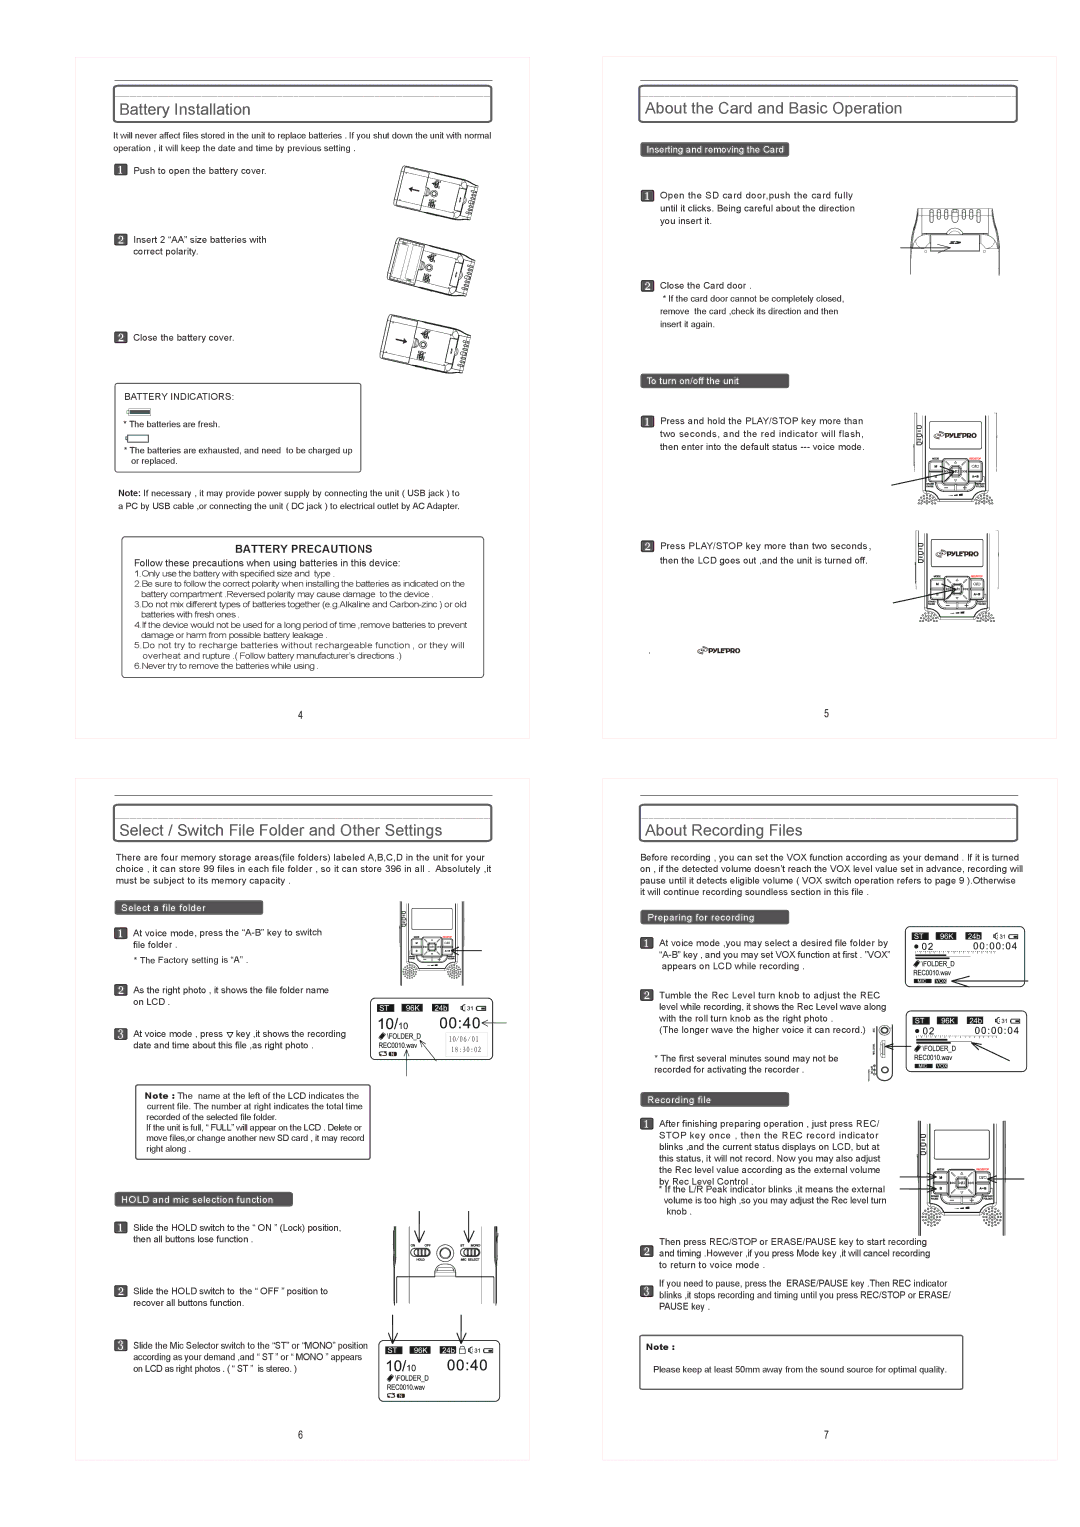
![]() Push to open the battery cover.
Push to open the battery cover.
Insert 2 “AA” size batteries with correct polarity.
![]() Close the battery cover.
Close the battery cover.
BATTERY INDICATIORS:
*The batteries are fresh.
*The batteries are exhausted, and need to be charged up or replaced.
Note: If necessary , it may provide power supply by connecting the unit ( USB jack ) to a PC by USB cable ,or connecting the unit ( DC jack ) to electrical outlet by AC Adapter.
BATTERY PRECAUTIONS
Follow these precautions when using batteries in this device: 1.Only use the battery with specified size and type .
2.Be sure to follow the correct polarity when installing the batteries as indicated on the battery compartment .Reversed polarity may cause damage to the device .
3.Do not mix different types of batteries together (e.g.Alkaline and
4.If the device would not be used for a long period of time ,remove batteries to prevent damage or harm from possible battery leakage .
5.Do not try to recharge batteries without rechargeable function , or they will overheat and rupture .( Follow battery manufacturer’s directions .)
6.Never try to remove the batteries while using .
About the Card and Basic Operation
Inserting and removing the Card
Open the SD card door,push the card fully until it clicks. Being careful about the direction you insert it.
Close the Card door .
*If the card door cannot be completely closed, remove the card ,check its direction and then insert it again.
To turn on/off the unit
Press and hold the PLAY/STOP key more than two seconds, and the red indicator will flash, then enter into the default status
Press PLAY/STOP key more than two seconds, then the LCD goes out ,and the unit is turned off.
.
Select / Switch File Folder and Other Settings
There are four memory storage areas(file folders) labeled A,B,C,D in the unit for your choice , it can store 99 files in each file folder , so it can store 396 in all . Absolutely ,it must be subject to its memory capacity .
Select a file folder
At voice mode, press the
* The Factory setting is “A” .
As the right photo , it shows the file folder name on LCD .
At voice mode , press ![]() key ,it shows the recording date and time about this file ,as right photo .
key ,it shows the recording date and time about this file ,as right photo .
Note : The name at the left of the LCD indicates the current file. The number at right indicates the total time recorded of the selected file folder.
If the unit is full, “ FULL” will appear on the LCD . Delete or move files,or change another new SD card , it may record right along .
HOLD and mic selection function
Slide the HOLD switch to the “ ON ” (Lock) position, then all buttons lose function .
Slide the HOLD switch to the “ OFF ” position to recover all buttons function.
Slide the Mic Selector switch to the “ST” or “MONO” position according as your demand ,and “ ST ” or “ MONO ” appears on LCD as right photos . ( “ ST ” is stereo. )
About Recording Files
Before recording , you can set the VOX function according as your demand . If it is turned on , if the detected volume doesn’t reach the VOX level value set in advance, recording will pause until it detects eligible volume ( VOX switch operation refers to page 9 ).Otherwise it will continue recording soundless section in this file .
Preparing for recording
At voice mode ,you may select a desired file folder by
Tumble the Rec Level turn knob to adjust the REC level while recording, it shows the Rec Level wave along with the roll turn knob as the right photo .
(The longer wave the higher voice it can record.)
* The first several minutes sound may not be recorded for activating the recorder .
Recording file
After finishing preparing operation , just press REC/ STOP key once , then the REC record indicator blinks ,and the current status displays on LCD, but at this status, it will not record. Now you may also adjust the Rec level value according as the external volume by Rec Level Control .
* If the L/R Peak indicator blinks ,it means the external volume is too high ,so you may adjust the Rec level turn knob .
Then press REC/STOP or ERASE/PAUSE key to start recording and timing .However ,if you press Mode key ,it will cancel recording to return to voice mode .
If you need to pause, press the ERASE/PAUSE key .Then REC indicator blinks ,it stops recording and timing until you press REC/STOP or ERASE/ PAUSE key .
Note :
Please keep at least 50mm away from the sound source for optimal quality.