Playback
Playing back a file
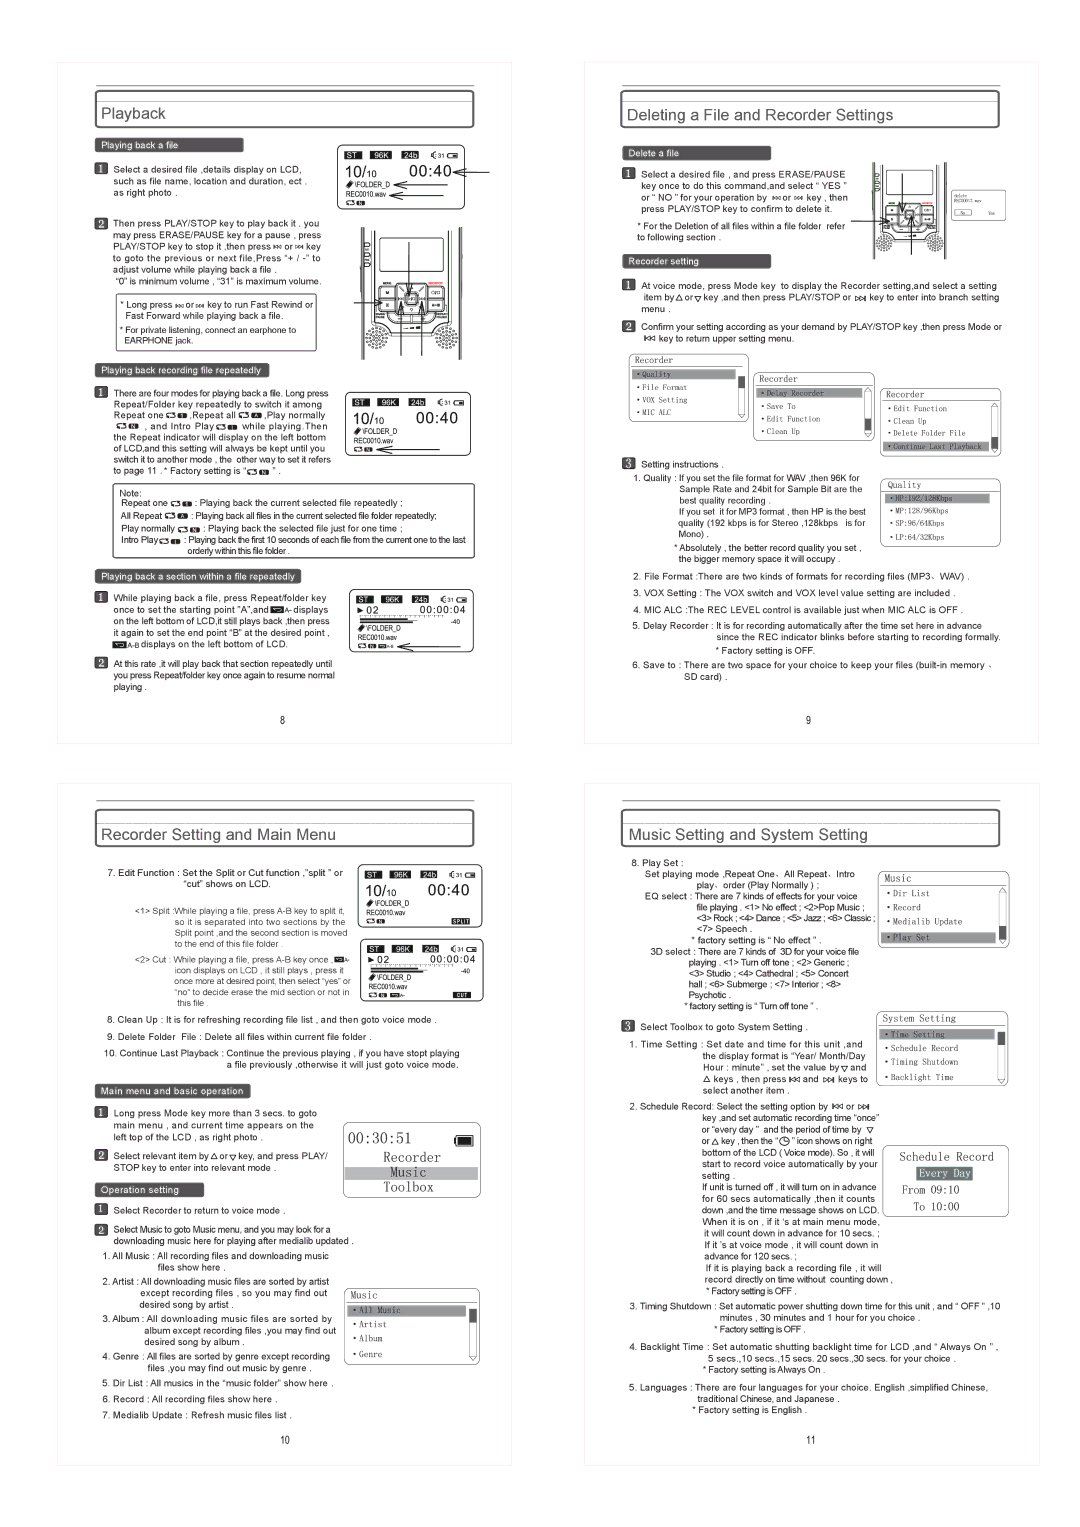
Select a desired file ,details display on LCD, such as file name, location and duration, ect . as right photo .
Then press PLAY/STOP key to play back it . you may press ERASE/PAUSE key for a pause , press PLAY/STOP key to stop it ,then press ![]()
![]()
![]()
![]() or
or ![]()
![]()
![]()
![]() key to goto the previous or next file,Press “+ /
key to goto the previous or next file,Press “+ /
“0” is minimum volume , “31” is maximum volume.
* Long press ![]()
![]()
![]()
![]() or
or ![]()
![]()
![]()
![]() key to run Fast Rewind or Fast Forward while playing back a file.
key to run Fast Rewind or Fast Forward while playing back a file.
* For private listening, connect an earphone to EARPHONE jack.
Playing back recording file repeatedly
There are four modes for playing back a file. Long press Repeat/Folder key repeatedly to switch it among
Repeat one 

 ,Repeat all

 ,Play normally
![]()
![]()
![]() , and Intro Play
, and Intro Play ![]()
![]()
![]() while playing.Then the Repeat indicator will display on the left bottom of LCD,and this setting will always be kept until you switch it to another mode , the other way to set it refers
while playing.Then the Repeat indicator will display on the left bottom of LCD,and this setting will always be kept until you switch it to another mode , the other way to set it refers
to page 11 . * Factory setting is “![]()
![]()
![]() ” .
” .
Note:
Repeat one ![]()
![]()
![]() : Playing back the current selected file repeatedly ;
: Playing back the current selected file repeatedly ;
All Repeat ![]()
![]()
![]() : Playing back all files in the current selected file folder repeatedly;
: Playing back all files in the current selected file folder repeatedly;
Play normally | : Playing back the selected file just for one time ; |
Intro Play | : Playing back the first 10 seconds of each file from the current one to the last |
| orderly within this file folder . |
Playing back a section within a file repeatedly
While playing back a file, press Repeat/folder key
once to set the starting point ”A”,and ![]()
![]() displays on the left bottom of LCD,it still plays back ,then press it again to set the end point “B” at the desired point ,
displays on the left bottom of LCD,it still plays back ,then press it again to set the end point “B” at the desired point ,
![]()
![]()
![]() displays on the left bottom of LCD.
displays on the left bottom of LCD.
At this rate ,it will play back that section repeatedly until you press Repeat/folder key once again to resume normal playing .
Deleting a File and Recorder Settings
Delete a file
Select a desired file , and press ERASE/PAUSE key once to do this command,and select “ YES ” or “ NO ” for your operation by ![]()
![]()
![]()
![]() or
or ![]()
![]()
![]()
![]() key , then press PLAY/STOP key to confirm to delete it.
key , then press PLAY/STOP key to confirm to delete it.
* For the Deletion of all files within a file folder refer ![]()
![]()
![]()
![]()
![]()
![]()
![]()
![]()
![]()
![]()
![]()
![]()
![]()
![]() to following section .
to following section .![]()
![]()
![]()
![]()
![]()
![]()
![]()
![]()
![]()
![]()
Recorder setting
At voice mode, press Mode key to display the Recorder setting,and select a setting item by ![]() or
or ![]() key ,and then press PLAY/STOP or
key ,and then press PLAY/STOP or ![]()
![]()
![]() key to enter into branch setting menu .
key to enter into branch setting menu .
Confirm your setting according as your demand by PLAY/STOP key ,then press Mode or ![]()
![]()
![]() key to return upper setting menu.
key to return upper setting menu.
![]() Setting instructions .
Setting instructions .
1. Quality : If you set the file format for WAV ,then 96K for Sample Rate and 24bit for Sample Bit are the best quality recording .
If you set it for MP3 format , then HP is the best quality (192 kbps is for Stereo ,128kbps is for Mono) .
*Absolutely , the better record quality you set , the bigger memory space it will occupy .
2.File Format :There are two kinds of formats for recording files (MP3、WAV) .
3.VOX Setting : The VOX switch and VOX level value setting are included .
4.MIC ALC :The REC LEVEL control is available just when MIC ALC is OFF .
5.Delay Recorder : It is for recording automatically after the time set here in advance since the REC indicator blinks before starting to recording formally.
*Factory setting is OFF.
6.Save to : There are two space for your choice to keep your files
Recorder Setting and Main Menu
7. Edit Function : Set the Split or Cut function ,”split ” or “cut” shows on LCD.
<1> Split :While playing a file, press
<2> Cut : While playing a file, press ![]()
![]() icon displays on LCD , it still plays , press it once more at desired point, then select “yes” or “no” to decide erase the mid section or not in this file .
icon displays on LCD , it still plays , press it once more at desired point, then select “yes” or “no” to decide erase the mid section or not in this file .
8.Clean Up : It is for refreshing recording file list , and then goto voice mode .
9.Delete Folder File : Delete all files within current file folder .
10.Continue Last Playback : Continue the previous playing , if you have stopt playing a file previously ,otherwise it will just goto voice mode.
Main menu and basic operation
Long press Mode key more than 3 secs. to goto main menu , and current time appears on the left top of the LCD , as right photo .
Select relevant item by ![]() or
or ![]() key, and press PLAY/ STOP key to enter into relevant mode .
key, and press PLAY/ STOP key to enter into relevant mode .
Operation setting
 Select Recorder to return to voice mode .
Select Music to goto Music menu, and you may look for a downloading music here for playing after medialib updated .
1.All Music : All recording files and downloading music files show here .
2.Artist : All downloading music files are sorted by artist
except recording files , so you may find out desired song by artist .
3. Album : All downloading music files are sorted by album except recording files ,you may find out desired song by album .
4. Genre : All files are sorted by genre except recording files ,you may find out music by genre .
5.Dir List : All musics in the “music folder” show here .
6.Record : All recording files show here .
7.Medialib Update : Refresh music files list .
Music Setting and System Setting
8. Play Set :
Set playing mode ,Repeat One、All Repeat、Intro play、order (Play Normally ) ;
EQ select : There are 7 kinds of effects for your voice file playing . <1> No effect ; <2>Pop Music ;
<3> Rock ; <4> Dance ; <5> Jazz ; <6> Classic ; <7> Speech .
* factory setting is “ No effect ” . 3D select : There are 7 kinds of 3D for your voice file
playing . <1> Turn off tone ; <2> Generic ; <3> Studio ; <4> Cathedral ; <5> Concert hall ; <6> Submerge ; <7> Interior ; <8> Psychotic .
* factory setting is “ Turn off tone ” .
![]() Select Toolbox to goto System Setting .
Select Toolbox to goto System Setting .
1. Time Setting : Set date and time for this unit ,and the display format is “Year/ Month/Day Hour : minute” , set the value by ![]() and
and ![]() keys , then press
keys , then press ![]()
![]()
![]() and
and ![]()
![]()
![]() keys to
keys to
select another item .
2.Schedule Record: Select the setting option by ![]()
![]()
![]() or
or ![]()
![]()
![]() key ,and set automatic recording time “once” or “every day ” and the period of time by
key ,and set automatic recording time “once” or “every day ” and the period of time by ![]() or
or ![]() key , then the “
key , then the “![]() ” icon shows on right bottom of the LCD ( Voice mode). So , it will
” icon shows on right bottom of the LCD ( Voice mode). So , it will
start to record voice automatically by your setting .
If unit is turned off , it will turn on in advance for 60 secs automatically ,then it counts down ,and the time message shows on LCD. When it is on , if it ‘s at main menu mode, it will count down in advance for 10 secs. ; If it ’s at voice mode , it will count down in advance for 120 secs. ;
If it is playing back a recording file , it will record directly on time without counting down ,
*Factory setting is OFF .
3.Timing Shutdown : Set automatic power shutting down time for this unit , and “ OFF ” ,10
minutes , 30 minutes and 1 hour for you choice .
*Factory setting is OFF .
4.Backlight Time : Set automatic shutting backlight time for LCD ,and “ Always On ” , 5 secs.,10 secs.,15 secs. 20 secs.,30 secs. for your choice .
*Factory setting is Always On .
5.Languages : There are four languages for your choice. English ,simplified Chinese, traditional Chinese, and Japanese .
*Factory setting is English .