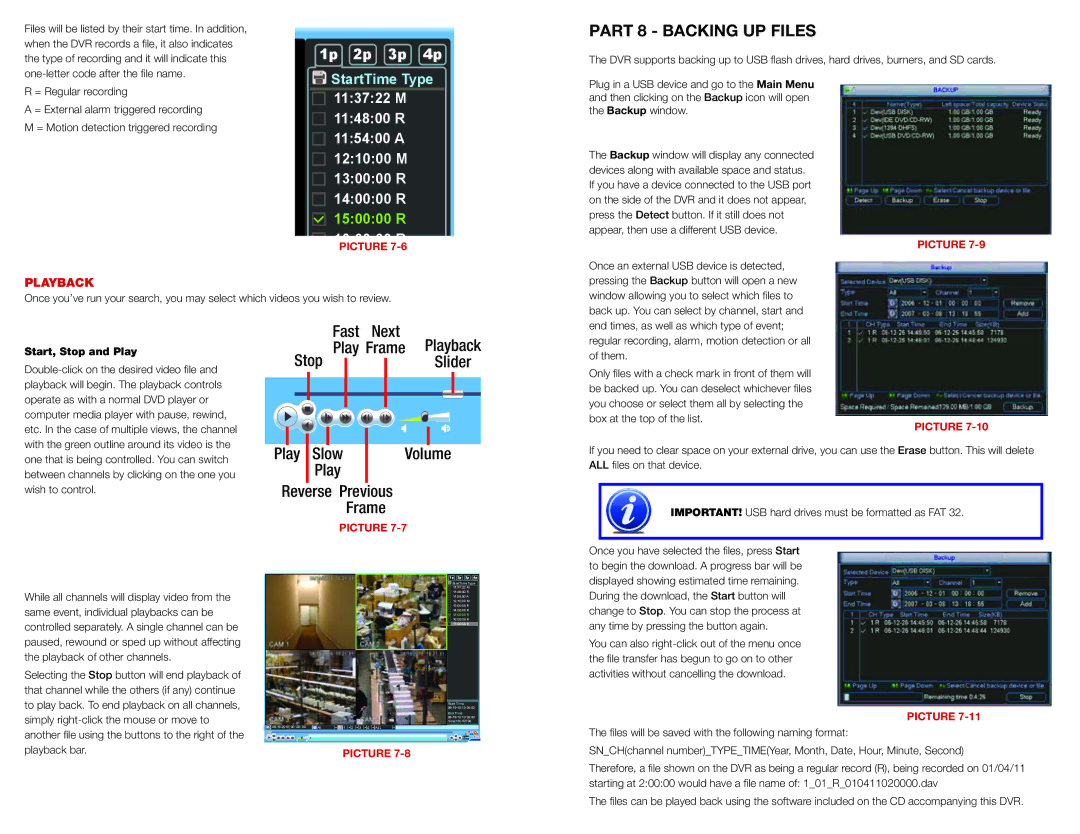
Files will be listed by their start time. In addition, when the DVR records a file, it also indicates the type of recording and it will indicate this
1p 2p 3p 4p
StartTime Type
PART 8 - BACKING UP FILES
The DVR supports backing up to USB flash drives, hard drives, burners, and SD cards.
R = Regular recording
A = External alarm triggered recording M = Motion detection triggered recording
PLAYBACK
11:37:22 M 11:48:00 R 11:54:00 A 12:10:00 M 13:00:00 R 14:00:00 R 15:00:00 R
16:00:00 R
PICTURE 7-6
Plug in a USB device and go to the Main Menu and then clicking on the Backup icon will open the Backup window.
The Backup window will display any connected devices along with available space and status. If you have a device connected to the USB port on the side of the DVR and it does not appear, press the Detect button. If it still does not appear, then use a different USB device.
Once an external USB device is detected, pressing the Backup button will open a new
PICTURE 7-9
Once you’ve run your search, you may select which videos you wish to review.
window allowing you to select which files to back up. You can select by channel, start and
Start, Stop and Play
Fast Next
Play Frame Playback
Stop ![]()
![]() Slider
Slider
|
|
|
|
|
|
|
|
|
|
|
|
|
|
Play | Slow |
| Volume | |||
|
| Play |
|
|
| |
Reverse Previous |
|
| ||||
|
|
| Frame |
|
| |
PICTURE 7-7
end times, as well as which type of event; regular recording, alarm, motion detection or all of them.
Only files with a check mark in front of them will be backed up. You can deselect whichever files you choose or select them all by selecting the box at the top of the list.
PICTURE 7-10
If you need to clear space on your external drive, you can use the Erase button. This will delete ALL files on that device.
IMPORTANT! USB hard drives must be formatted as FAT 32.
While all channels will display video from the same event, individual playbacks can be controlled separately. A single channel can be paused, rewound or sped up without affecting the playback of other channels.
Selecting the Stop button will end playback of that channel while the others (if any) continue to play back. To end playback on all channels, simply
All | CH 1 2 3 4 | ALL |
1p 2p 3p 4p
![]() StartTime Type
StartTime Type
11:37:22 M
11:48:00 R
11:54:00 A
12:10:00 M
13:00:00 R
14:00:00 R
15:00:00 R
16:00:00 R 17:00:00 R
Start Time
End Time
Once you have selected the files, press Start to begin the download. A progress bar will be displayed showing estimated time remaining. During the download, the Start button will change to Stop. You can stop the process at any time by pressing the button again.
You can also
PICTURE 7-11
The files will be saved with the following naming format:
playback bar.
PICTURE 7-8
SN_CH(channel number)_TYPE_TIME(Year, Month, Date, Hour, Minute, Second)
Therefore, a file shown on the DVR as being a regular record (R), being recorded on 01/04/11 starting at 2:00:00 would have a file name of: 1_01_R_010411020000.dav
The files can be played back using the software included on the CD accompanying this DVR.