Manuals
/
Q-See
/
Household Appliance
/
Home Security System
Q-See
QS218-811
manual
Q-Seequick Installation Guide, MODEL NUMBER QS218-411
Models:
QS218-811
1
6
10
10
Download
10 pages
30.42 Kb
3
4
5
6
7
8
9
10
Install
Customer Service
Page 6
Image 6
Page 5
Page 7
Page 6
Image 6
Page 5
Page 7
Contents
Quick Installation Guide
8 Color CMOS Camera Kits Model QS218-811
MODEL NUMBER QS218-411
Q-SEEQUICK INSTALLATION GUIDE
PART 1 - PACKAGE CONTENTS
8 - Color CMOS Cameras with Stands
MODEL NUMBER QS218-411
PART 2 - DVR CAMERA AND POWER CONNECTIONS
Q-SEEQUICK INSTALLATION GUIDE
2 P a g e
MODEL NUMBER QS218-411
PART 4 - CONNECTING THE DVR TO YOUR TV
Q-SEEQUICK INSTALLATION GUIDE
3 P a g e
advance frame-by-frame
PART 5 - DVR CONTROLS FRONT PANEL
Increase reverse playback speed
Press to start playback
MODEL NUMBER QS218-411
Q-SEEQUICK INSTALLATION GUIDE
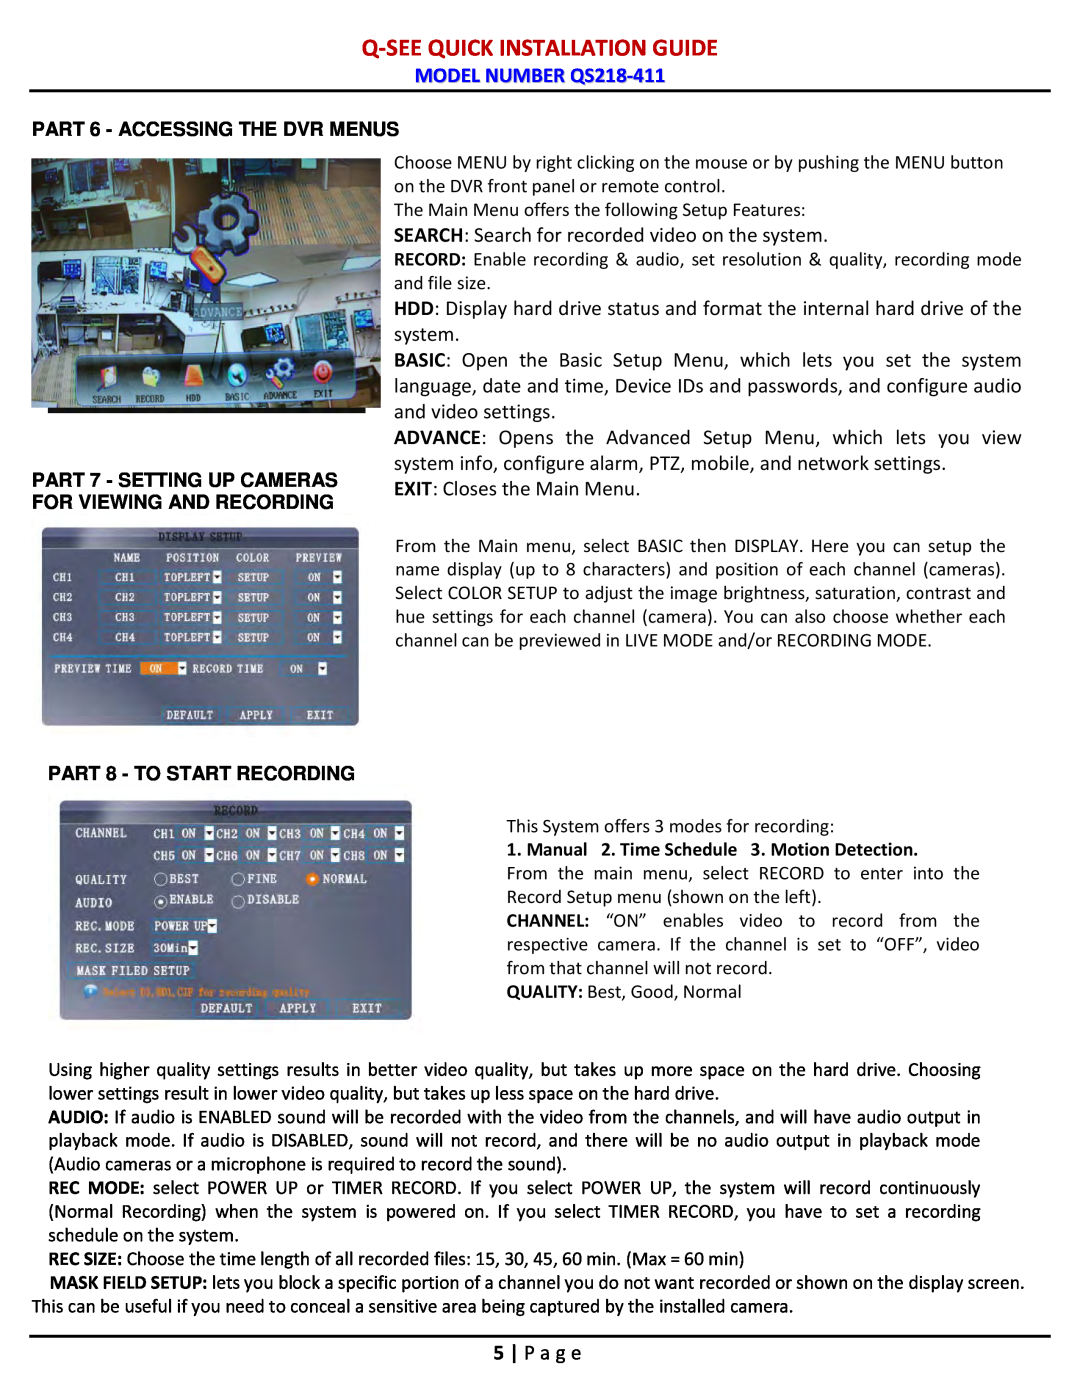
PART 6 - ACCESSING THE DVR MENUS
PART 8 - TO START RECORDING
Grid Explanation
Q-SEEQUICK INSTALLATION GUIDE
MODEL NUMBER QS218-411
Manual Recording
Searched Playback
Q-SEEQUICK INSTALLATION GUIDE
MODEL NUMBER QS218-411
MODEL NUMBER QS218-411
PART 10 - BACKING UP THE VIDEO ON THE DVR
Q-SEEQUICK INSTALLATION GUIDE
8 P a g e
Anaheim, CA
Phone
8015 E. Crystal Dr
REVISED 9/2/2010
Top
Page
Image
Contents