DSetting up the DVR to Backup Files
NOTE: If you stop recording while backing up the files, the backup will go faster.
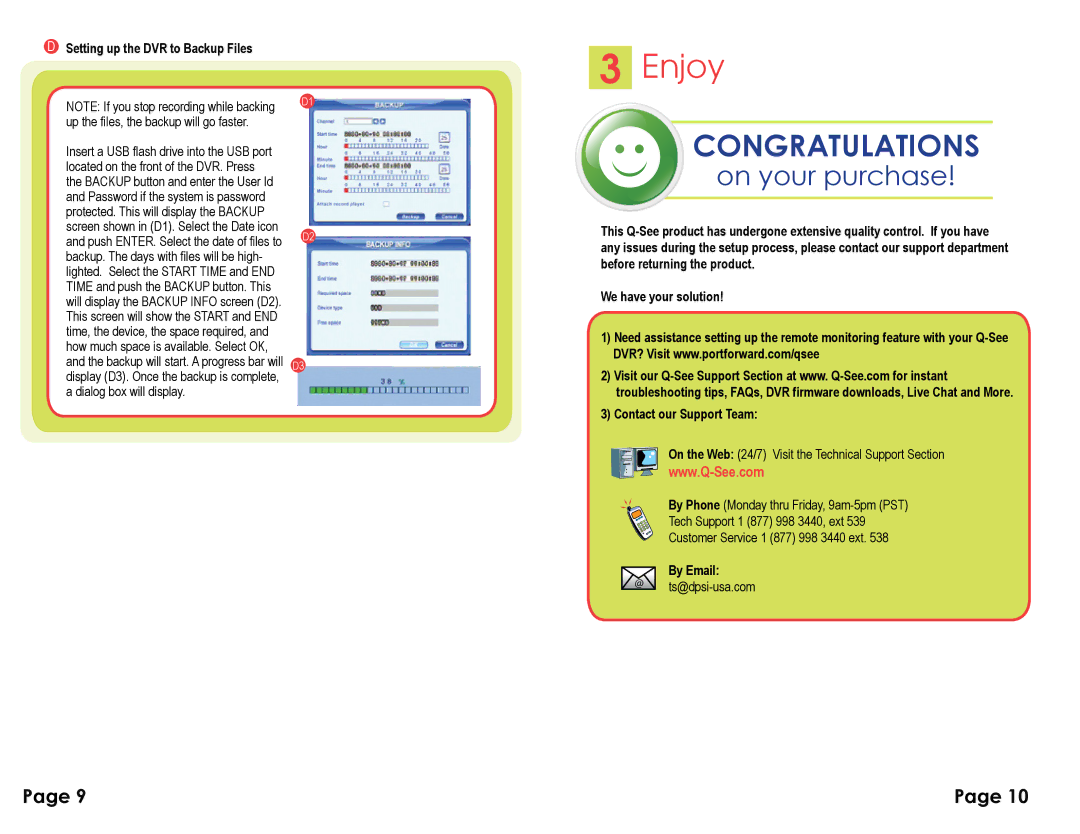
Insert a USB flash drive into the USB port located on the front of the DVR. Press the BACKUP button and enter the User Id and Password if the system is password protected. This will display the BACKUP screen shown in (D1). Select the Date icon and push ENTER. Select the date of files to backup. The days with files will be high- lighted. Select the START TIME and END TIME and push the BACKUP button. This will display the BACKUP INFO screen (D2). This screen will show the START and END time, the device, the space required, and how much space is available. Select OK, and the backup will start. A progress bar will display (D3). Once the backup is complete, a dialog box will display.
D1
D2
D3
3Enjoy
CONGRATULATIONS
on your purchase!
This
We have your solution!
1)Need assistance setting up the remote monitoring feature with your
2)Visit our
3)Contact our Support Team:
On the Web: (24/7) Visit the Technical Support Section
By Phone (Monday thru Friday,
Tech Support 1 (877) 998 3440, ext 539
Customer Service 1 (877) 998 3440 ext. 538
@ | By Email: | |
|
Page 9 | Page 10 |
