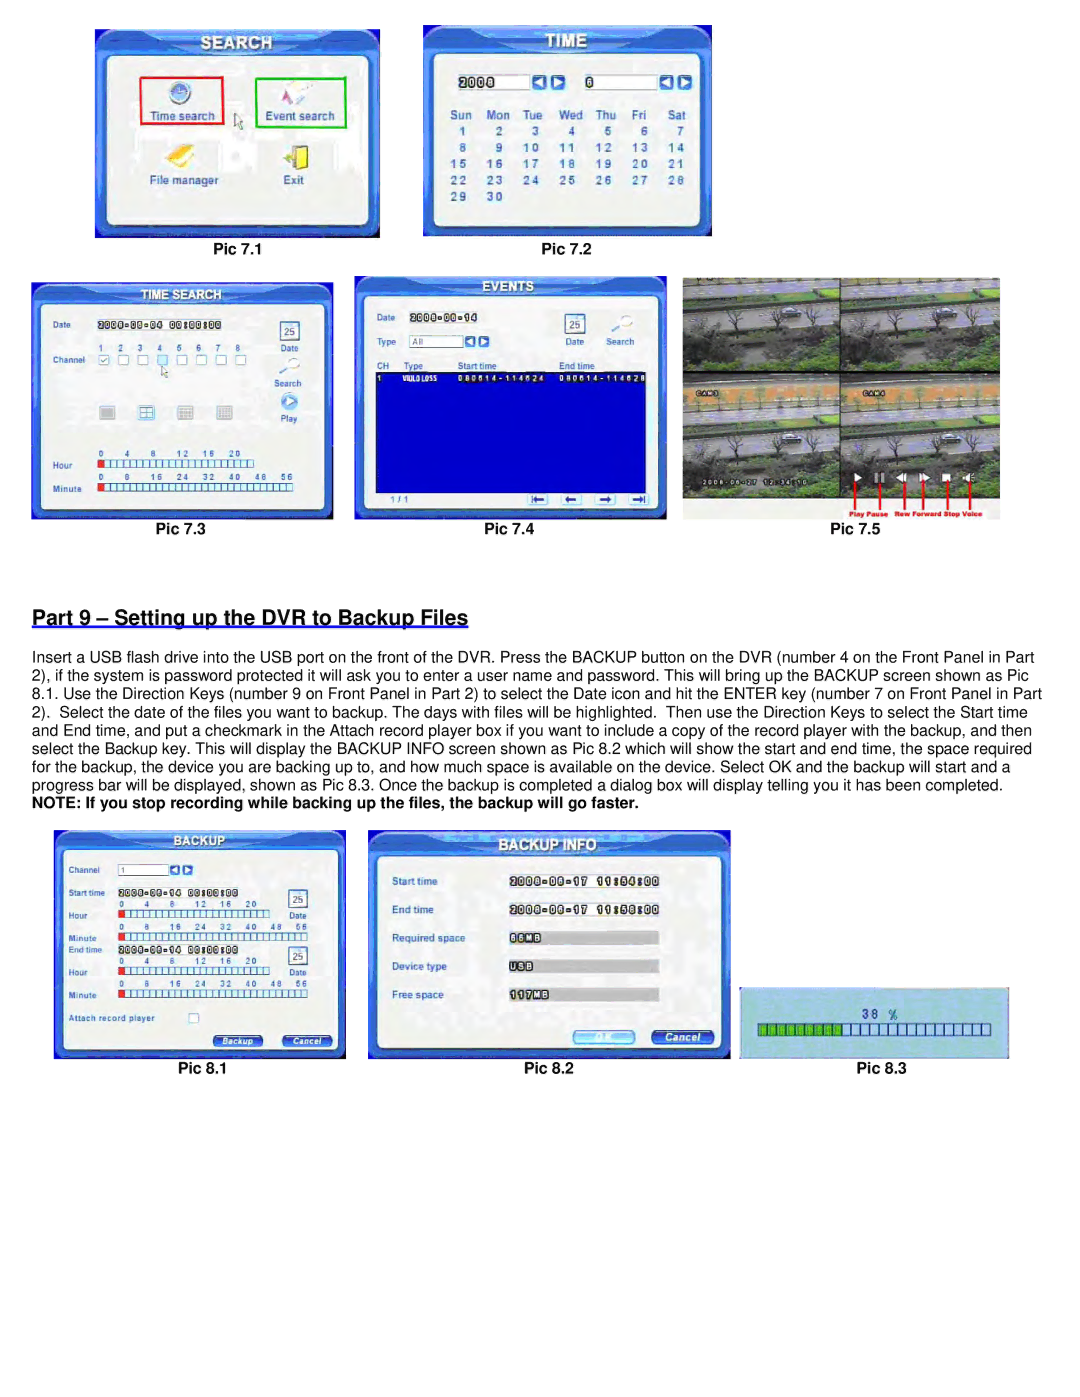
Pic 7.1 | Pic 7.2 |
Pic 7.3 | Pic 7.4 | Pic 7.5 |
Part 9 – Setting up the DVR to Backup Files
Insert a USB flash drive into the USB port on the front of the DVR. Press the BACKUP button on the DVR (number 4 on the Front Panel in Part 2), if the system is password protected it will ask you to enter a user name and password. This will bring up the BACKUP screen shown as Pic
8.1.Use the Direction Keys (number 9 on Front Panel in Part 2) to select the Date icon and hit the ENTER key (number 7 on Front Panel in Part 2). Select the date of the files you want to backup. The days with files will be highlighted. Then use the Direction Keys to select the Start time and End time, and put a checkmark in the Attach record player box if you want to include a copy of the record player with the backup, and then select the Backup key. This will display the BACKUP INFO screen shown as Pic 8.2 which will show the start and end time, the space required for the backup, the device you are backing up to, and how much space is available on the device. Select OK and the backup will start and a progress bar will be displayed, shown as Pic 8.3. Once the backup is completed a dialog box will display telling you it has been completed.
NOTE: If you stop recording while backing up the files, the backup will go faster.
Pic 8.1 | Pic 8.2 | Pic 8.3 |
