."%#76+10".

#18"5GNGEVQT

YKVJ"%QORQUKVG"5/8KFGQ"%QPXGTUKQP

15-1977

OWNER’S MANUAL — Please read before using this equipment.

%106'065

Preparation

1

Placing The Selector

1

Connecting Devices

1

Operation

3

Manually Operating the Selector

3

Using the Learning Function

3

Using the Remote Control


to Operate the Selector

3

Troubleshooting

3

Care

3

Service and Repair

4

Specifications

4

#"+/2146#06"#

If an icon appears at the end of a paragraph, go to the box on that page with the corresponding icon for pertinent information.

— Warning

# — Important

. — Caution

° — Hint

±— Note

WARNING:

To reduce the risk the of fire or shock hazard, do not expose this product to rain or moisture.

.CAUTION.

!

The lightning symbol is intended to alert

you to the presence of uninsulated danger-

RISK OF ELECTRIC SHOCK

ous voltage within this product’s enclo-


sure that might be of sufficient magnitude

DO NOT OPEN


to constitute a risk of electric shock. Do


not open the product’s case.

CAUTION: TO REDUCE THE RISK OF


ELECTRIC SHOCK, DO NOT REMOVE


The exclamation symbol is intended to in-


form you that important operating and

COVER OR BACK. NO USER-SERVICE-

!

ABLE PARTS INSIDE. REFER SERVIC-

maintenance instructions are included in

ING TO QUALIFIED PERSONNEL.


the literature accompanying this product.


#"+/2146#06"#

If you place the selector on the top of your TV, electromagnetic interference from the TV might distort the sound from any devices connected to the selector. If this happens, move the selector away from the TV.

RYou must use a Class 2 power source that supplies 9V DC and delivers 500 mA. Its center tip must be set to negative and its plug must fit the selector’s DC 9V jack. The supplied adapter meets these specifications. Using an adapter that does not meet these specifications could damage the selector or the adapter.

Always connect the AC adapter to the selector before you connect it to AC power.

When you finish, disconnect the adapter from AC power before you disconnect it from the selector.

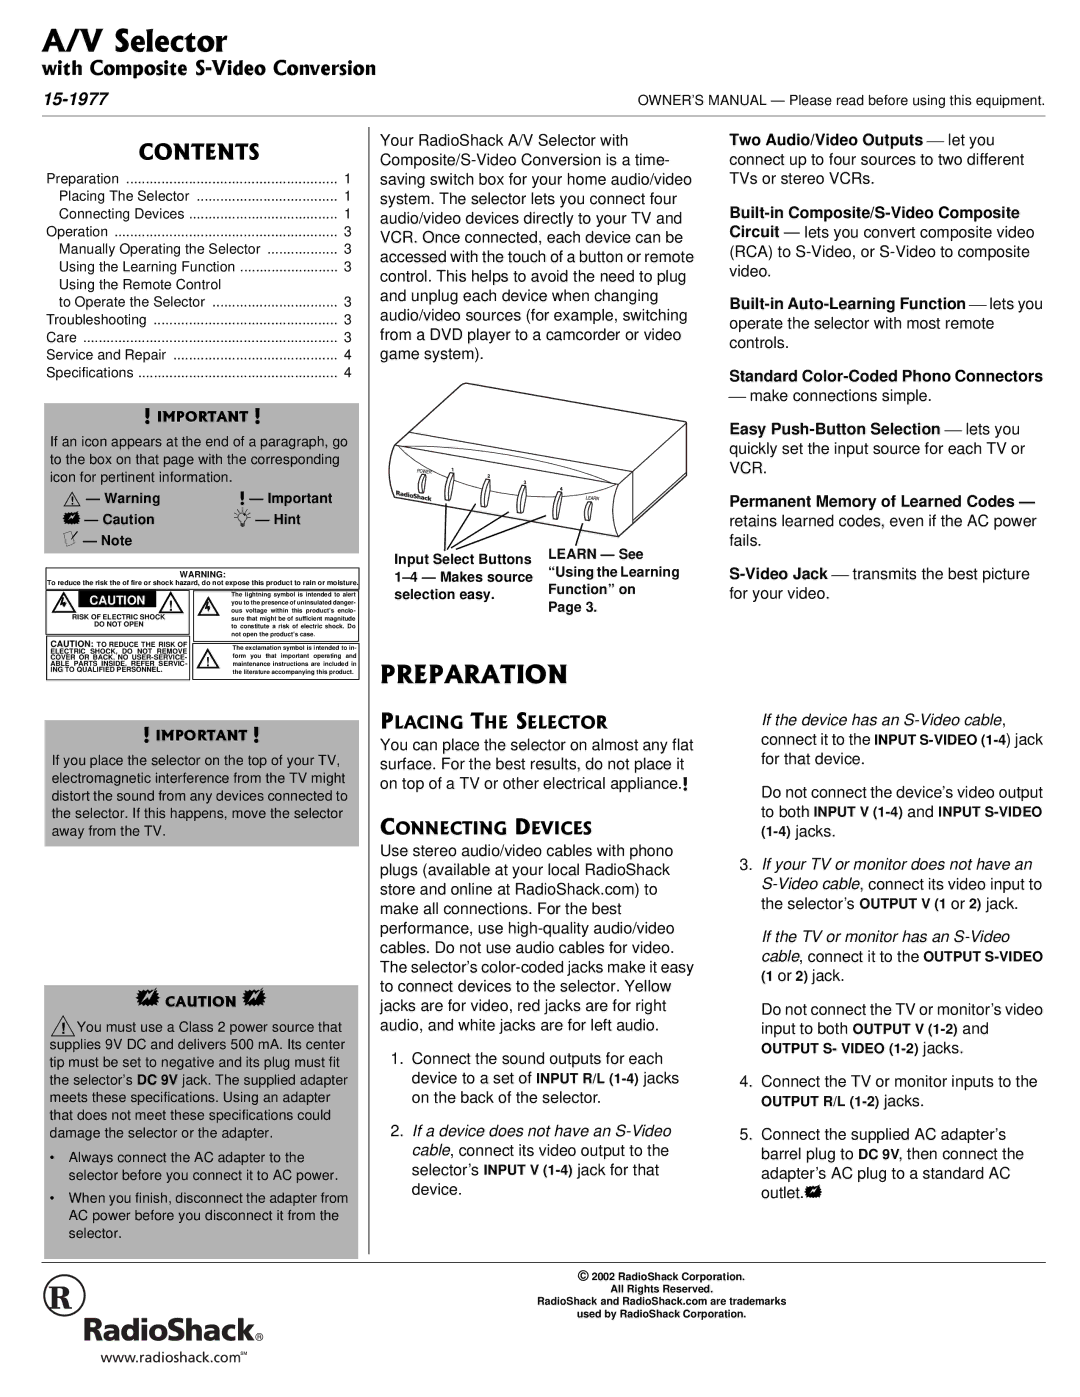
Your RadioShack A/V Selector with Composite/S-Video Conversion is a time- saving switch box for your home audio/video system. The selector lets you connect four audio/video devices directly to your TV and VCR. Once connected, each device can be accessed with the touch of a button or remote control. This helps to avoid the need to plug and unplug each device when changing audio/video sources (for example, switching from a DVD player to a camcorder or video game system).

Input Select Buttons

LEARN — See

“Using the Learning

1–4 — Makes source

Function” on

selection easy.

Page 3.


24'2#4#6+10

2.#%+0)"6*'"5'.'%614

You can place the selector on almost any flat surface. For the best results, do not place it on top of a TV or other electrical appliance.#

%100'%6+0)"&'8+%'5

Use stereo audio/video cables with phono plugs (available at your local RadioShack store and online at RadioShack.com) to make all connections. For the best performance, use high-quality audio/video cables. Do not use audio cables for video. The selector’s color-coded jacks make it easy to connect devices to the selector. Yellow jacks are for video, red jacks are for right audio, and white jacks are for left audio.

1.Connect the sound outputs for each device to a set of INPUT R/L (1-4)jacks on the back of the selector.

2.If a device does not have an S-Video cable, connect its video output to the selector’s INPUT V (1-4)jack for that device.

Two Audio/Video Outputs let you connect up to four sources to two different TVs or stereo VCRs.

Built-in Composite/S-Video Composite Circuit — lets you convert composite video

(RCA) to S-Video, or S-Video to composite video.

Built-in Auto-Learning Function lets you operate the selector with most remote controls.

Standard Color-Coded Phono Connectors

make connections simple.

Easy Push-Button Selection lets you quickly set the input source for each TV or VCR.

Permanent Memory of Learned Codes —

retains learned codes, even if the AC power fails.

S-Video Jack transmits the best picture for your video.

If the device has an S-Video cable, connect it to the INPUT S-VIDEO(1-4) jack for that device.

Do not connect the device’s video output to both INPUT V (1-4) and INPUT S-VIDEO (1-4) jacks.

3.If your TV or monitor does not have an S-Video cable, connect its video input to the selector’s OUTPUT V (1 or 2) jack.

If the TV or monitor has an S-Video cable, connect it to the OUTPUT S-VIDEO (1 or 2) jack.

Do not connect the TV or monitor’s video input to both OUTPUT V (1-2)and

OUTPUT S- VIDEO (1-2) jacks.

4.Connect the TV or monitor inputs to the

OUTPUT R/L (1-2) jacks.

5.Connect the supplied AC adapter’s barrel plug to DC 9V, then connect the

adapter’s AC plug to a standard AC outlet..

© 2002 RadioShack Corporation.

All Rights Reserved.

RadioShack and RadioShack.com are trademarks

used by RadioShack Corporation.

Page 1
Image 1
Radio Shack 15-1977 owner manual 242#4#6+10, #%+06*5.%614, 100%6+0&8+%5

15-1977 specifications

The Radio Shack 15-1977, a digital multimeter, has garnered a notable reputation among electronics enthusiasts and DIYers since its release. Positioned as an affordable yet reliable tool, the 15-1977 is known for its comprehensive functionality, making it an ideal choice for hobbyists, technicians, and students alike.

One of the key features of the 15-1977 is its ease of use. Designed with a clear and readable LCD display, users can easily monitor voltage, current, and resistance measurements. The display features a large digit readout, ensuring that results are visible even in less-than-ideal lighting conditions. This usability aspect makes it a preferred choice for those who may not have extensive experience handling multimeters.

The 15-1977 supports a wide range of measurement capabilities. It can measure AC and DC voltages up to 1000 volts, providing versatility for various applications, whether in automotive work or basic household electrical tasks. Additionally, it can measure current up to 10 amps, accommodating both low and moderate power circuits. Resistance measurement, which is essential for troubleshooting and circuit testing, is available up to 20 megohms.

Another notable characteristic of the Radio Shack 15-1977 is its diode and continuity testing functions. These features allow users to test and verify the integrity of components and circuits, making it an indispensable tool for those involved in electronics repairs.

In terms of build quality, the 15-1977 is compact and portable, designed with a rugged casing that can withstand the occasional drop or bump. Featuring a rubberized grip surface, it ensures that the device remains steady in hand during use. This focus on practicality is complemented by its battery life; the multimeter typically uses a standard 9-volt battery, allowing for extended periods of use without the hassle of frequent battery replacements.

Moreover, the Radio Shack 15-1977 is equipped with a hold function, enabling users to freeze the displayed measurement for easier reading and recording. This is particularly useful for those working in cramped spaces where adjusting the position of the multimeter may be challenging.

In summary, the Radio Shack 15-1977 combines functionality, reliability, and user-friendliness, making it a quintessential tool for anyone engaged in electrical testing or repair. Whether for professional use or hobbyist projects, this multimeter continues to be a valuable addition to any toolkit.