Preparation

Preparation

Placing the Amplifier

Put your amplifier to a place with adequate ventilation. Do not put it on thick carpeting (which can restrict air flow) or near a heat source, such as a heat vent or radiator (which can cause overheating).

Placing Speakers

Speaker placement depends on your room’s size and arrangement. We recommend you play a wide-range recording and experiment with speaker placement until you find the locations that result in best sound. For best results, point the speakers toward the listeners, especially if you place the speakers far apart so their coverage areas overlap. This prevents dead spots (areas not covered by the speakers’ sound). Position the speakers slightly above the level of the listeners’ heads, and be sure you have determined the correct speaker impedance (see “Total Speaker Impedance” on Page 9).

Presetting the Controls

Before you begin making connections or using your amplifier, preset the audio input and amplifier controls to avoid overdriving a channel or producing extremely loud, unpleasant sound.

Presetting the Audio Input Sources

Set the audio input controls to these levels.

Audio Device

Control

Setting

Turntable

Power

Off

Tape Deck

Power

Off

CD Player

Power

Off

Amplifier Receiver

Power,

Off,

Tone

Flat


Presetting the Amplifier

After you turn on the amplifier or change the program source, set the controls to a comfortable listening level.

Warning: To prevent possible hearing damage, set the amplifier’s controls to the levels below.


Control

Setting


Power

Off


MIC 1, MIC 2, PHONO/AUX

MIN


100 Hz, 1 kHz, 8 kHz

0 dB (mid-position)


MASTER VOLUME

MIN


Preparation

Tips for Speaker Connection

You can connect one or more 4Ÿ, 8Ÿ, or 16Ÿ speakers (not supplied) to the amplifier, with or without transformers. To ensure equal volume from each speaker, all the speakers connected (in series or parallel) without line transformers should have the same impedance rating.

Total Speaker Impedance

Before you connect speakers to the amplifier, determine the speaker connection mode: in series, in parallel, or in series and parallel combination, then determine the total speaker impedance.

For connections in series, the total impedance is the sum of the impedances of all the speakers connected. For example, if you connect three 4Ÿ speakers in series, the total speaker impedance is 12Ÿ.

For connections in parallel, the total impedance is the quotient of the impedance of one speaker divided by the number of speakers. For example, if you connect two 8Ÿ speakers in parallel, the total speaker impedance is 4Ÿ.

Important: If you connect more than two speakers in series only or in parallel only, be sure the total impedance does not exceed the amplifier’s maximum impedance (16Ÿ) or fall below the minimum impedance (4Ÿ). A total speaker impedance higher than 16Ÿ or lower than 4Ÿ can damage your amplifier.

Note: You can achieve a proper total speaker impedance with a combination of connections in series and in parallel.

Proper Phasing

Proper phasing is important when you use more than one speaker in the same room or area. Out-of-phase speakers can lose up to half of their potential volume, and can have a significantly decreased bass effect. Proper phasing occurs when speakers are set to allow sound to flow in the same direction.

About Speaker Terminals

Most speaker terminals are color-coded or have a symbol that indicates the terminal’s polarity: red (+) = positive; black (–) = negative. Phasing is correct when you connect this way: speaker’s negative terminal to amplifier’s COM terminal (–), speaker’s positive terminal to amplifier’s other terminals.

Determining the Speaker Wire Length

Use the shortest length of wire possible to connect the speakers. After placing the speakers in the desired locations, determine the wire length and choose the appropriate gauge size.

If wire length is 25 feet (7.6 meters) or less, wire gauge is 18.

If wire length is over 25 feet, wire gauge is 16.

If you connect speakers without transformers, the speaker wire should be no longer than 50 feet (15.24 meters).

8

9

Page 5
Image 5
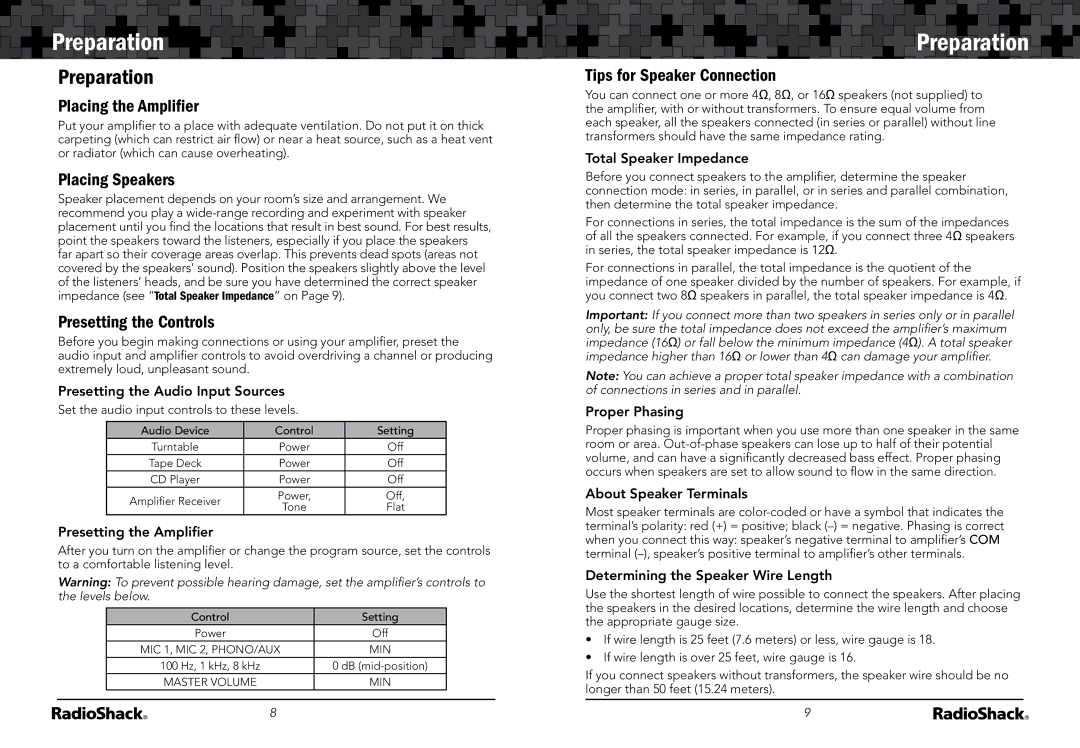
Radio Shack 32-2054 manual Preparation

32-2054 specifications

The Radio Shack 32-2054 is a versatile and practical digital multimeter designed for both amateur and professional use. As an essential tool for anyone involved in electronics, the 32-2054 effectively combines ease of use with a host of advanced features suitable for a variety of measuring tasks.

One of the standout features of the 32-2054 is its ability to measure a wide range of electrical parameters, including voltage, current, and resistance. It supports both AC and DC measurements, making it suitable for testing batteries, household appliances, and even automotive electrical systems. The clear digital display provides easy reading of measurements, allowing users to work efficiently without straining their eyes.

The device boasts an impressive range of measurement capabilities. For voltage, it can handle up to 600 volts in both AC and DC modes. When measuring current, the multimeter can assess up to 10 amps, while resistance ranges from a few ohms to megaohms. This extensive range makes it invaluable for troubleshooting circuits, diagnosing issues, and performing maintenance on various electronic devices.

A notable characteristic of the Radio Shack 32-2054 is its user-friendly design. It is lightweight and compact, enabling portability for taking measurements in different locations. The rotary switch allows for quick selection between different measurement functions. The backlit display ensures visibility even in low-light conditions, enhancing usability.

In terms of safety, the 32-2054 meets significant standards, with overload protection to prevent damage during high current or voltage measurements. It is also designed with a built-in beeper that alerts users to any erroneous connections or out-of-range measurements, helping to prevent accidents and ensuring accurate data collection.

With battery operation, the multimeter offers convenience and flexibility. Its long battery life means that users can trust the device for extended projects without the constant need for battery replacement. The Radio Shack 32-2054 is a reliable companion for electronics enthusiasts, hobbyists, and professionals alike, bringing precision and simplicity to the world of electrical measurement.