8314/+PEJ"5VGTGQ"%GKNKPI"5RGCMGT
| OWNER’S MANUAL — Please read before using this equipment. |
|
|
#"+/2146#06"#
If an icon appears at the end of a paragraph, go to the box on that page with the corresponding icon for pertinent information.
Rý— Warning | # — Important |
. — Caution | ° — Hint |
± — Note |
|
Your RadioShack 6
just one speaker. Your speaker can handle up to 80 watts of music power. The
±"016'"±"
Do not paint the speaker element. We recommend you
."%#76+10".
Be sure not to cut into any existing wiring or plumbing hidden behind the wall.
+056#..#6+10
24'2#4+0)"6*'".1%#6+10
To mount your speaker, you need the following items (not supplied, available at your local RadioShack or online at RadioShack.com).
•drywall or keyhole saw
•wire stripper
•Phillips screwdriver
•pencil or marker
•
1.Be sure the mounting surface is between 3/8 inch and 11/4 inch thick, with at least a
2
2.Remove the inner cardboard disc from the supplied template/paint mask and keep it for later. Use the outer portion as a template to mark the cutout hole size and location for mounting the speaker.
3.Use a drywall or keyhole saw to cut the hole..
24'2#4+0)"6*'"52'#-'4
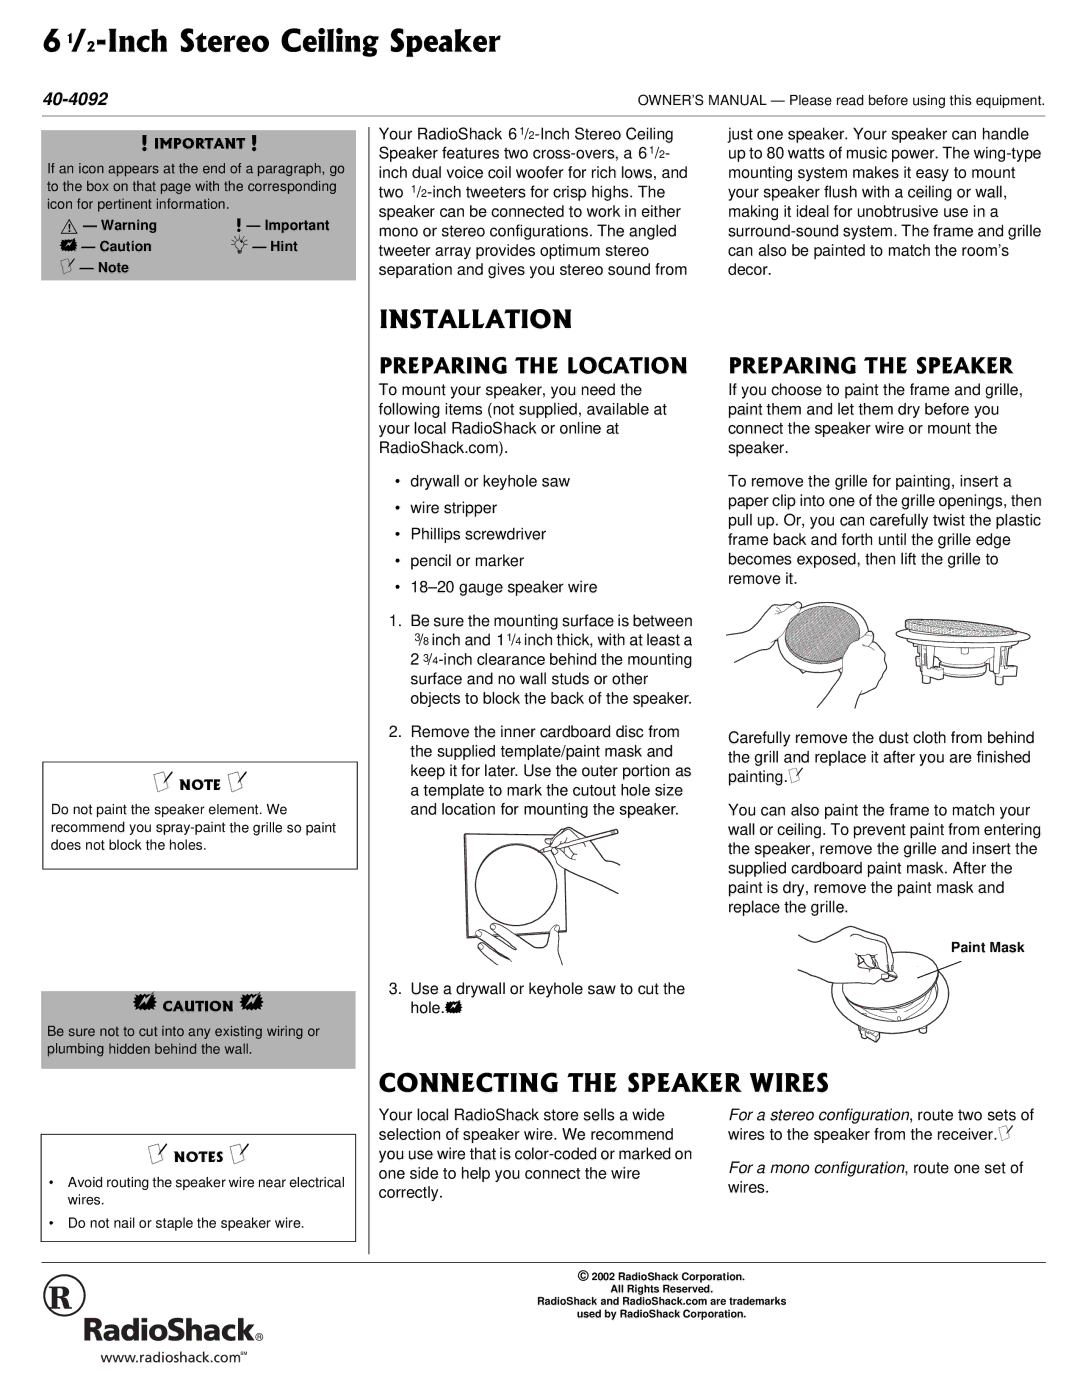
If you choose to paint the frame and grille, paint them and let them dry before you connect the speaker wire or mount the speaker.
To remove the grille for painting, insert a paper clip into one of the grille openings, then pull up. Or, you can carefully twist the plastic frame back and forth until the grille edge becomes exposed, then lift the grille to remove it.
Carefully remove the dust cloth from behind the grill and replace it after you are finished painting.±
You can also paint the frame to match your wall or ceiling. To prevent paint from entering the speaker, remove the grille and insert the supplied cardboard paint mask. After the paint is dry, remove the paint mask and replace the grille.
Paint Mask
±"016'5"±"
•Avoid routing the speaker wire near electrical wires.
•Do not nail or staple the speaker wire.
%100'%6+0)"6*'"52'#-'4"9+4'5
Your local RadioShack store sells a wide | For a stereo configuration, route two sets of | |
selection of speaker wire. We recommend | wires to the speaker from the receiver.± | |
you use wire that is | For a mono configuration, route one set of | |
one side to help you connect the wire | ||
wires. | ||
correctly. | ||
|
© 2002 RadioShack Corporation.
All Rights Reserved.
RadioShack and RadioShack.com are trademarks
used by RadioShack Corporation.