Raypak 105B Burner Drawer Removal, GAS Valve Removal, Main Burner and Orifice Removal

Models: 105B

1 31
Download 31 pages 9.48 Kb
Page 21
Image 21

BURNER DRAWER REMOVAL

1.Shut off main electrical power switch to heater.

2.Shut off gas upstream of heater.

3.Remove front door.

4.Disconnect gas line from gas valve.

5.Remove (2) screws that mount burner tray to unit.

6.Disconnect wires that terminate at gas valve.

7.Slide out burner tray.

8.Reverse above procedure to reinstall.

GAS VALVE REMOVAL

1.Remove burner tray. (See burner tray removal procedure).

2.Disconnect pilot tubing from gas valve.

3.Remove gas valve with manifold from burner tray.

4.Remove manifold from gas valve.

5.Reverse above procedure to re-install.

MAIN BURNER AND ORIFICE REMOVAL

1.Remove burner drawer. (See burner drawer re- moval procedure).

2.Remove screws and burner hold down bracket.

NOTE: If the heat exchanger is sooted badly, the burner hold down bracket and spacer can become distorted from direct flame impingement and this usu- ally necessitates replacement of these parts.

3.Lift burners from slotted spacers and slide from orifices. Clean with a wire brush.

4.Orifices usually do not need to be replaced. To clean, run either copper wire or wood toothpick through orifice. Do not enlarge hole. To remove orifice, use a socket wrench and remove from manifold. DO NOT overtighten when reinstalling.

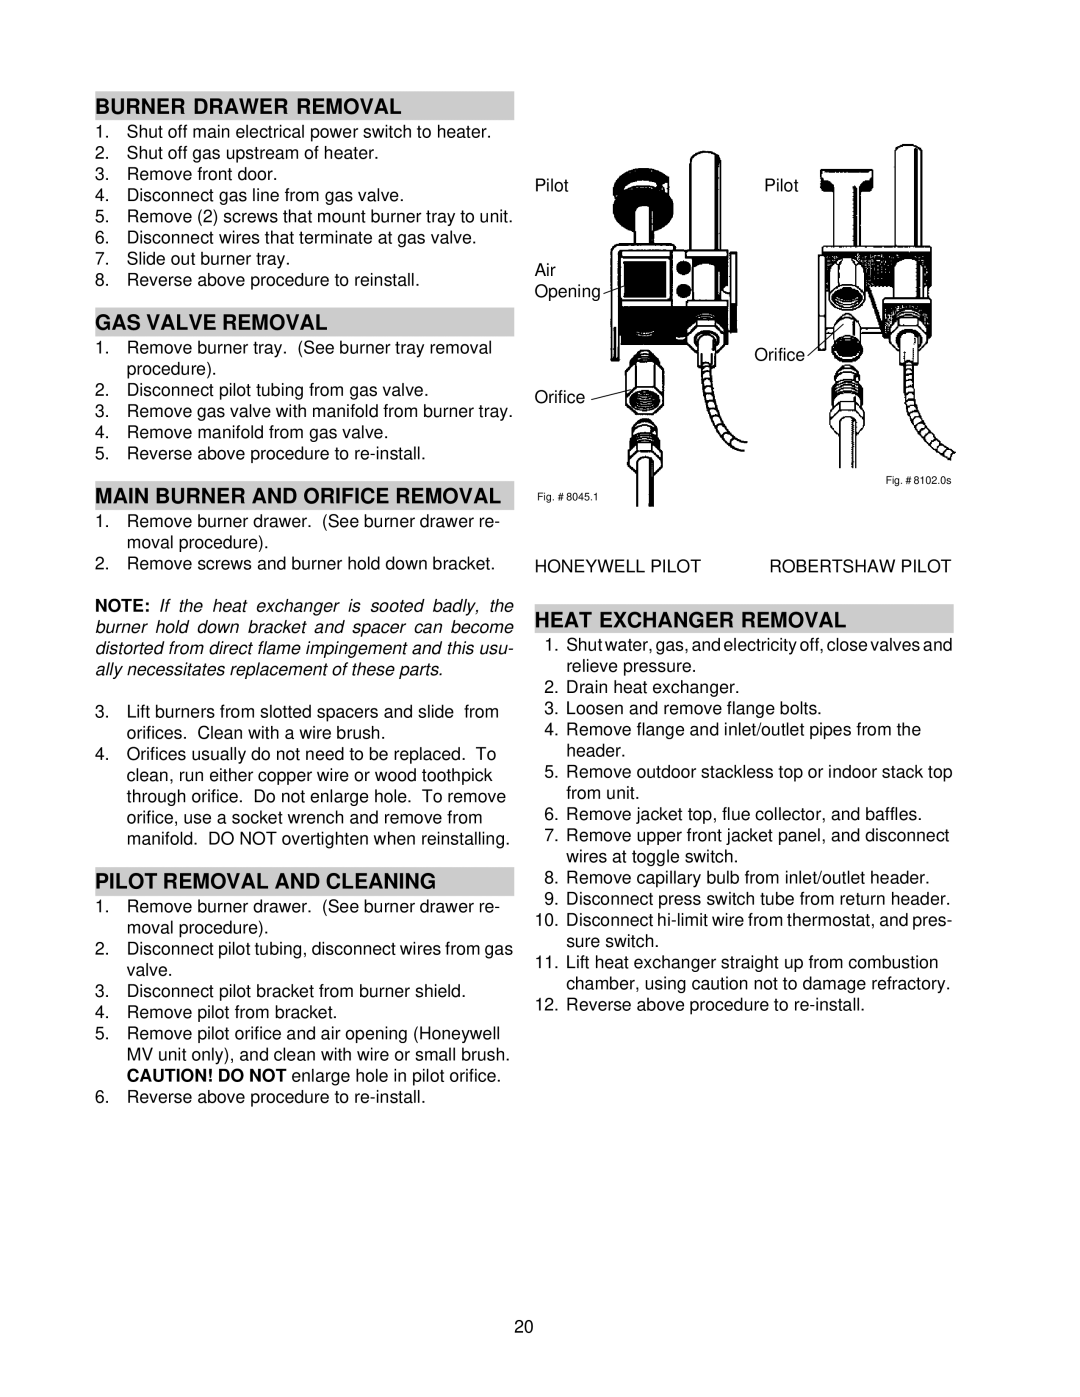
PILOT REMOVAL AND CLEANING

1.Remove burner drawer. (See burner drawer re- moval procedure).

2.Disconnect pilot tubing, disconnect wires from gas valve.

3.Disconnect pilot bracket from burner shield.

4.Remove pilot from bracket.

5.Remove pilot orifice and air opening (Honeywell MV unit only), and clean with wire or small brush. CAUTION! DO NOT enlarge hole in pilot orifice.

6.Reverse above procedure to re-install.

PilotPilot

Air

Opening

Orifice

Orifice

Fig. # 8102.0s

Fig. # 8045.1

HONEYWELL PILOT

ROBERTSHAW PILOT

HEAT EXCHANGER REMOVAL

1.Shut water, gas, and electricity off, close valves and relieve pressure.

2.Drain heat exchanger.

3.Loosen and remove flange bolts.

4.Remove flange and inlet/outlet pipes from the header.

5.Remove outdoor stackless top or indoor stack top from unit.

6.Remove jacket top, flue collector, and baffles.

7.Remove upper front jacket panel, and disconnect wires at toggle switch.

8.Remove capillary bulb from inlet/outlet header.

9.Disconnect press switch tube from return header.

10.Disconnect hi-limit wire from thermostat, and pres- sure switch.

11.Lift heat exchanger straight up from combustion chamber, using caution not to damage refractory.

12.Reverse above procedure to re-install.

20

Page 21
Image 21
Raypak 105B Burner Drawer Removal, GAS Valve Removal, Main Burner and Orifice Removal, Pilot Removal and Cleaning

105B specifications

Raypak 105B is a well-engineered boiler designed for various heating applications. Known for its efficiency and reliability, the Raypak 105B is a preferred choice among professionals in both residential and commercial settings.

One of the main features of the Raypak 105B is its compact design. Measuring in at a size that allows for easy installation, it is ideal for locations where space is at a premium. The unit's lightweight materials contribute to a reduced load on structural components of buildings, making it an efficient option for retrofits and new installations alike.

The Raypak 105B operates on advanced technology that ensures optimal performance and energy efficiency. The unit boasts a high thermal efficiency rating, which translates to lower operational costs for users. Its innovative control system monitors and adjusts the heating output, ensuring that the boiler operates at peak efficiency while maintaining comfort.

Another significant characteristic of the Raypak 105B is its built-in hydrostat. This feature automatically controls water temperature, providing a safeguard against overheating and improving overall safety. The unit's durable stainless steel heat exchanger enhances the longevity of the product while also resisting corrosion, a common issue in boiler systems.

In terms of environmental considerations, the Raypak 105B is designed to meet or exceed industry standards for emissions. This not only helps users comply with regulations but also contributes to a reduced carbon footprint. Additionally, the natural gas or propane options add versatility in terms of fuel choice, catering to a wide range of applications.

Ease of maintenance is another advantage offered by the Raypak 105B. The unit is designed to provide straightforward access to key components, minimizing operational downtime when servicing is needed. This thoughtful design element supports both residential and commercial needs, ensuring reliability in various settings.

In summary, the Raypak 105B stands out due to its compact design, high thermal efficiency, advanced control systems, and robust safety features. With its focus on longevity, ease of maintenance, and environmental compliance, the Raypak 105B continues to be a leading choice for efficient heating solutions in diverse applications. Its reputation for reliability makes it a trusted option for those in need of dependable heating solutions.