RCR350_NA_IB_REVB.qxd 8/23/04 10:12 AM Page 8
Testing the Code for
Maximum Functionality (continued)
1.Once the code has been stored (see Manual Code Search and Entry Method above), use the remote to attempt to control a variety of the component’s functions. If the code that has been stored controls the majority of the component’s functions, programming is complete. If the code stored does not give maximum functionality, you will want to try another code.
2.In that case, repeat the Manual Code Search and Entry Method from step 1. When the component turns off for the first time, do not press the STOP key, which would store the code. Instead, with the unit now off, continue to press the ON·OFF key repeatedly until the unit turns back on. Once the unit turns back on, you have found another code that operates the component. Press the STOP key.
3.Test the functionality again by attempting to control a variety of the component’s functions. If the code that has been stored controls the majority of the component’s functions, programming is complete. If the code stored does not give maximum functionality, you will want to try another code.
4.Repeat the Manual Code Search and Entry Method from step 1. Each time a code turns the component on or off, you have found a code that operates the remote and needs to be tested for maximum functionality. Continue through the code lists, cycling through the codes you have already tried, until you find one that offers maximum functionality.
Using the Remote to Control
Your Components
Because this remote controls more than one component, you must first “tell” the remote which component you wish to operate. That means, if you wish to operate your TV, you must first press the TV key to put the remote in the TV Mode.
The remote stays in the chosen component mode (such as TV Mode) until you change it. If your remote is in TV Mode, you must change the mode in order to operate your DVD or VCR, satellite receiver or cable box. For example, if you are in VCR Mode, and you wish to turn off your TV, you must press the TV key first before pressing the ON·OFF key.
On-screen Menus
Accessing and Selecting Menu Items
Today’s advanced components use
To use a component’s
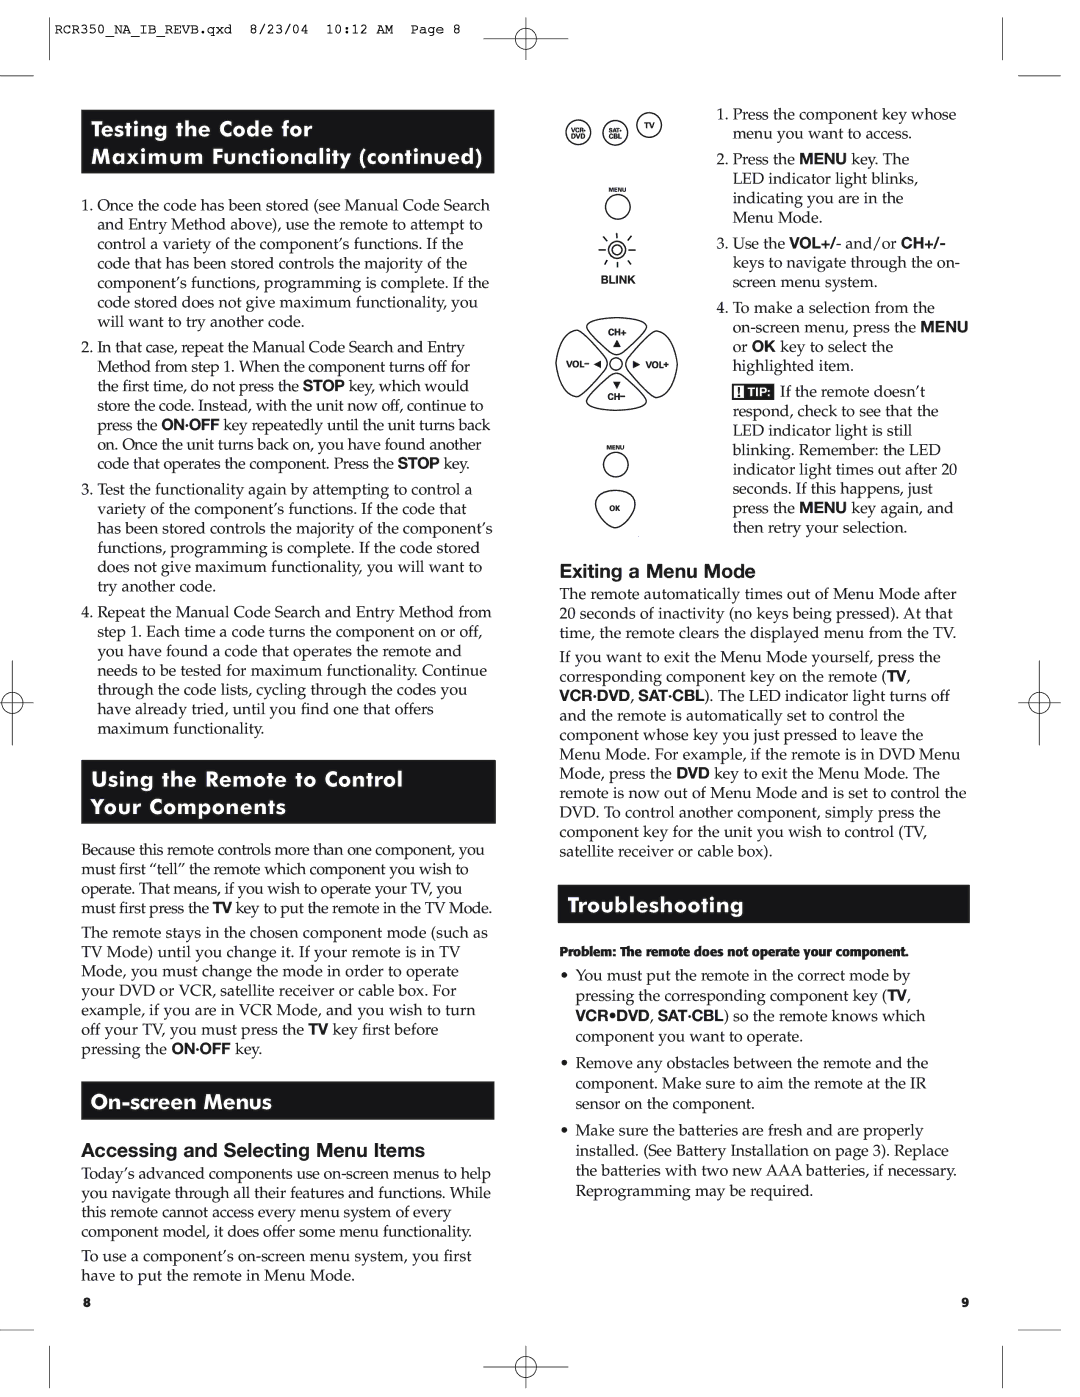
1. Press the component key whose menu you want to access.
2.Press the MENU key. The LED indicator light blinks, indicating you are in the Menu Mode.
3.Use the VOL+/- and/or CH+/-
| keys to navigate through the on- |
BLINK | screen menu system. |
4. To make a selection from the
! TIP: If the remote doesn’t respond, check to see that the LED indicator light is still blinking. Remember: the LED indicator light times out after 20 seconds. If this happens, just press the MENU key again, and then retry your selection.
Exiting a Menu Mode
The remote automatically times out of Menu Mode after 20 seconds of inactivity (no keys being pressed). At that time, the remote clears the displayed menu from the TV.
If you want to exit the Menu Mode yourself, press the corresponding component key on the remote (TV, VCR·DVD, SAT·CBL). The LED indicator light turns off and the remote is automatically set to control the component whose key you just pressed to leave the Menu Mode. For example, if the remote is in DVD Menu Mode, press the DVD key to exit the Menu Mode. The remote is now out of Menu Mode and is set to control the DVD. To control another component, simply press the component key for the unit you wish to control (TV, satellite receiver or cable box).
Troubleshooting
Problem: The remote does not operate your component.
•You must put the remote in the correct mode by pressing the corresponding component key (TV, VCR•DVD, SAT·CBL) so the remote knows which component you want to operate.
•Remove any obstacles between the remote and the component. Make sure to aim the remote at the IR sensor on the component.
•Make sure the batteries are fresh and are properly installed. (See Battery Installation on page 3). Replace the batteries with two new AAA batteries, if necessary. Reprogramming may be required.
8 | 9 |