RT2500, RT2500R specifications
The RCA RT2500R and RT2500 are innovative audio solutions designed to elevate your home entertainment experience. These systems embody state-of-the-art features, cutting-edge technologies, and user-friendly characteristics that fit seamlessly into any modern home.One of the standout features of the RCA RT2500R and RT2500 is their impressive sound quality. Utilizing advanced digital signal processing (DSP), these audio systems deliver crystal-clear sound reproduction with rich bass and balanced mids and highs. The systems are designed to support a wide range of audio formats, ensuring that you can enjoy your favorite music, movies, and games with impeccable clarity.
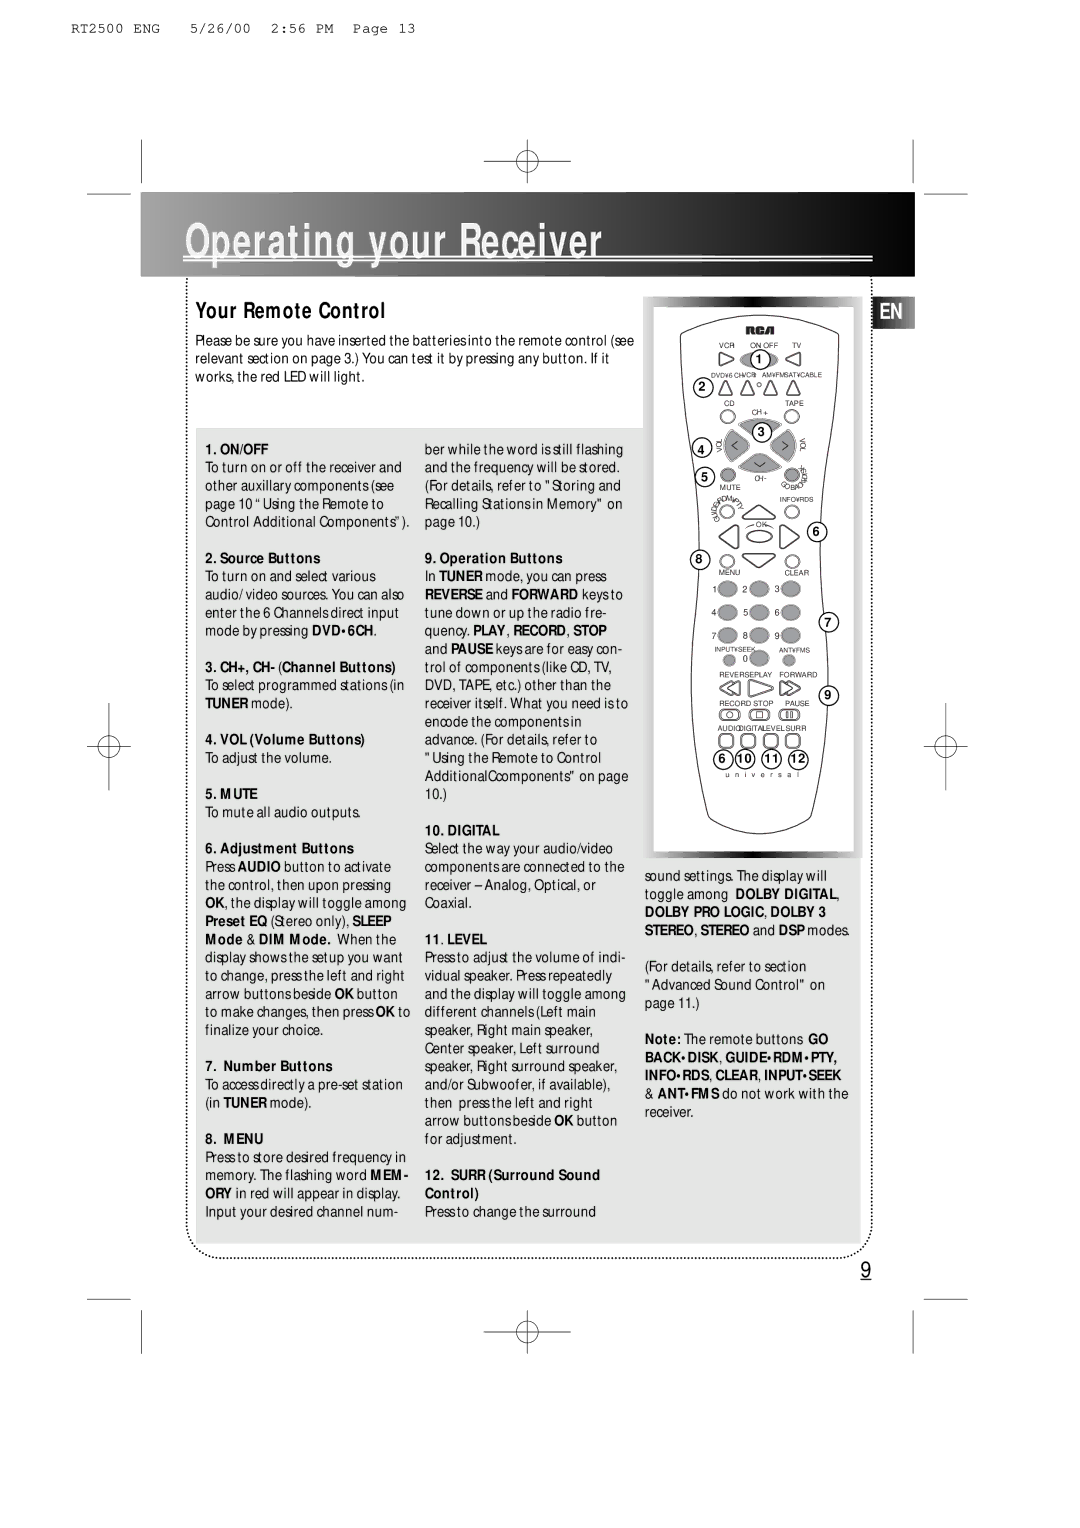
Connectivity is another key highlight of the RT2500 series. Both the RT2500R and RT2500 support multiple input options, including Bluetooth, optical, RCA, and USB inputs. This versatility allows users to connect a variety of devices, such as smartphones, tablets, computers, and gaming consoles, making it easy to stream music or audio directly from their favorite apps.
The RT2500 series is also equipped with built-in wireless technology, which supports seamless streaming via Bluetooth. This feature allows users to enjoy their favorite tracks without the hassle of wired connections. Furthermore, the systems are designed with compatibility in mind, working effortlessly with both iOS and Android devices.
A sleek and modern design characterizes both the RT2500R and RT2500. With a compact footprint, these systems can easily fit into any space without compromising on sound performance. The intuitive control panel and remote control ensure that users can adjust settings and navigate through their audio options with ease.
In terms of power, the RT2500 series boasts robust amplifiers that deliver a formidable audio output. This ensures that whether you are watching a thrilling action movie or hosting a lively gathering, the sound will fill the room and create an immersive experience.
In conclusion, the RCA RT2500R and RT2500 audio systems combine exceptional sound quality, versatile connectivity, modern aesthetics, and user-friendly operation. Whether for home theater use or casual listening, these systems provide an audio solution that meets the demands of today’s media consumption trends, making them a valuable addition to any entertainment setup. With RCA’s commitment to quality and innovation, the RT2500 series is designed to impress both audiophiles and casual listeners alike.