Manuals
/
RCA
/
Home Audio
/
Home Theater System
RCA
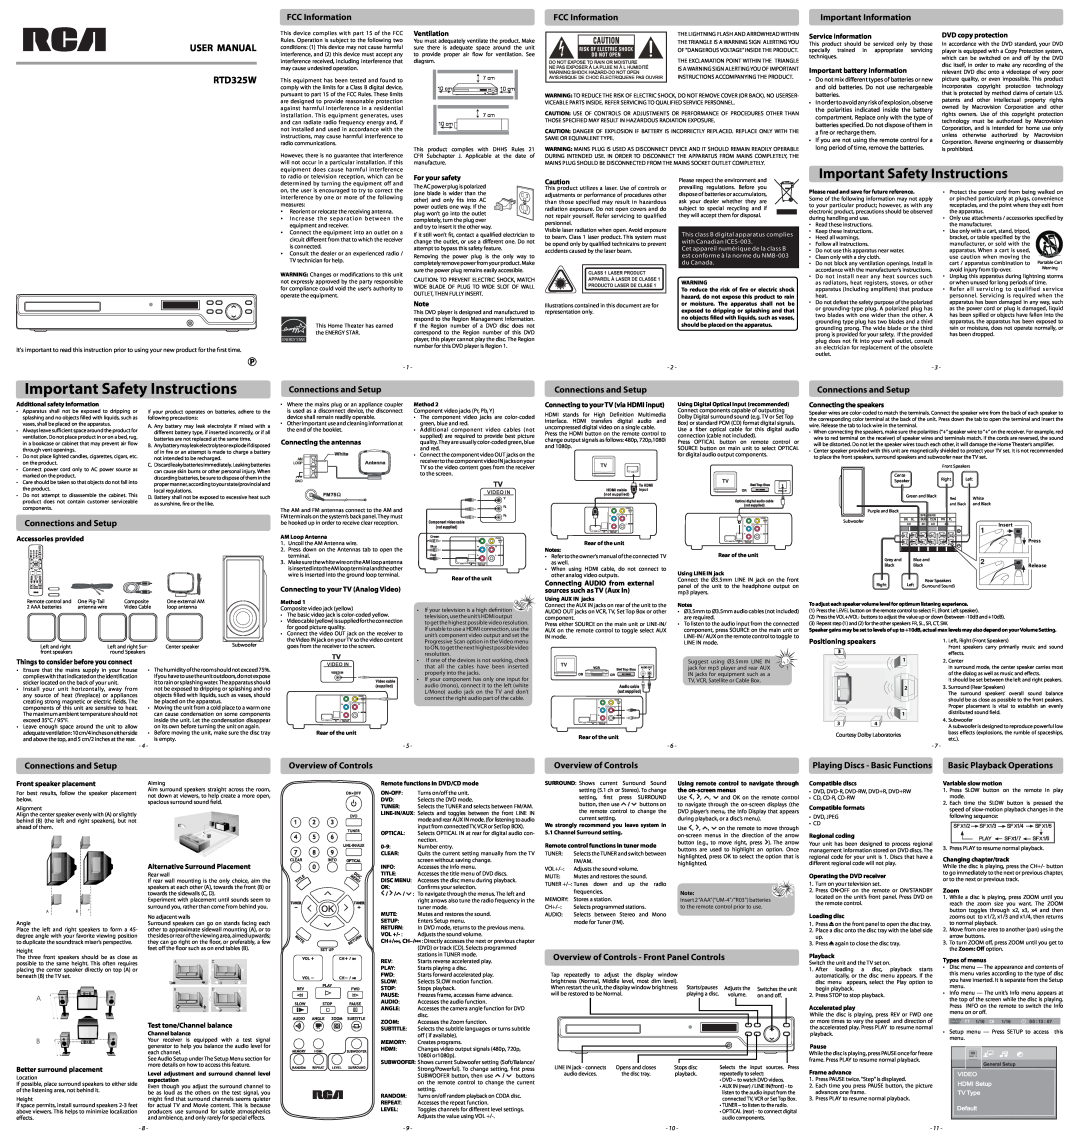
RTD325W
user manual
Important Safety Instructions
Models:
RTD325W
1
1
2
2
Download
2 pages
12.62 Kb
1
2
Safety
Page 1
Image 1
Page 1
Page 2
Page 1
Image 1
Page 1
Page 2
Contents
Important Safety Instructions
Important Safety Instructions
Need more help?
Top
Page
Image
Contents