CS27354_WDF_1200/1600_IB.QXD 1/19/06 2:12 PM Page 6
How to Use
Reference your Safety Instructions while operating your new shaver.
Charging Your
WDF-1600
Before using your rechargeable shaver for the first time, you will need to charge it for
recharge more quickly after
its initial charge. 1. Take the charging base that came with the
shaver, and plug its cord into an electrical outlet.
2.Set the shaver securely into the charging base.
The green light indicates your shaver is charging. The shaver cannot be over- charged, so you can leave it plugged in and charging between shaves.
To preserve the life of the batteries, let them fully run out every six months, then recharge them for a full 24 hours.
Charging Cautions
■Make sure the shaver and your hands are dry when placing the shaver in the charging stand.
■When inserting the shaver into the charging stand, avoiding pushing on the screens, or they may become damaged.
■Always charge the shaver in a cool, dry place.
■The charging stand can only be used in North America (120V, 60Hz).
Inserting Batteries Into Your WDF-1200
Before using your
1.Turn the bottom tip of the shaver counter clockwise and pull. The bottom third of the shaver should easily pull away, exposing the battery compartment.
2.Align the (+) and
3.Return the bottom of the shaver to its original position and turn the bottom tip clockwise to lock it in place.
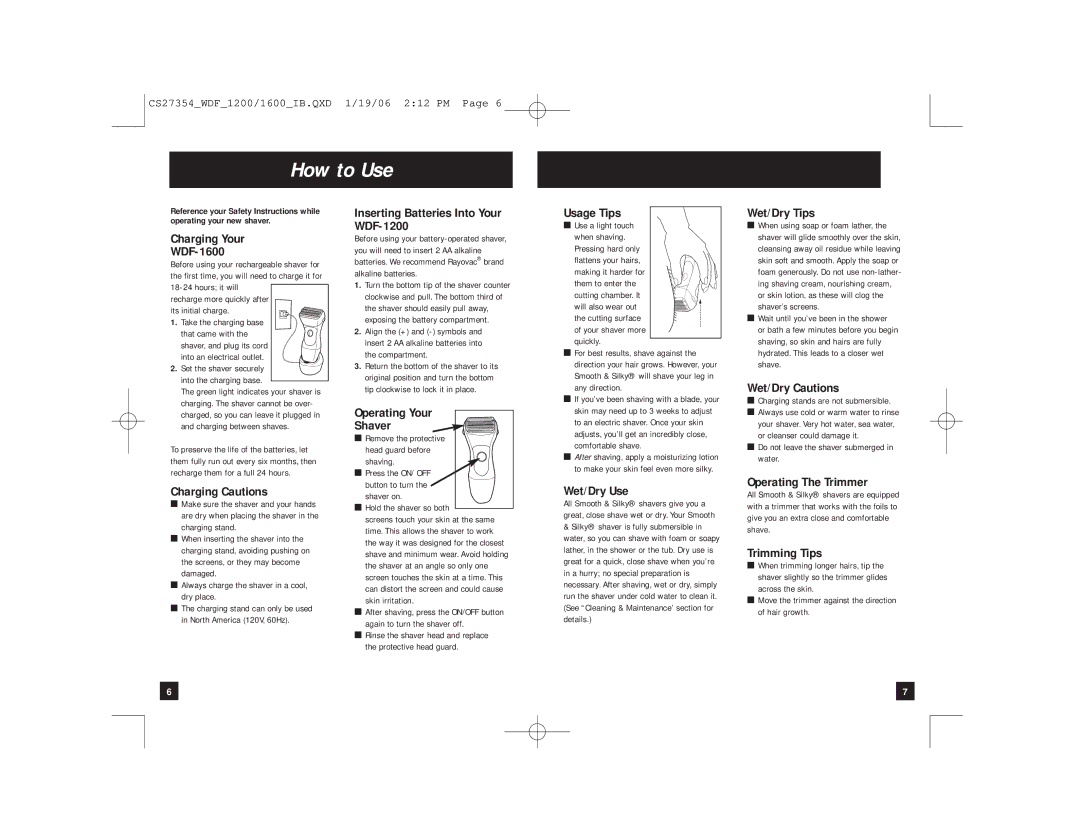
Operating Your
Shaver
■Remove the protective head guard before
shaving.
■Press the ON/ OFF button to turn the shaver on.
■Hold the shaver so both
screens touch your skin at the same time. This allows the shaver to work the way it was designed for the closest shave and minimum wear. Avoid holding the shaver at an angle so only one screen touches the skin at a time. This can distort the screen and could cause skin irritation.
■After shaving, press the ON/OFF button again to turn the shaver off.
■Rinse the shaver head and replace the protective head guard.
Usage Tips
■Use a light touch when shaving.
Pressing hard only flattens your hairs, making it harder for them to enter the cutting chamber. It will also wear out the cutting surface of your shaver more quickly.
■For best results, shave against the direction your hair grows. However, your Smooth & Silky® will shave your leg in any direction.
■If you’ve been shaving with a blade, your skin may need up to 3 weeks to adjust to an electric shaver. Once your skin adjusts, you’ll get an incredibly close, comfortable shave.
■After shaving, apply a moisturizing lotion to make your skin feel even more silky.
Wet/Dry Use
All Smooth & Silky® shavers give you a great, close shave wet or dry. Your Smooth
&Silky® shaver is fully submersible in water, so you can shave with foam or soapy lather, in the shower or the tub. Dry use is great for a quick, close shave when you’re in a hurry; no special preparation is necessary. After shaving, wet or dry, simply run the shaver under cold water to clean it. (See “Cleaning & Maintenance’ section for details.)
Wet/Dry Tips
■When using soap or foam lather, the shaver will glide smoothly over the skin, cleansing away oil residue while leaving skin soft and smooth. Apply the soap or foam generously. Do not use
■Wait until you’ve been in the shower or bath a few minutes before you begin shaving, so skin and hairs are fully hydrated. This leads to a closer wet shave.
Wet/Dry Cautions
■Charging stands are not submersible.
■Always use cold or warm water to rinse your shaver. Very hot water, sea water, or cleanser could damage it.
■Do not leave the shaver submerged in water.
Operating The Trimmer
All Smooth & Silky® shavers are equipped with a trimmer that works with the foils to give you an extra close and comfortable shave.
Trimming Tips
■When trimming longer hairs, tip the shaver slightly so the trimmer glides across the skin.
■Move the trimmer against the direction of hair growth.
6 |
| 7 |
|
|
|