How To Use
Getting Used To Your Shaver
As with every shaver, your shave will improve over time. Allow about three weeks to develop an effective shav- ing style and for your skin to adjust to the new shaver. The adaptation period may take a little longer if your skin is sensitive, if you are switch- ing from a different way of shaving, or if you alternate between shaving methods.
When you first removed your shaver from its box, you may have noticed what appear to be small particles of white or gray power on the foil in or around the cutter assembly. The particles are from a coating of a special lubricant applied to the new foil and cutters to smooth breaking in your new shaver. They will disap- pear with use.
Before you begin: |
|
| |
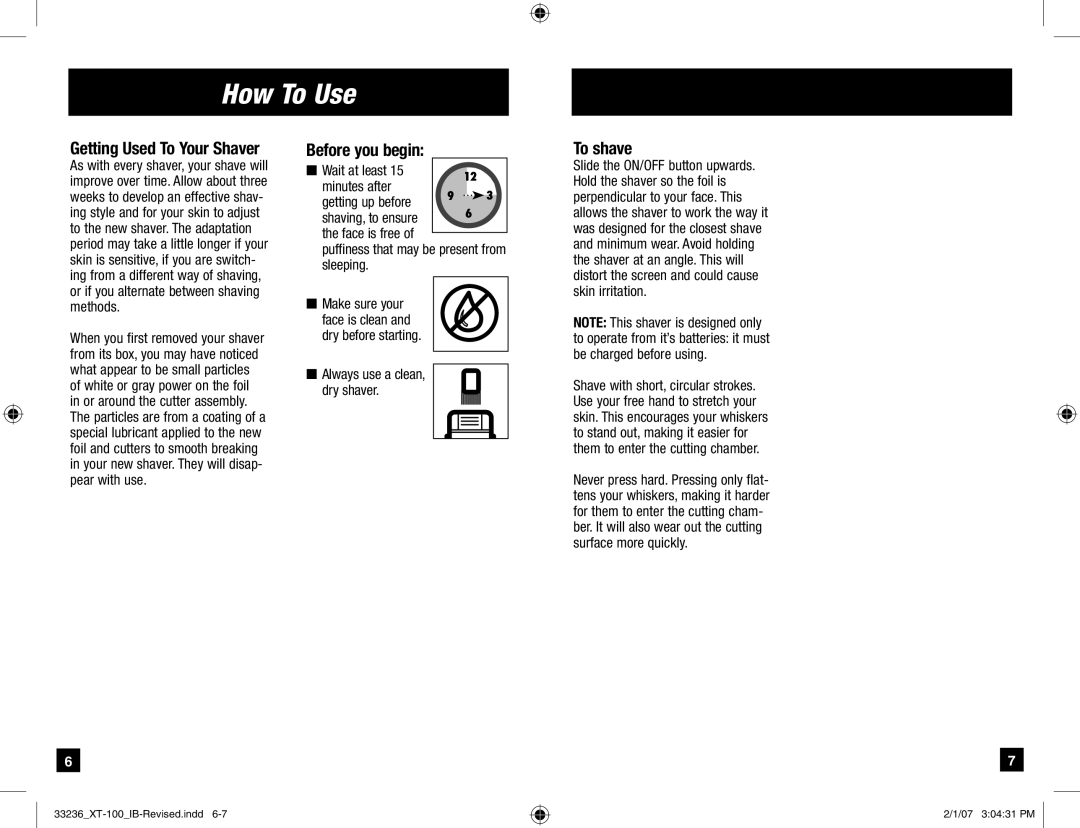
■ Wait at least 15 |
| 12 | |
minutes after |
| ||
9 | 3 | ||
getting up before | |||
| 6 | ||
shaving, to ensure |
| ||
the face is free of |
|
| |
|
|
puffiness that may be present from sleeping.
■Make sure your
face is clean and dry before starting.
■Always use a clean, dry shaver.
To shave
Slide the ON/OFF button upwards. Hold the shaver so the foil is perpendicular to your face. This allows the shaver to work the way it was designed for the closest shave and minimum wear. Avoid holding the shaver at an angle. This will distort the screen and could cause skin irritation.
NOTE: This shaver is designed only
to operate from it’s batteries: it must be charged before using.
Shave with short, circular strokes. Use your free hand to stretch your skin. This encourages your whiskers to stand out, making it easier for them to enter the cutting chamber.
Never press hard. Pressing only flat- tens your whiskers, making it harder for them to enter the cutting cham- ber. It will also wear out the cutting surface more quickly.
6
7
2/1/07 3:04:31 PM
