OPERATION
loading the tool with NAILS
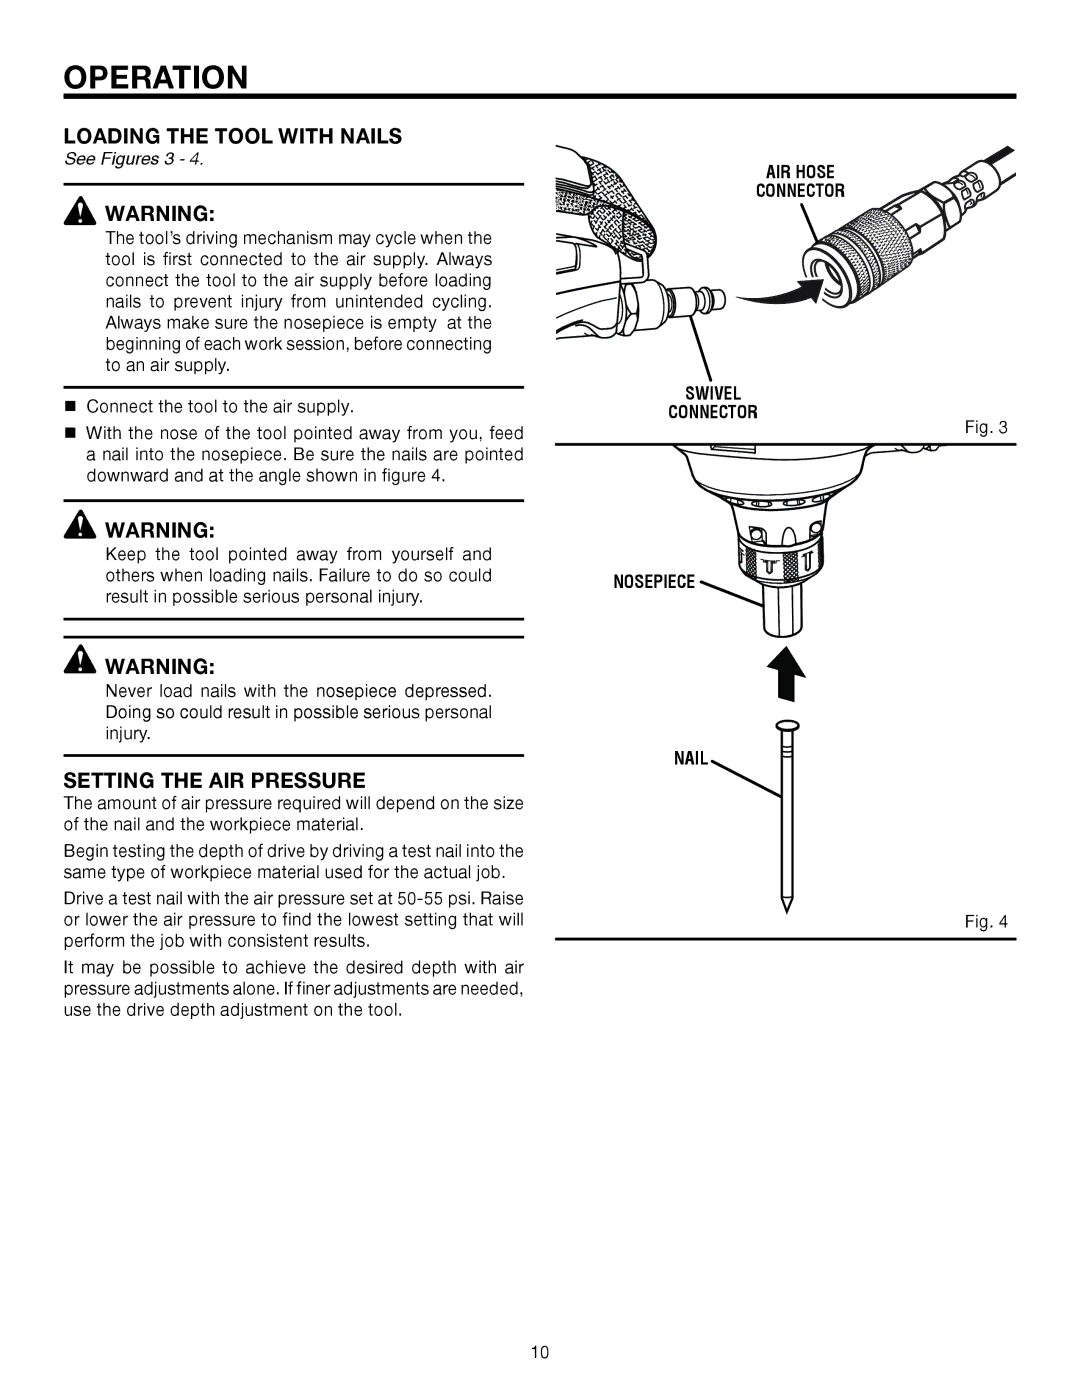
See Figures 3 - 4.
![]() WARNING:
WARNING:
The tool’s driving mechanism may cycle when the tool is first connected to the air supply. Always connect the tool to the air supply before loading nails to prevent injury from unintended cycling. Always make sure the nosepiece is empty at the beginning of each work session, before connecting to an air supply.
AIR HOSE
CONNECTOR
Connect the tool to the air supply.
With the nose of the tool pointed away from you, feed a nail into the nosepiece. Be sure the nails are pointed downward and at the angle shown in figure 4.
![]() WARNING:
WARNING:
Keep the tool pointed away from yourself and others when loading nails. Failure to do so could result in possible serious personal injury.
![]() WARNING:
WARNING:
Never load nails with the nosepiece depressed. Doing so could result in possible serious personal injury.
setting the AIR pressure
The amount of air pressure required will depend on the size of the nail and the workpiece material.
Begin testing the depth of drive by driving a test nail into the same type of workpiece material used for the actual job.
Drive a test nail with the air pressure set at
It may be possible to achieve the desired depth with air pressure adjustments alone. If finer adjustments are needed, use the drive depth adjustment on the tool.
SWIVEL
CONNECTOR
nosepiece
nail
Fig. 3
Fig. 4
10