BORDEAUX 6 XL ZG
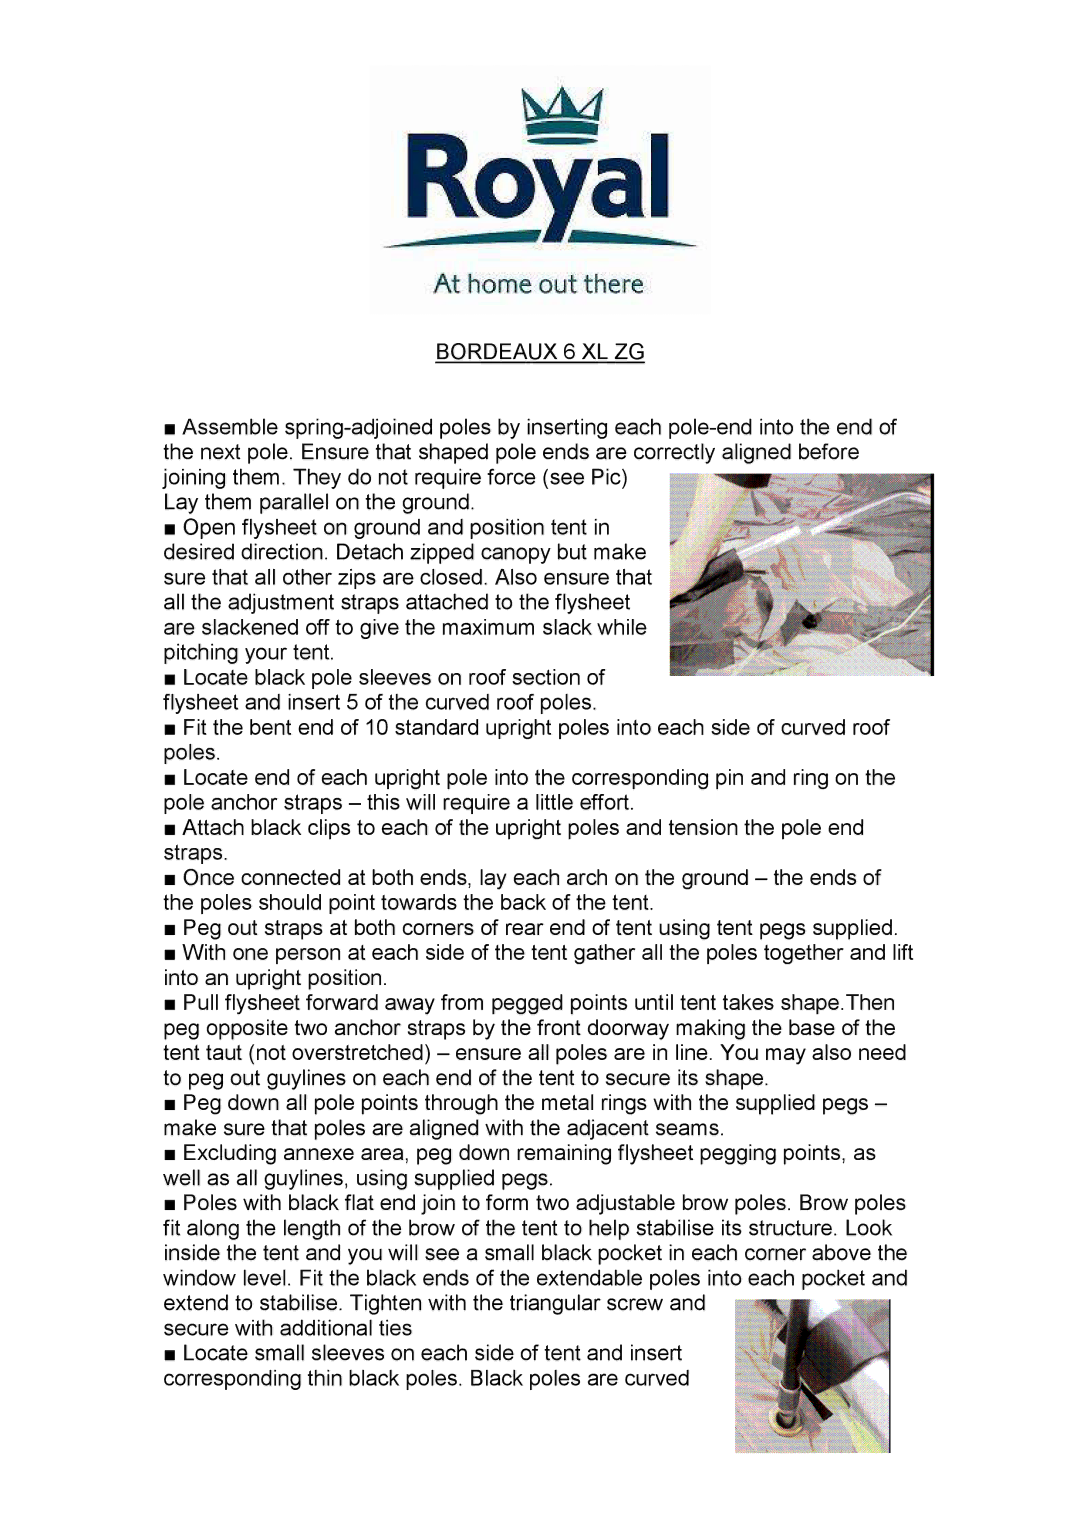
■Assemble
Lay them parallel on the ground.
■Open flysheet on ground and position tent in
desired direction. Detach zipped canopy but make sure that all other zips are closed. Also ensure that all the adjustment straps attached to the flysheet are slackened off to give the maximum slack while pitching your tent.
■Locate black pole sleeves on roof section of flysheet and insert 5 of the curved roof poles.
■Fit the bent end of 10 standard upright poles into each side of curved roof poles.
■Locate end of each upright pole into the corresponding pin and ring on the pole anchor straps – this will require a little effort.
■Attach black clips to each of the upright poles and tension the pole end straps.
■Once connected at both ends, lay each arch on the ground – the ends of the poles should point towards the back of the tent.
■Peg out straps at both corners of rear end of tent using tent pegs supplied.
■With one person at each side of the tent gather all the poles together and lift into an upright position.
■Pull flysheet forward away from pegged points until tent takes shape.Then peg opposite two anchor straps by the front doorway making the base of the tent taut (not overstretched) – ensure all poles are in line. You may also need to peg out guylines on each end of the tent to secure its shape.
■Peg down all pole points through the metal rings with the supplied pegs – make sure that poles are aligned with the adjacent seams.
■Excluding annexe area, peg down remaining flysheet pegging points, as well as all guylines, using supplied pegs.
■Poles with black flat end join to form two adjustable brow poles. Brow poles fit along the length of the brow of the tent to help stabilise its structure. Look inside the tent and you will see a small black pocket in each corner above the window level. Fit the black ends of the extendable poles into each pocket and extend to stabilise. Tighten with the triangular screw and
secure with additional ties
■Locate small sleeves on each side of tent and insert
corresponding thin black poles. Black poles are curved