VX-2c specifications
The Runco VX-2c is a high-performance home theater projector that represents the pinnacle of advanced projection technology. Known for its exceptional image quality and versatile features, it has become a favorite among home cinema enthusiasts and professionals alike. With a striking design and powerful capabilities, the VX-2c is engineered to deliver an immersive viewing experience that rivals commercial theaters.One of the standout features of the Runco VX-2c is its advanced video processing technology. The projector is equipped with Runco’s proprietary Runco Digital High-Definition Processing System (DHD), which significantly enhances image clarity and color fidelity. This technology supports 4K resolution, ensuring that even the most detailed images remain sharp and vibrant. The projector's native resolution is an impressive 1080p, but it can up-convert lower resolution content, making it versatile enough to handle a variety of media formats.
The VX-2c also boasts an exceptional contrast ratio, which contributes to deeper blacks and more detailed shadow areas. With a contrast ratio of up to 10,000:1, viewers can expect outstanding picture quality, even in darker scenes. The color accuracy is further complemented by Runco’s Color Fidelity technology, allowing users to enjoy a wide color gamut that fills the screen with lifelike hues.
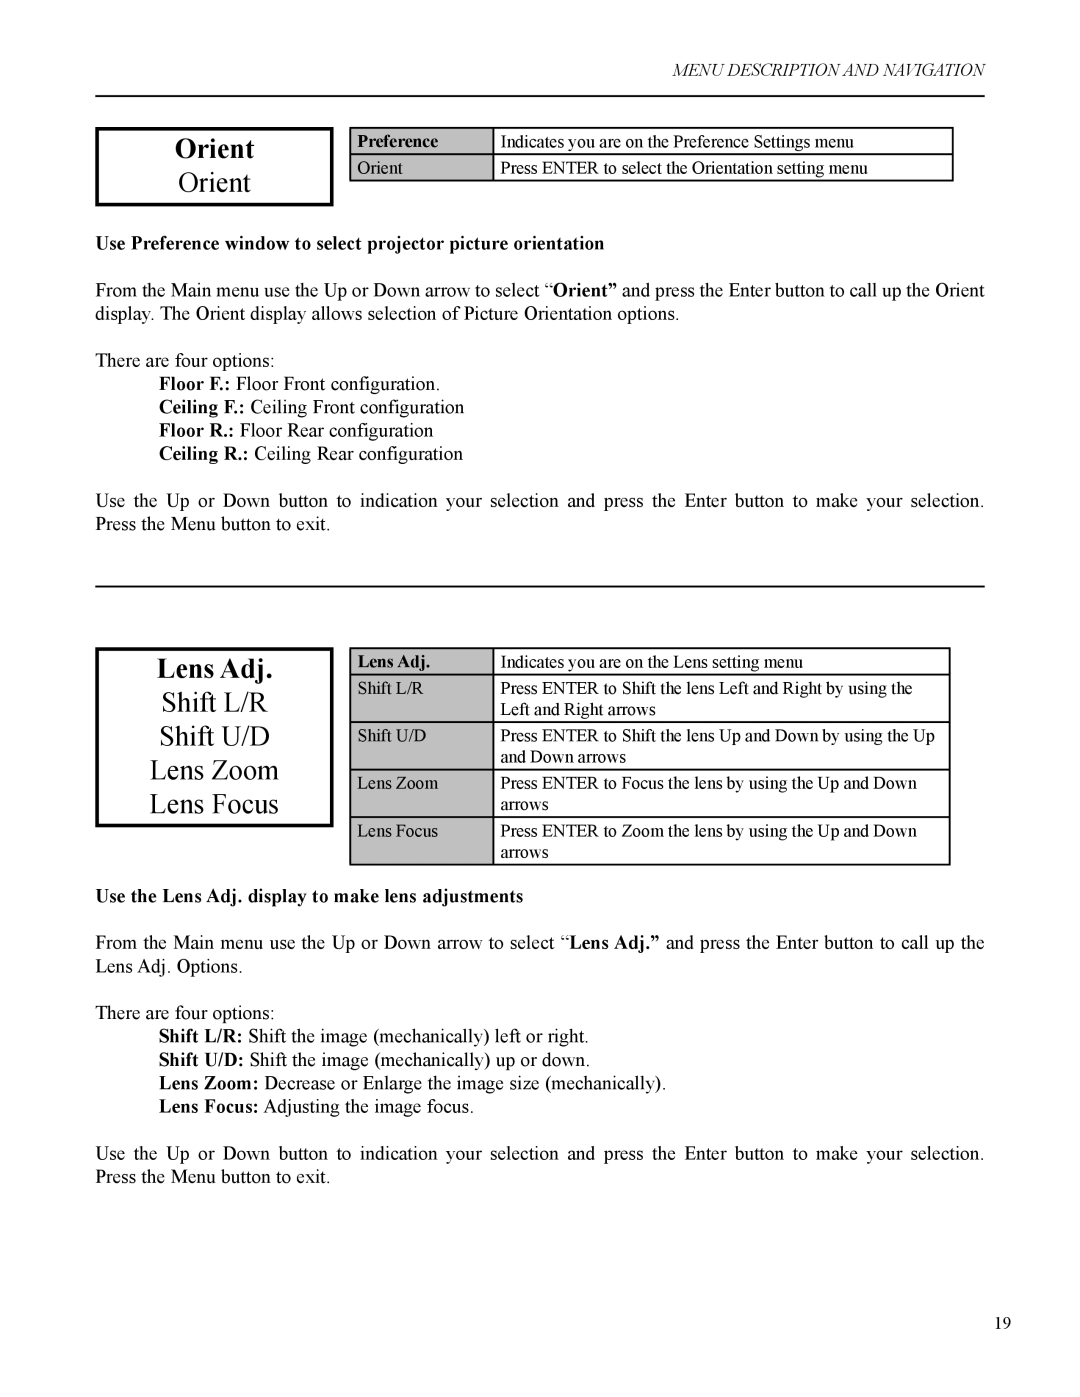
Installation versatility is another key characteristic of the Runco VX-2c. The projector features a lens shift function, which allows for flexible positioning without compromising image quality. It also supports a range of lens options, providing users the freedom to customize the projector to fit their specific home theater setups.
In terms of connectivity, the VX-2c is well-equipped to accommodate modern home entertainment systems. It includes multiple HDMI inputs, along with additional video connections, ensuring compatibility with various devices like Blu-ray players, gaming consoles, and streaming devices.
Additionally, the projector is known for its whisper-quiet operation, making it ideal for home theaters where ambient noise can detract from the cinematic experience.
Overall, the Runco VX-2c combines state-of-the-art technology, impressive performance, and aesthetic appeal, making it a standout choice for anyone seeking a premium home theater projector. Its features are designed to provide an unparalleled viewing experience, firmly establishing it as a leader in the high-end projector market.

