OPERATING INSTRUCTIONS
ADJUSTING TRIMMING LINE LENGTH
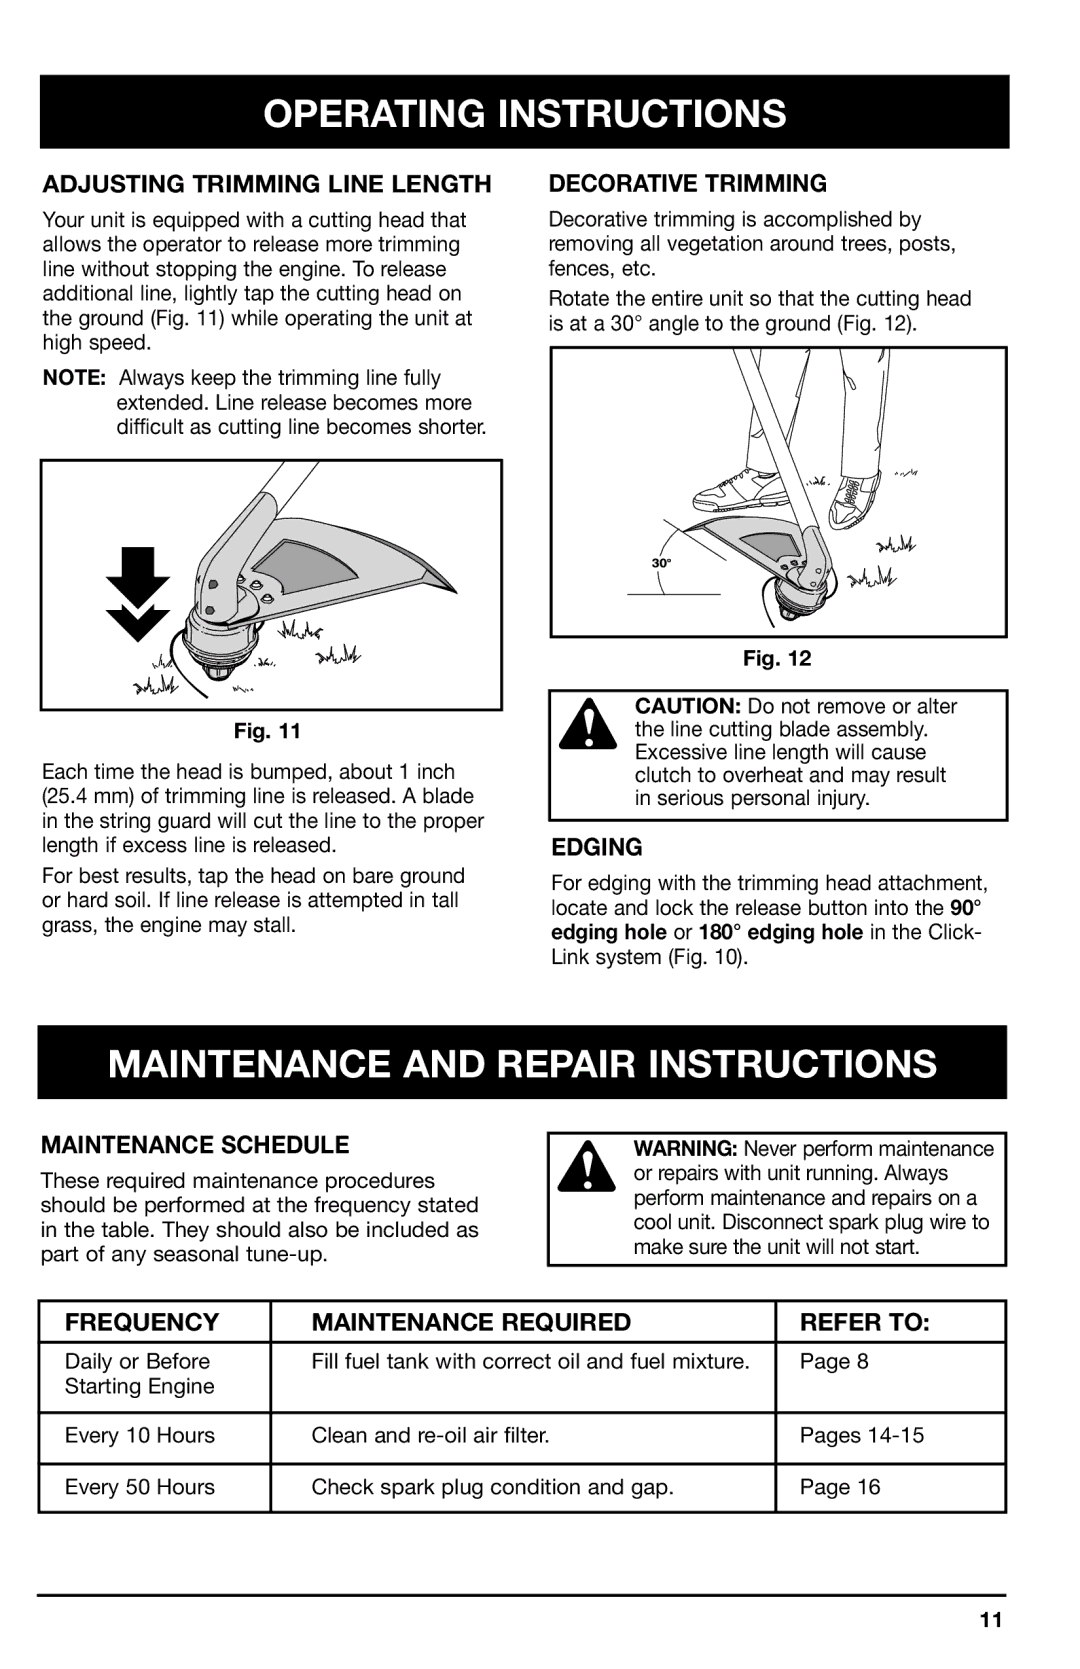
Your unit is equipped with a cutting head that allows the operator to release more trimming line without stopping the engine. To release additional line, lightly tap the cutting head on the ground (Fig. 11) while operating the unit at high speed.
NOTE: Always keep the trimming line fully extended. Line release becomes more difficult as cutting line becomes shorter.
Fig. 11
Each time the head is bumped, about 1 inch (25.4 mm) of trimming line is released. A blade in the string guard will cut the line to the proper length if excess line is released.
For best results, tap the head on bare ground or hard soil. If line release is attempted in tall grass, the engine may stall.
DECORATIVE TRIMMING
Decorative trimming is accomplished by removing all vegetation around trees, posts, fences, etc.
Rotate the entire unit so that the cutting head is at a 30° angle to the ground (Fig. 12).
Fig. 12
CAUTION: Do not remove or alter the line cutting blade assembly. Excessive line length will cause clutch to overheat and may result in serious personal injury.
EDGING
For edging with the trimming head attachment, locate and lock the release button into the 90° edging hole or 180° edging hole in the Click- Link system (Fig. 10).
MAINTENANCE AND REPAIR INSTRUCTIONS
MAINTENANCE SCHEDULE
These required maintenance procedures should be performed at the frequency stated in the table. They should also be included as part of any seasonal
WARNING: Never perform maintenance or repairs with unit running. Always perform maintenance and repairs on a cool unit. Disconnect spark plug wire to make sure the unit will not start.
FREQUENCY | MAINTENANCE REQUIRED | REFER TO: |
|
|
|
Daily or Before | Fill fuel tank with correct oil and fuel mixture. | Page 8 |
Starting Engine |
|
|
|
|
|
Every 10 Hours | Clean and | Pages |
|
|
|
Every 50 Hours | Check spark plug condition and gap. | Page 16 |
|
|
|
11
