OPERATOR’S MANUAL
compact laser level with airgrip™
ELL1001
assembly
UNPACKING | PACKING LIST |
|
This product has been shipped completely assembled. | Laser Level | Mounting Aid |
If any parts are damaged or missing, please call | AAA Batteries (2) | Operator’s Manual |
|
|
operation
Your laser level has been engineered and manufactured to our high standards for dependability, ease of opera- tion, and operator safety. When properly cared for, it will give you years of rugged,
WARNING: To reduce the risk of injury, the user must read and understand the operator’s manual before using this product.
Thank you for your purchase.
SAVE THIS MANUAL FOR FUTURE REFERENCE
safety rules
installing batteries
See Figure 2.
nDepress the ridged area on the bottom of the bat- tery cover and pull the cover off the laser level.
nInstall batteries according to polarity indicators (+ or
nPlace the lens cover back onto the laser level and secure.
![]() WARNING:
WARNING:
When turning on the laser level, always protect the eyes of yourself and those around you. Never point the laser beam at anyone’s face, including your own.
ridged
area
battery
cover
BATTERIES
WARNING!
Do not place the laser level in a position that |
may cause anyone to stare into the laser beam |
intentionally or unintentionally. Serious eye injury |
turning on/off
Fig. 2
Read and understand all instruc- tions. Failure to follow all instructions listed below, may result in electric shock, fire and/or serious personal injury.
![]() CAUTION:
CAUTION:
Use of controls or adjustments or performance of procedures other than those specified herein may result in hazardous radiation exposure.
![]() CAUTION:
CAUTION:
The use of an optical instrument with this product will increase eye hazard.
The laser guide radiation used in this laser level is Class IIIa with < 5mW and 650 nm wavelengths. These lasers do not normally present an optical hazard although staring at the beam may cause flash blindness.
Avoid direct eye exposure when using the laser and do not project the laser beam directly into the eyes of others. Serious eye injury could result.
Do not remove or deface any product labels. Removing product labels increases the risk of exposure to laser radiation.
| could result. |
Do not operate the laser level around children | |
| or allow children to operate the tool. Serious |
| eye injury could result. |
Always turn the laser level off when not in use. | |
| Leaving the tool on increases the risk of someone |
| inadvertently staring into the laser beam. |
Do not operate the laser level in combustible | |
| areas such as in the presence of flammable |
| liquids, gasses, or dust. |
| Always ensure the laser beam is aimed at a |
| surface without reflective properties. Shiny |
| reflective materials are not suitable for laser use. |
Handle the laser level with care. Treat it as you | |
| would any other optical device such as a camera |
| or binoculars. |
| Avoid exposing the laser level to shock, |
| continuous vibration or extreme hot or cold |
| temperatures. Damage to the tool and/or serious |
| injury to the user could result. |
Save these instructions. Refer to them frequently | |
| and use them to instruct others who may use this |
| laser level. If you loan someone this laser level, |
| loan them these instructions also. |
See Figure 3.
The on/off switch is located on the side of the laser level. Pushing the switch down will turn the laser level on and activate the vacuum pump; pushing the switch up will turn the unit OFF. Always wait for at least 5 seconds between stopping and restarting the laser level.
using the airgrip vacuum
See Figures 3 - 4.
The laser level’s vacuum grip technology allows attach- ment to most smooth surfaces.
nPlace the laser level on the surface you want it secured to and push in slightly to seal.
nContinue to hold the laser level against the surface while turning on the laser.
nRelease the laser level slowly when you hear a change in motor sound.
NOTE: To release the vacuum seal, turn the laser level’s power off. For fast release, press the protrusion on the side of the unit opposite the power switch. Pulling the laser level off the wall without releasing the vacuum could damage the tool.
The laser will automatically shut off 15 minutes prior to battery failure, but the motor will remain on. Press the on/off switch to power down the unit and replace the batteries.
operating the laser level
ON
OFF
lift to release
suction
Fig. 3
POROUS
SURFACE
![]()
![]()
![]()
![]()
![]()


![]() mounting aid
mounting aid
| features |
PRODUCT SPECIFICATIONS |
|
Recommended Use | Indoor |
Length of Laser Line | Up to 30 ft., Horizontal or Vertical |
Laser | Class IIIa, <5mW, 650 nm |
Power Supply | 2 AAA, 1.5 Volt Batteries* |
Battery Life | 2.5 Hours Continuous Use — included Alkaline Batteries (Vacuum) |
| 1 Hour Continuous Use — included Alkaline Batteries (Laser) |
Operating Temperature | 32˚F to 104˚F |
Dimensions | |
Accuracy | ± 1/2 in. at 20 ft. |
* Laser level performance is greatly enhanced when using
KNOW YOUR laser level | laser |
|
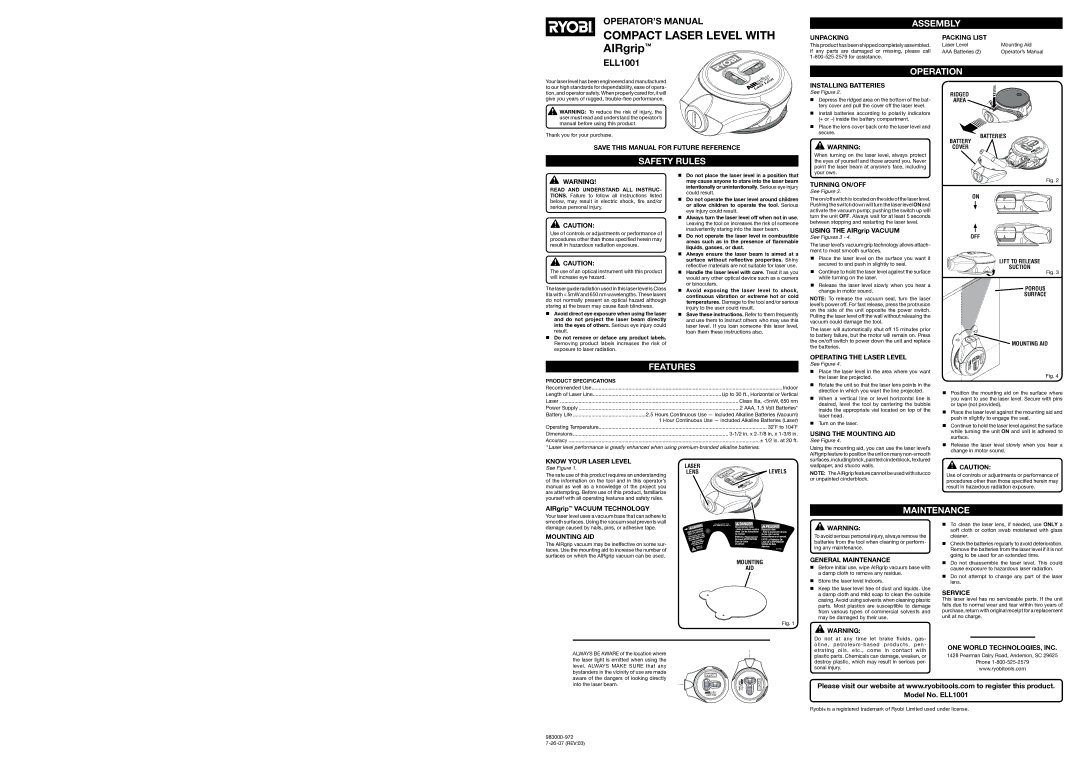
See Figure 1. | levels | |
The safe use of this product requires an understanding | lens | |
|
| |
of the information on the tool and in this operator’s |
|
|
manual as well as a knowledge of the project you |
|
|
are attempting. Before use of this product, familiarize |
|
|
yourself with all operating features and safety rules. |
|
|
See Figure 4.
nPlace the laser level in the area where you want the laser line projected.
nRotate the unit so that the laser lens points in the direction in which you want the line projected.
nWhen a vertical line or level horizontal line is desired, level the tool by centering the bubble inside the appropriate vial located on top of the laser head.
nTurn on the laser.
using the mounting aid
See Figure 4.
Using the mounting aid, you can use the laser level’s AIRgrip feature to position the unit on many
NOTE: The AIRgrip feature cannot be used with stucco or unpainted cinderblock.
Fig. 4
nPosition the mounting aid on the surface where you want to use the laser level. Secure with pins or tape (not provided).
nPlace the laser level against the mounting aid and push in slightly to engage the seal.
nContinue to hold the laser level against the surface while turning the unit ON and unit is adhered to surface.
nRelease the laser level slowly when you hear a change in motor sound.
![]() CAUTION:
CAUTION:
Use of controls or adjustments or performance of procedures other than those specified herein may result in hazardous radiation exposure.
airgrip™ vacuum Technology
Your laser level uses a vacuum base that can adhere to smooth surfaces. Using the vacuum seal prevents wall
maintenance
damage caused by nails, pins, or adhesive tape.
mounting aid
The AIRgrip vacuum may be ineffective on some sur- faces. Use the mounting aid to increase the number of surfaces on which the AIRgrip vacuum can be used.
mounting
aid
![]() WARNING:
WARNING:
To avoid serious personal injury, always remove the batteries from the tool when cleaning or perform- ing any maintenance.
GENERAL MAINTENANCE
nBefore initial use, wipe Airgrip vacuum base with a damp cloth to remove any residue.
nStore the laser level indoors.
nKeep the laser level free of dust and liquids. Use a damp cloth and mild soap to clean the outside casing. Avoid using solvents when cleaning plastic parts. Most plastics are susceptible to damage from various types of commercial solvents and may be damaged by their use.
nTo clean the laser lens, if needed, use ONLY a soft cloth or cotton swab moistened with glass cleaner.
nCheck the batteries regularly to avoid deterioration. Remove the batteries from the laser level if it is not going to be used for an extended time.
nDo not disassemble the laser level. This could cause exposure to hazardous laser radiation.
nDo not attempt to change any part of the laser lens.
SERVICE
This laser level has no serviceable parts. If the unit fails due to normal wear and tear within two years of purchase, return with original receipt for a replacement unit at no charge.
Fig. 1
ALWAYS BE AWARE of the location where the laser light is emitted when using the level. ALWAYS MAKE SURE that any bystanders in the vicinity of use are made aware of the dangers of looking directly into the laser beam.
![]() WARNING:
WARNING:
Do not at any time let brake fluids, gas- |
|
|
| |
|
|
| ||
oline, | one world TECHNOLOGIES, INC. | |||
etrating oils, etc., come in contact with | ||||
1428 Pearman Dairy Road, Anderson, SC 29625 | ||||
plastic parts. Chemicals can damage, weaken, or | ||||
destroy plastic, which may result in serious per- |
| Phone | ||
sonal injury. |
| www.ryobitools.com | ||
Please visit our website at www.ryobitools.com to register this product.
Model No. ELL1001
Ryobi® is a registered trademark of Ryobi Limited used under license.