±"016'"±"
If installing a new
±"016'"±"
If installing the antenna in a motor home, we recommend you use a 12V DC cord (not supplied, available at your local RadioShack store and online at RadioShack.com).
•the amplified TV signal from the antenna, through the power injector, to the video equipment
If any devices (such as amplifiers, splitters, combiners, matching transformers,
24'/+056#..#6+10"6'56
Before installing your antenna, perform this test to make sure it works properly.
1.Connect a temporary
ohm jack and the antenna’s F- connector.±
2.Connect the power injector’s TV cable to your TV’s VHF/UHF
3.Insert the supplied AC adapter’s small
plug into the DC 12V jack on the power injector.±
4.Plug the supplied AC adapter into a standard AC outlet. If the power injector’s indicator lights, the antenna is properly connected.
/1706+0)"6*'"#06'00#
+05+&'"/1706+0)
You can mount the antenna in an attic, closet or other
Or, you can simply place the antenna on a shelf in a closet. Be sure the antenna is not in a position where it could easily fall or be damaged.
1765+&'"/1706+0)
For the best results, mount the antenna away from trees or other obstructions. Higher frequencies are noticeably affected by these obstructions.
The antenna is easy to install on any antenna mast or optional
•coax downlead (we recommend
•connection sealant tape or weather boots
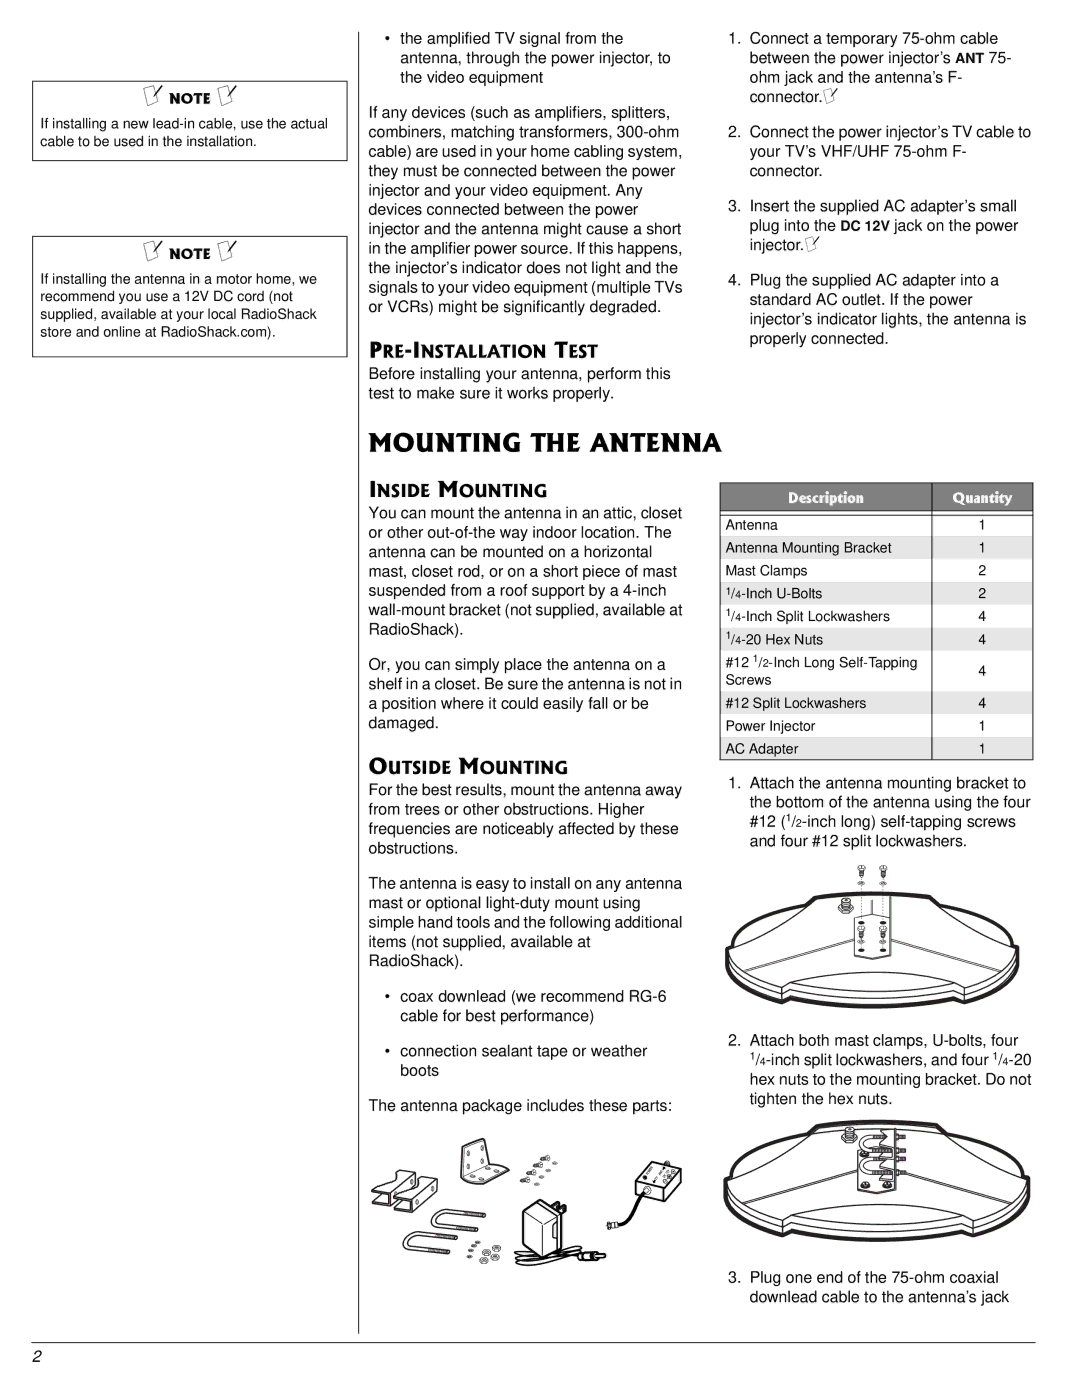
The antenna package includes these parts:
&GUETKRVKQP | 3WCPVKV[ | |
|
| |
Antenna | 1 | |
|
| |
Antenna Mounting Bracket | 1 | |
Mast Clamps | 2 | |
|
| |
2 | ||
4 | ||
4 | ||
#12 | 4 | |
Screws | ||
| ||
|
| |
#12 Split Lockwashers | 4 | |
Power Injector | 1 | |
|
| |
AC Adapter | 1 | |
|
|
1.Attach the antenna mounting bracket to the bottom of the antenna using the four #12
2.Attach both mast clamps,
3.Plug one end of the
2
