Menu | Description |
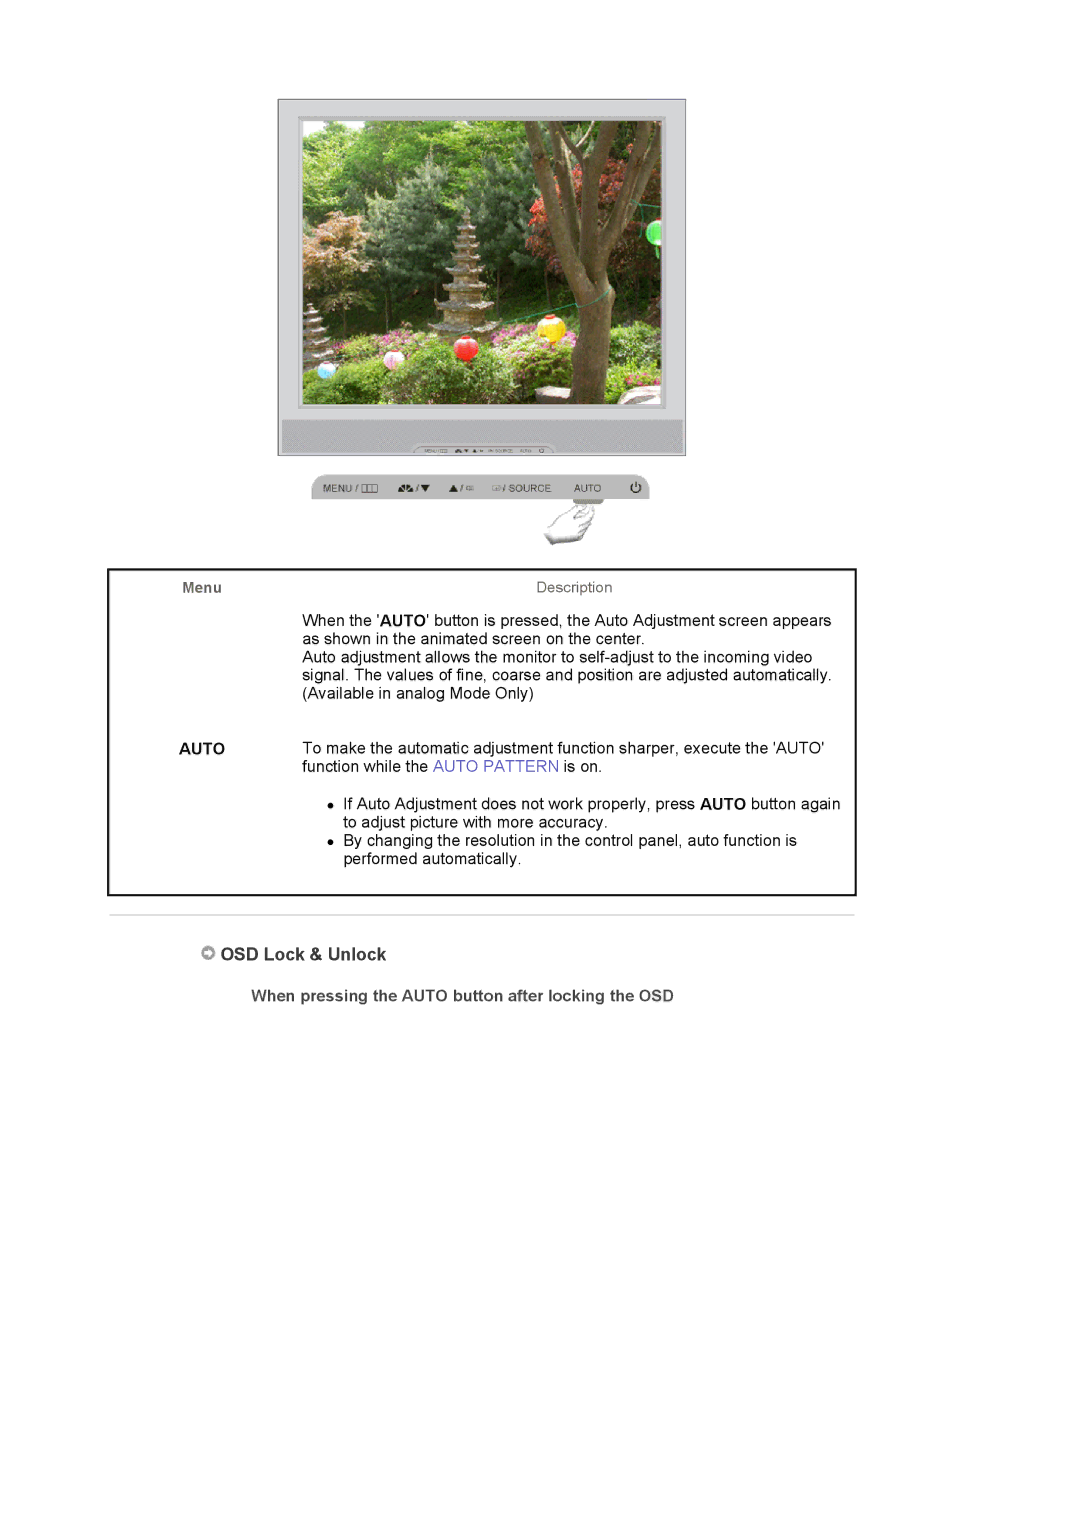
When the 'AUTO' button is pressed, the Auto Adjustment screen appears as shown in the animated screen on the center.
Auto adjustment allows the monitor to
AUTO | To make the automatic adjustment function sharper, execute the 'AUTO' |
| function while the AUTO PATTERN is on. |
zIf Auto Adjustment does not work properly, press AUTO button again to adjust picture with more accuracy.
zBy changing the resolution in the control panel, auto function is performed automatically.
 OSD Lock & Unlock
When pressing the AUTO button after locking the OSD