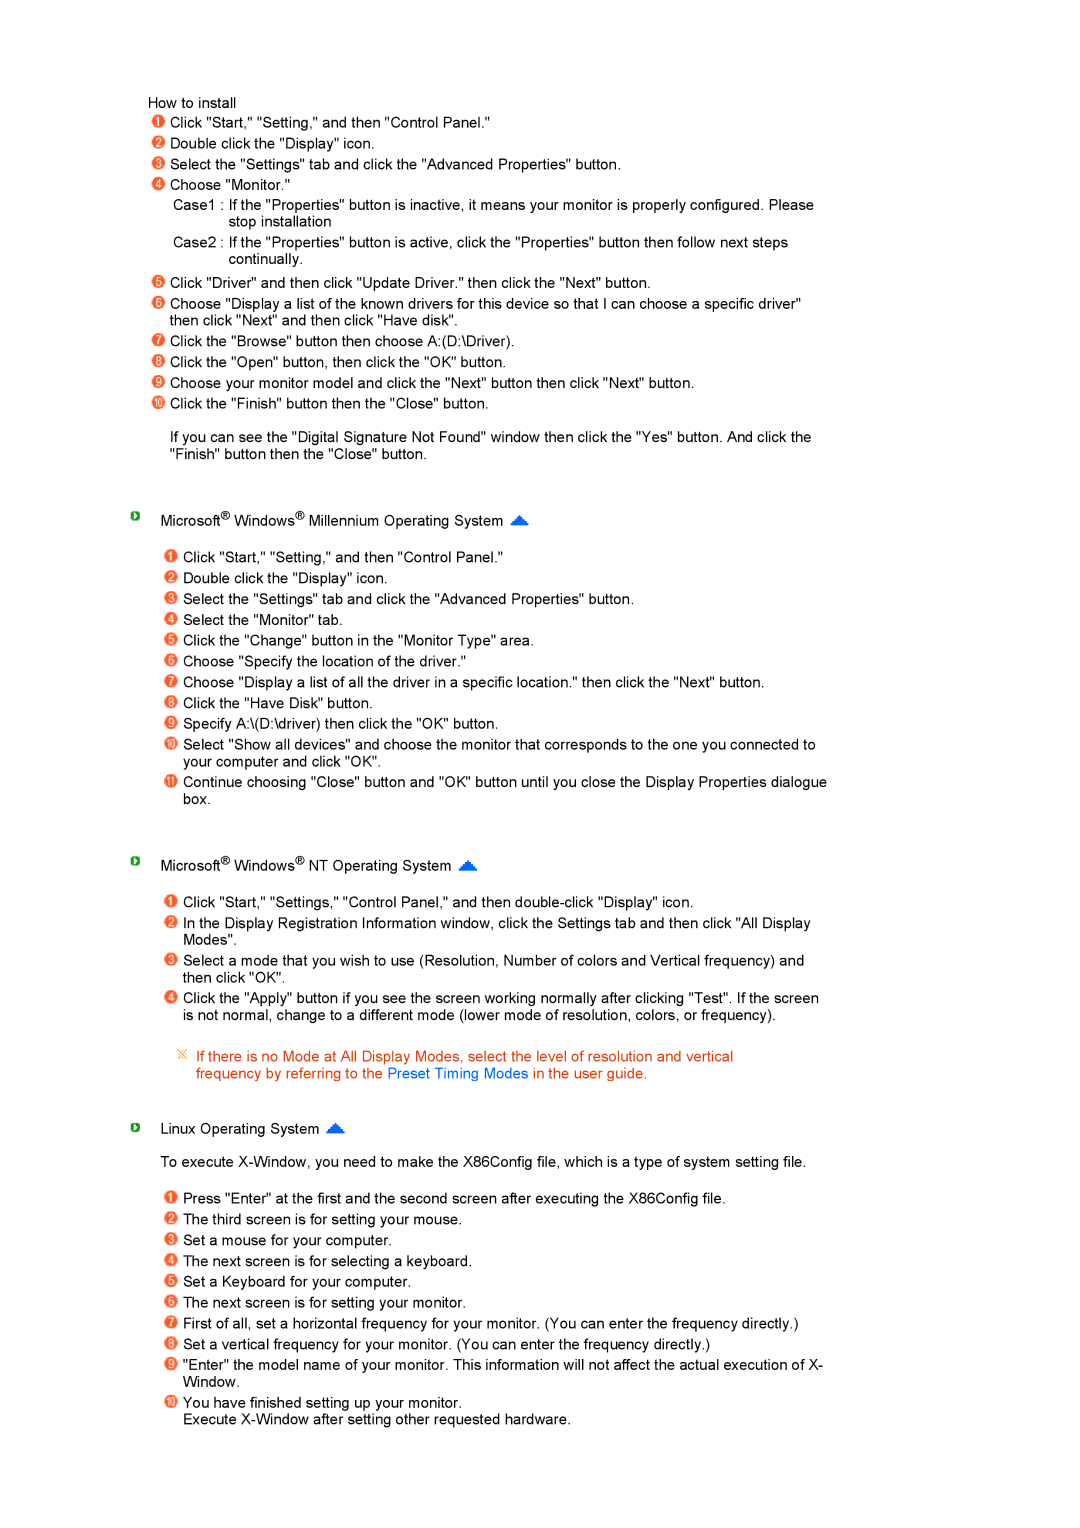
How to install

Click "Start," "Setting," and then "Control Panel."

Double click the "Display" icon.

Select the "Settings" tab and click the "Advanced Properties" button.

Choose "Monitor."

Case1 : If the "Properties" button is inactive, it means your monitor is properly configured. Please stop installation

Case2 : If the "Properties" button is active, click the "Properties" button then follow next steps continually.

Click "Driver" and then click "Update Driver." then click the "Next" button.

Choose "Display a list of the known drivers for this device so that I can choose a specific driver" then click "Next" and then click "Have disk".

Click the "Browse" button then choose A:(D:\Driver).

Click the "Open" button, then click the "OK" button.

Choose your monitor model and click the "Next" button then click "Next" button. Click the "Finish" button then the "Close" button.

If you can see the "Digital Signature Not Found" window then click the "Yes" button. And click the "Finish" button then the "Close" button.

Microsoft® Windows® Millennium Operating System

Click "Start," "Setting," and then "Control Panel."

Double click the "Display" icon.

Select the "Settings" tab and click the "Advanced Properties" button.

Select the "Monitor" tab.

Click the "Change" button in the "Monitor Type" area.

Choose "Specify the location of the driver."

Choose "Display a list of all the driver in a specific location." then click the "Next" button.

Click the "Have Disk" button.

Specify A:\(D:\driver) then click the "OK" button.

Select "Show all devices" and choose the monitor that corresponds to the one you connected to your computer and click "OK".

Continue choosing "Close" button and "OK" button until you close the Display Properties dialogue box.

Microsoft® Windows® NT Operating System

Click "Start," "Settings," "Control Panel," and then double-click "Display" icon.

In the Display Registration Information window, click the Settings tab and then click "All Display Modes".

Select a mode that you wish to use (Resolution, Number of colors and Vertical frequency) and then click "OK".

Click the "Apply" button if you see the screen working normally after clicking "Test". If the screen is not normal, change to a different mode (lower mode of resolution, colors, or frequency).

If there is no Mode at All Display Modes, select the level of resolution and vertical frequency by referring to the Preset Timing Modes in the user guide.

Linux Operating System

To execute X-Window, you need to make the X86Config file, which is a type of system setting file.

Press "Enter" at the first and the second screen after executing the X86Config file.

The third screen is for setting your mouse.

Set a mouse for your computer.

The next screen is for selecting a keyboard.

Set a Keyboard for your computer.

The next screen is for setting your monitor.

First of all, set a horizontal frequency for your monitor. (You can enter the frequency directly.)

Set a vertical frequency for your monitor. (You can enter the frequency directly.)

"Enter" the model name of your monitor. This information will not affect the actual execution of X- Window.

You have finished setting up your monitor.

Execute X-Window after setting other requested hardware.

Page 31
Image 31
Samsung 732NPlus, 932BPlus, 732N, 932B manual

732N, 932B, 732NPlus, 932BPlus, 732N, 932B specifications

The Samsung 732NPlus and 932BPlus are recognized for their superior technology and features, catering to both professional environments and personal use. These monitors are part of Samsung's extensive line of displays and showcase an impressive balance between performance and functionality.

The Samsung 732NPlus is particularly notable for its high-resolution display, which ensures clarity and vibrancy in graphics, making it an ideal choice for graphic designers and gamers alike. This model utilizes a TFT-LCD panel, which offers excellent color reproduction and wide viewing angles. With a display size of 17 inches, it occupies a compact space on the desk while still delivering impressive performance.

On the other hand, the Samsung 932BPlus brings even more to the table with its larger 19-inch screen size and enhanced brightness levels. This model is designed for professional users who require a monitor capable of showing intricate details in high-definition. With its fast response time and contrast ratio, the 932BPlus excels in showcasing fast-motion graphics without blurring, making it an excellent choice for video editing and gaming.

Both monitors incorporate Samsung's advanced technologies such as MagicBright, which automatically adjusts the brightness of the display according to the content being viewed, ensuring optimal visual comfort. They also feature a range of connectivity options, including VGA and DVI interfaces, allowing users to connect to various devices effortlessly.

The 732N and 932B models, while slightly older, still hold their ground with reliable performance. The 732N comes with standard features suitable for everyday tasks, offering a 17-inch display that is perfect for office use, while the 932B provides a larger viewing area and enhanced features for multitasking professionals.

In summary, the Samsung 732NPlus and 932BPlus, along with the respective 732N and 932B models, represent a blend of innovative technology and user-focused features. Their design and performance characteristics make them suitable for a variety of applications, from casual home use to more demanding professional environments. Samsung continues to be a key player in the monitor market, ensuring that their products meet the evolving needs of users while delivering reliability and quality.