PerfoAA rming the gas leak tests
Make sure to check for gas leaks before completing the installation process (connecting the assembly pipe and hose between indoor unit and outdoor unit, insulating the cables, hose and pipe, and fixing the indoor unit to the installation plate).
![]()
![]()
![]() A C
A C ![]()
![]()
B
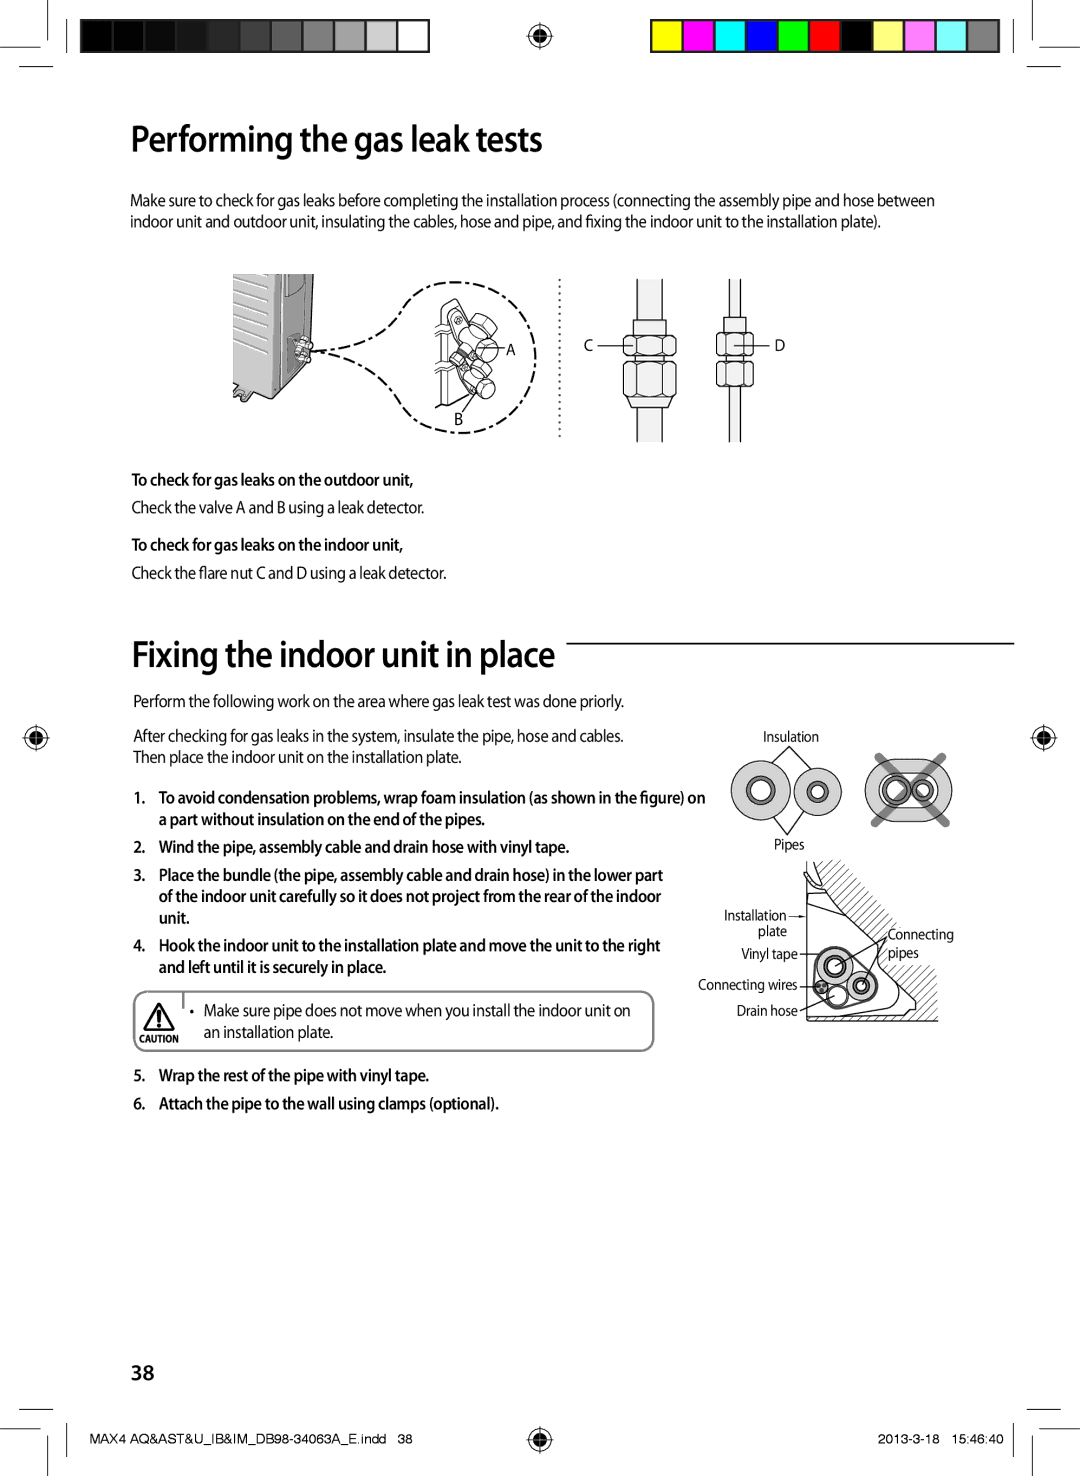
To check for gas leaks on the outdoor unit,
Check the valve A and B using a leak detector.
To check for gas leaks on the indoor unit,
Check the flare nut C and D using a leak detector.
D
Fixing the indoor unit in place
Perform the following work on the area where gas leak test was done priorly. |
|
| ||
After checking for gas leaks in the system, insulate the pipe, hose and cables. | Insulation |
| ||
Then place the indoor unit on the installation plate. |
|
| ||
1. | To avoid condensation problems, wrap foam insulation (as shown in the figure) on |
| ||
| a part without insulation on the end of the pipes. |
|
| |
2. | Wind the pipe, assembly cable and drain hose with vinyl tape. | Pipes |
| |
3. | Place the bundle (the pipe, assembly cable and drain hose) in the lower part |
|
| |
| of the indoor unit carefully so it does not project from the rear of the indoor | Installation |
| |
| unit. |
| ||
4. | Hook the indoor unit to the installation plate and move the unit to the right | plate | Connecting | |
Vinyl tape | pipes | |||
| and left until it is securely in place. | |||
| Connecting wires |
| ||
|
|
| ||
| • Make sure pipe does not move when you install the indoor unit on | Drain hose |
| |
| an installation plate. |
|
| |
5.Wrap the rest of the pipe with vinyl tape.
6.Attach the pipe to the wall using clamps (optional).
38
MAX4