Setting Up the Network Connection

To set up the wireless connection using Auto Network Search, follow these steps:

1. In the Network Settings menu, press the ▲▼

buttons to select Network Setting, and then

NOTE

You should be able to find the Pass Phrase on one of the set up screens you used to set up your router or modem.

05 Setup


press the ENTER button.

2.

The Internet Protocol Setup screen appears.

Press the ▲▼ buttons to select the Internet


Protocol Setup, and then press the ENTER

3.

button.

Press the ▲▼ buttons to select Auto or


Manual, and then press the ENTER button.

Settings

Settings

Display

Audio

System

Network

Language

Security

General

Support


Security Key


Network Settings

(0)

Security Key

a

b c


1

.,@

lid Only)

abc

3

def


2

4

ghi


5

jkl

6

mno

7

pqrs


8

tuv

9

wxyz


a/A/a/

0

]


Delete

a Clear All

b Space

c Done

(/) Cursor " Select ' Return

Display


Network Setting


Audio

Access Point Selection

: Not Selected


\

SystemInternet Protocol Setup

: Auto

0

0

0

Network

IP Address

:

0

Language Subnet Mask

:

0

0

0

0

Security

Gateway

:

0

0

0

0

GeneralDNS

: Auto

0

0

0

Support

DNS Server

:

0


a PBC (WPS) > Move

" Select

' Return

4.If you selected Auto, press the ▲ button to go to Access Point Selection, and then press the ENTER button.

The Network function searches for available wireless networks.

When done, it displays a list of the available networks.

5.In the list of networks, press the ▲▼ buttons to select a network, and then press the ENTER button.

6.If the PIN/Security pop-up appears, go to Step 7. If the Network Connecting Screen appears, go to Step 11.

7.Press the ▲▼ buttons to select PIN or Security.

For most home networks, you would select Security (for Security Key).

8.On the Security screen, enter your network’s Pass Phrase.

9.To enter the Pass Phrase, follow these general directions:

Press the number keys on your remote to enter numbers.

Use the arrow keys on your remote to move from button to button on the Security Key screen.

To enter letters, move to the button labeled a/A/1/, and then press the ENTER button. Each time you press the ENTER button, you change the kind of characters you can enter (a/A/1/).

To enter a letter, press the number button that corresponds to the letter. Pressing the button repeatedly changes the letter.

To delete the last letter or number you entered, move to the Delete button, and then press the ENTER button.

To clear all entered letters and numbers, move to the Clear key, and then press the ENTER button. You can also just press the RED(A) button on your remote.

10.When done, press the YELLOW(C) button on your remote, or move to the Done button, and then press the ENTER button.

The Network Connecting screen appears.

11.Wait until the connection confirmation message is displayed, and then press the ENTER button. The Network Settings screen reappears.

English 39

Page 39
Image 39
Samsung BD-C5900  Setting Up the Network Connection, Press the Enter button, Press the buttons to select Auto or

BD-C5900 specifications

The Samsung BD-C5900 is a remarkable Blu-ray disc player known for its advanced features and user-friendly functionality. Launched with an attractive design, this player is not only aesthetically pleasing but also packed with a suite of technologies that enhance the home entertainment experience.

One of the standout features of the BD-C5900 is its ability to support full HD 1080p video output, bringing movies and shows to life with stunning clarity and detail. This player utilizes Samsung's sophisticated video upscaling technology, which optimizes standard definition content to near high definition, ensuring that all your media, whether on Blu-ray or DVD, looks its best.

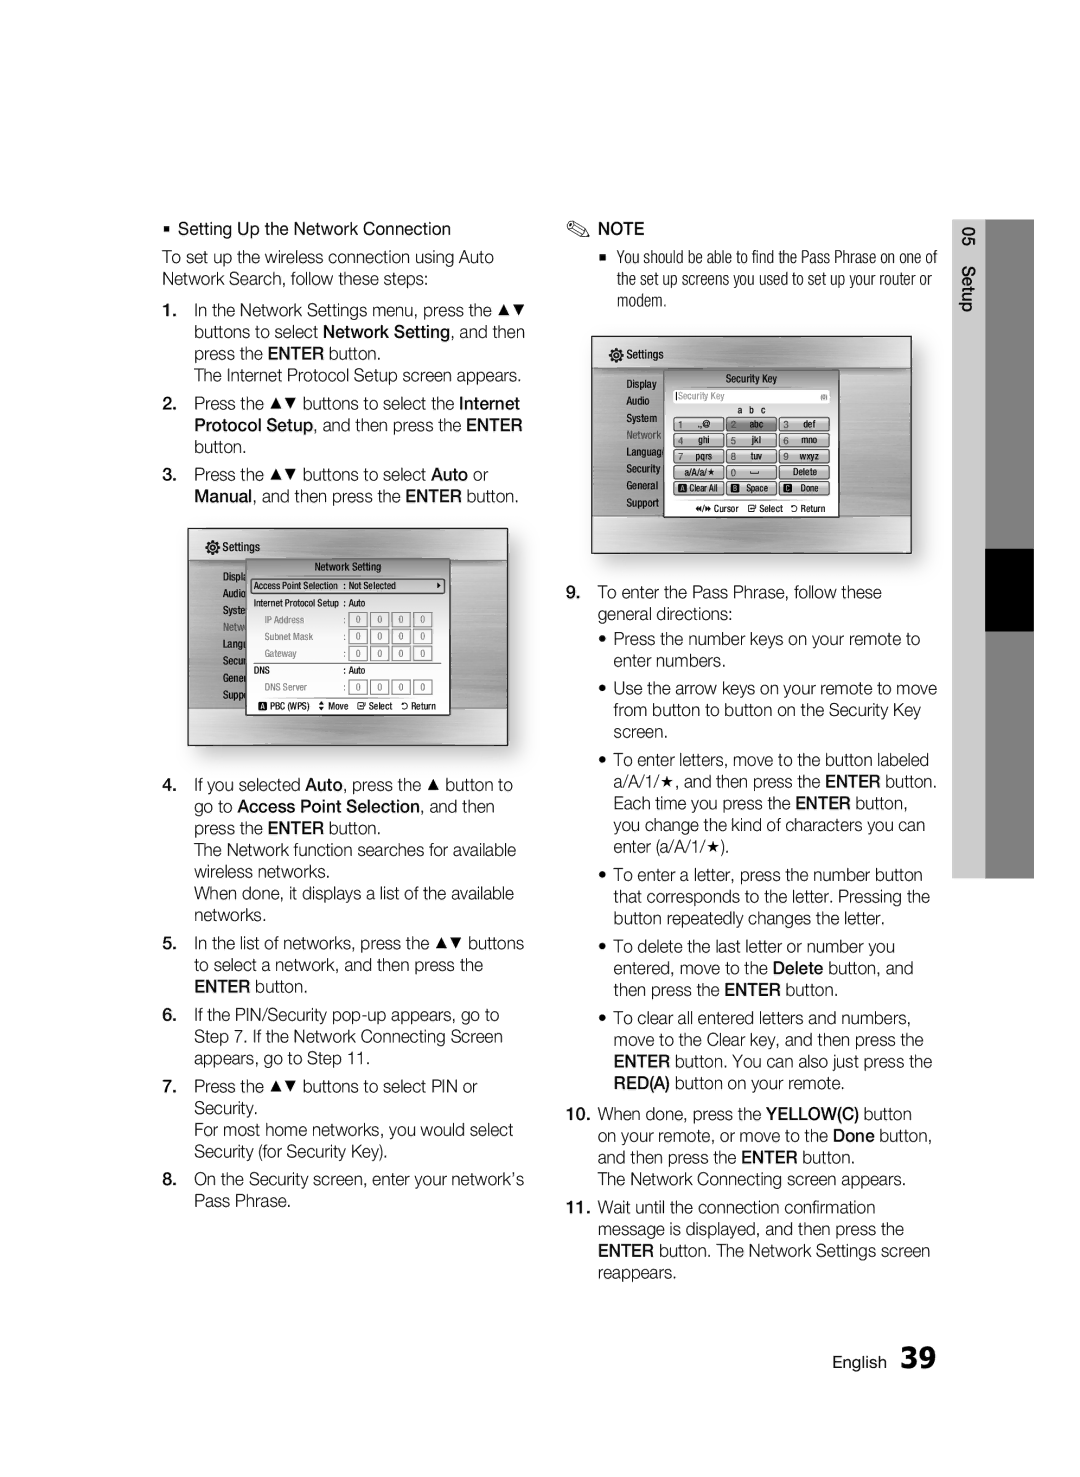
In terms of connectivity, the BD-C5900 offers a robust range of options. It includes built-in Wi-Fi, enabling seamless access to popular streaming services like Netflix, YouTube, and Pandora. This feature allows users to enjoy high-quality streaming content without the need for additional cables or devices, making it a convenient choice for modern entertainment setups.

Another key aspect of the BD-C5900 is its support for a variety of file formats. It can play not only Blu-ray and DVD discs but also a variety of video formats such as AVI, MKV, and WMV via USB. This flexibility makes it a versatile media player, accommodating a range of personal video libraries and content types.

The BD-C5900 is equipped with Samsung’s Anynet+ technology, which allows for easy control of compatible devices connected through HDMI, creating a streamlined user experience. This feature simplifies the operation of multiple devices, enabling users to navigate their home theater setup with ease.

Audio capabilities are also impressive with the BD-C5900. It supports advanced audio formats such as Dolby TrueHD and DTS-HD Master Audio, delivering a cinema-like audio experience at home. This ensures that users do not miss out on the high-quality sound that accompanies today’s blockbuster films.

Overall, the Samsung BD-C5900 combines cutting-edge technology with practicality, making it an ideal addition to any home theater. Its elegant design, high-definition video output, versatile connectivity options, and superior sound make it a popular choice among consumers seeking high-quality and reliable Blu-ray playback.