To set Auto Upgrade Notification on, follow | Contact Samsung |
| Media Play | |
these steps: |
| |||
Provides contact information for assistance |
| |||
1. | Select Auto Upgrade Notification, and |
| ||
with your player. |
|
| ||
2. | then press the v button. |
| Playing a Commercially Recorded | |
Use the ▲▼ buttons to select On, and | Terms of Service Agreement |
| Disc | |
| then press the v button. |
| ||
|
|
| ||
If there is a new software version available, | Lets you view the general disclaimer regarding | 1. | Press the 8 button to open the disc | ||
the player notifies you with a popup message. | third party contents and services. | 2. | tray. | ||
1. To upgrade the firmware, select Yes in the | Reset |
| Place a disc gently into the disc tray | ||
|
|
| with the disc's label facing up. | ||
| then restarts, and begins the download. | Returns all settings to their factory defaults | 3. | Press the 8 button to close the disc | |
| (Never turn the player on or off manually | ||||
| during an upgrade.) | except for the network settings. |
| tray. Playback starts automatically. | |
2. The update progress popup appears. |
|
|
|
| |
3. | When the update is complete, the player |
|
|
| Playing Files on a USB Device |
| Will restart automatically. |
|
| You can play multimedia files located on a | |
✎ | NOTES |
|
| ||
| ✎ `` The update is complete when the player turns |
|
| USB storage device. | |
| off, and then turns on again by itself. |
|
| 1. | Move to the Home menu. |
| `` Never turn the player off or on manually during |
|
| 2. | In Stop mode, connect the USB storage |
| the update process. |
|
|
| device to the USB port on the front |
| `` Samsung Electronics takes no legal |
|
|
| panel of the player. |
| responsibility for player malfunction caused by |
|
|
| The message “Do you want to access |
| an unstable Internet connection or consumer |
|
|
| the device?” is displayed. |
| negligence during software upgrade. |
|
|
|
|
Videos | Photos | Music | Settings |
| ||
| No Disc |
|
|
|
|
|
| 123 |
|
|
|
|
|
| a |
| App 2 | App 3 | App 4 |
|
123 | a Change Device | c Safely Remove USB | d View Devices | " Enter | ||
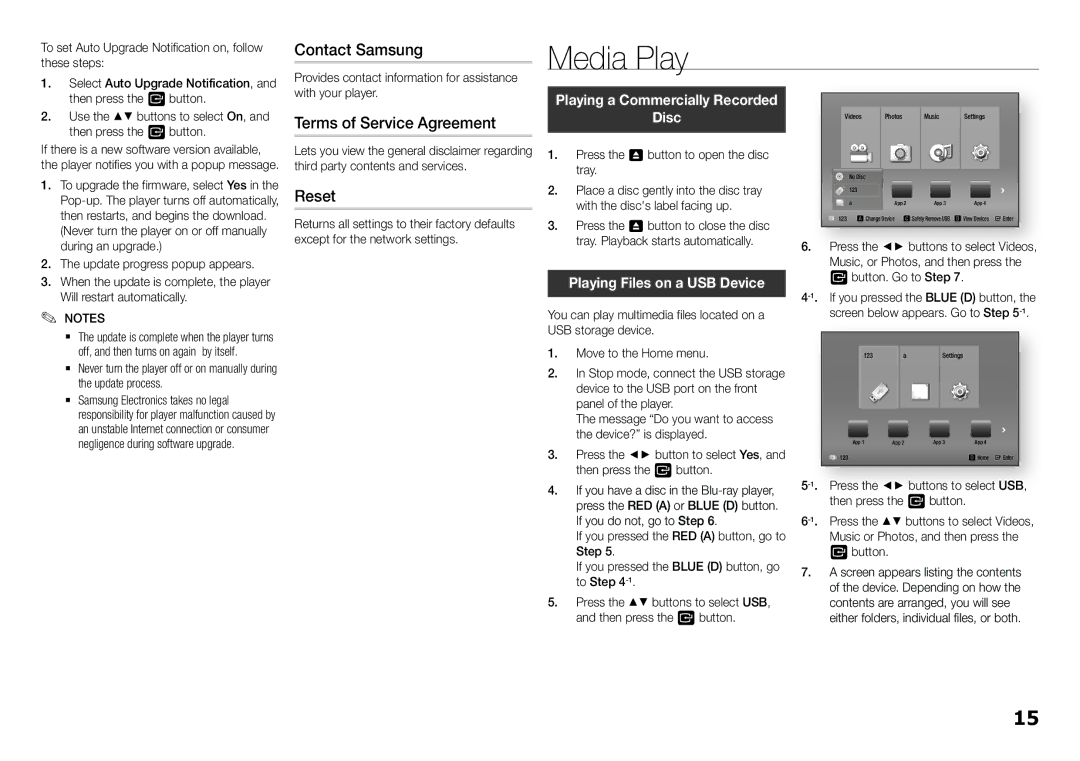
6.Press the ◄► buttons to select Videos, Music, or Photos, and then press the v button. Go to Step 7.
123 aSettings
App 1 | App 2 | App 3 | App 4 |
123 |
|
| d Home " Enter |
4. If you have a disc in the | ||
press the RED (A) or BLUE (D) button. | then press the v button. | |
If you do not, go to Step 6. | ||
If you pressed the RED (A) button, go to | Music or Photos, and then press the | |
Step 5. |
| v button. |
If you pressed the BLUE (D) button, go | 7. A screen appears listing the contents | |
. | ||
to Step 4 | of the device. Depending on how the | |
5. Press the ▲▼ buttons to select USB, | contents are arranged, you will see | |
and then press the v button. | either folders, individual files, or both. | |
15
