Using the Option Menu
1.Complete Steps 1 to 3 of “Using the WISELINK Menu”.
(Refer to page 49)
2.Press the ◄ or ► button to move to “Photo”, then press the
ENTER![]() button. The saved file information is displayed as a
button. The saved file information is displayed as a
folder or file. |
|
|
|
|
| |
| Start Slide Show |
|
| |||
3. Press the ▲, ▼, ◄ and ► button to select a file, then press |
| Rotate | 0 | ► |
| |
|
| Zoom | X1 | ► |
| |
the ENTER button. Pressing the button over a photo |
|
|
|
|
|
|
|
| INFO | Exit |
|
| |
|
| List |
|
|
| |
thumbnail displays the photo in full screen. |
|
|
|
|
|
|
|
|
|
|
|
| |
|
|
|
|
|
| |
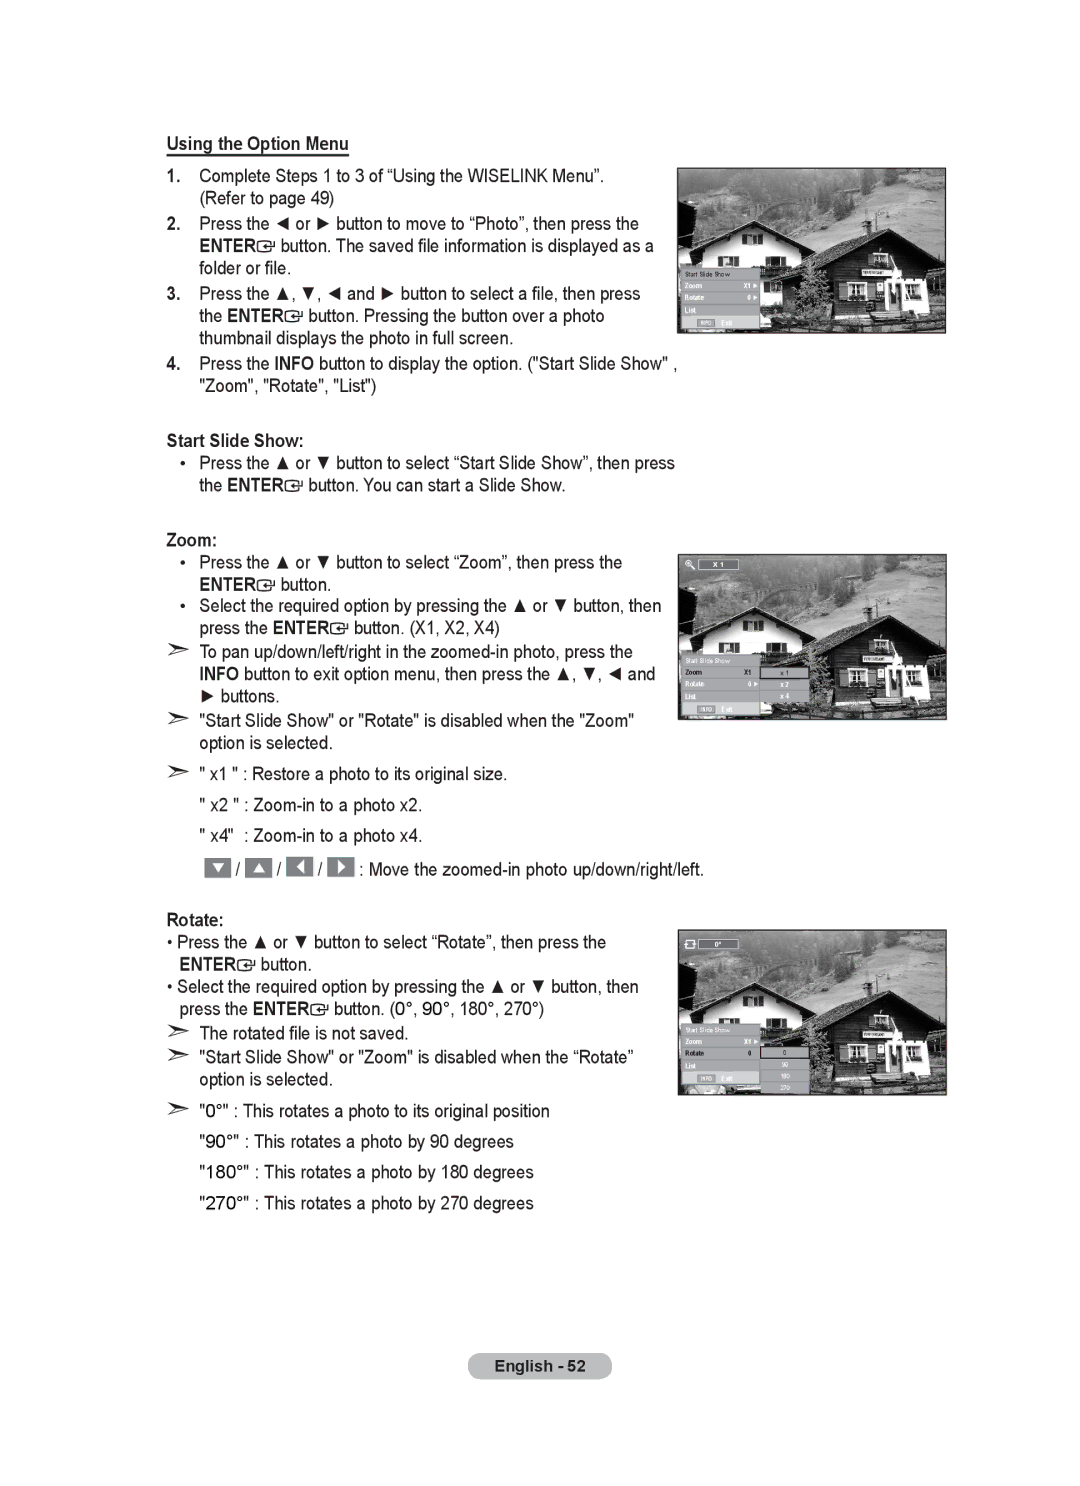
4.Press the INFO button to display the option. ("Start Slide Show" , "Zoom", "Rotate", "List")
Start Slide Show:
•Press the ▲ or ▼ button to select “Start Slide Show”, then press the ENTER![]() button. You can start a Slide Show.
button. You can start a Slide Show.
Zoom: |
|
|
|
|
|
| |
• | Press the ▲ or ▼ button to select “Zoom”, then press the |
|
| X 1 |
|
|
|
| ENTER button. |
|
|
|
|
|
|
• | Select the required option by pressing the ▲ or ▼ button, then |
|
|
|
|
|
|
| press the ENTER button. (X1, X2, X4) |
|
|
|
|
|
|
➣ To pan up/down/left/right in the |
|
|
|
|
|
| |
Start Slide Show |
|
| |||||
| INFO button to exit option menu, then press the ▲, ▼, ◄ and | Rotate |
| 0 ► | x 2 |
| |
|
| Zoom |
| X1 | x 1 |
| |
| ► buttons. |
|
|
|
|
|
|
| List |
|
| x 4 | |||
➣ | "Start Slide Show" or "Rotate" is disabled when the "Zoom" |
| INFO | Exit |
|
| |
|
|
|
|
|
| ||
|
|
|
|
|
| ||
|
|
|
|
|
| ||
option is selected.
➣ " x1 " : Restore a photo to its original size. " x2 " :
" x4" :
![]() /
/ ![]() /
/ ![]() /
/ ![]() : Move the
: Move the
Rotate:
• Press the ▲ or ▼ button to select “Rotate”, then press the ![]() 0° ENTER
0° ENTER![]() button.
button.
•Select the required option by pressing the ▲ or ▼ button, then press the ENTER![]() button. (0°, 90°, 180°, 270°)
button. (0°, 90°, 180°, 270°)
➣ The rotated file is not saved. |
|
|
|
|
|
Zoom | X1 | ► |
| ||
| Start Slide Show |
|
| ||
➣ "Start Slide Show" or "Zoom" is disabled when the “Rotate” | List | 0 |
| 90 | |
| Rotate |
| 0 | ||
option is selected. |
|
|
|
| 270 |
|
| INFO | Exit |
| 180 |
|
|
|
|
|
|
➣ "0°" : This rotates a photo to its original position "90°" : This rotates a photo by 90 degrees "180°" : This rotates a photo by 180 degrees "270°" : This rotates a photo by 270 degrees
English - 52