Hob Use (Continued)


Switching the appliance on | EN |
Touch the “Lock ” sensor for approximately 3 seconds. |
|
The appliance is switched on using the “On / Off ” control sensor. |
|
Touch the “On / Off ” sensor. |
|
The digital displays will show . |
|
After the “On / Off ” sensor has been actuated to switch on your appliance, a heat |
|
setting must be selected within approximately 10 seconds. Otherwise, the appliance |
|
will switch itself off for safety reasons. |
|
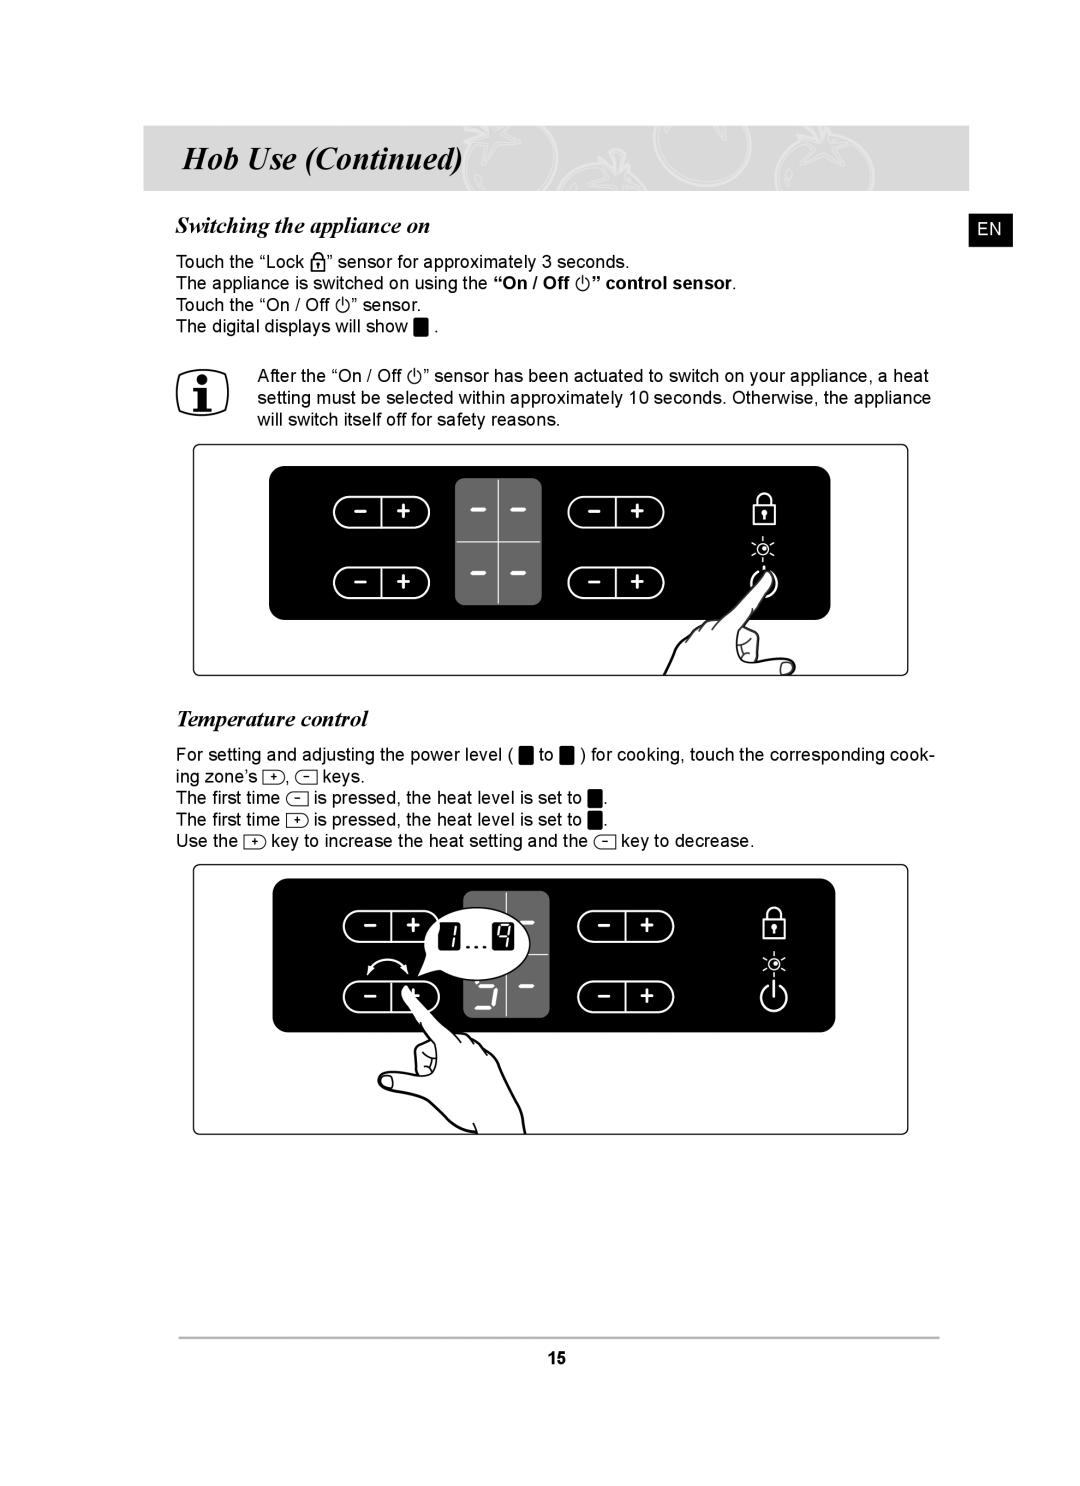
Temperature control
For setting and adjusting the power level ( ![]() to
to ![]() ) for cooking, touch the corresponding cook- ing zone’s
) for cooking, touch the corresponding cook- ing zone’s ![]() ,
, ![]() keys.
keys.
The first time ![]() is pressed, the heat level is set to
is pressed, the heat level is set to ![]() . The first time
. The first time ![]() is pressed, the heat level is set to
is pressed, the heat level is set to ![]() .
.
Use the ![]() key to increase the heat setting and the
key to increase the heat setting and the ![]() key to decrease.
key to decrease.
15