USING THE EASY COOK FEATURE
Slow Cook
The Slow Cook feature may be used to cook food more slowly at lower oven temperatures. The extended cooking times allow better distribution of flavors in many recipes. This feature is ideal for roasting beef, pork & poultry. Slow cooking meats may result on the exterior of meats becoming dark but nor burnt. This is normal.
1. Enter the Slow cook mode. Press the Slow Cook pad once for Hi or twice for LO.
2. Start the Slow cook function. Press the SET/START pad.
Use only 1 rack and place the rack in position 2 or 3 for the best results.Preheating the oven will not be necessary.
Chicken Nuggets
This function is to cook convenience style frozen chicken nuggets.
1. Enter the Chicken Nuggets mode. Press the Chicken Nuggets pad once for HI or twice for LO.
2. Start the Chicken Nuggets function. Press the SET/START pad.
When using this function, place the oven rack in position 5 of 6 for the best result. Preheating the oven will not be necessary.
Proof
The proofing feature maintains a warm environment useful for rising
1. Enter the Proof mode. Press the Proof pad.
2. Start the proofing function. Press the SET/START pad. The proofing feature automatically provides the optimum temperature for the proof process, and therefore does not have a temperature adjustment.
3. Press the CLEAR/OFF pad at any time to turn off the proofing feature.
• If you press the Proof pad when the oven temperature is above 100˚F, Hot will appear in the display. Because these functions produce the best results when started while the oven is cool, we recommend that you wait until the oven has cooled down and Hot disappears from the display.
•To avoid lowering the oven temperature and lengthening proofing time, do not open the oven door unnecessarily.
•Check bread products early to avoid
•Do not use the proofing mode for warming food or keeping food hot. The proofing oven temperature is not hot enough to hold foods at safe temperatures. Use the warm feature. (see next page).
•For best results, cover the dough with a cloth or with plastic wrap (the plastic may need to be anchored underneath the container so the oven fan will not blow it off).
Crispy Pizza
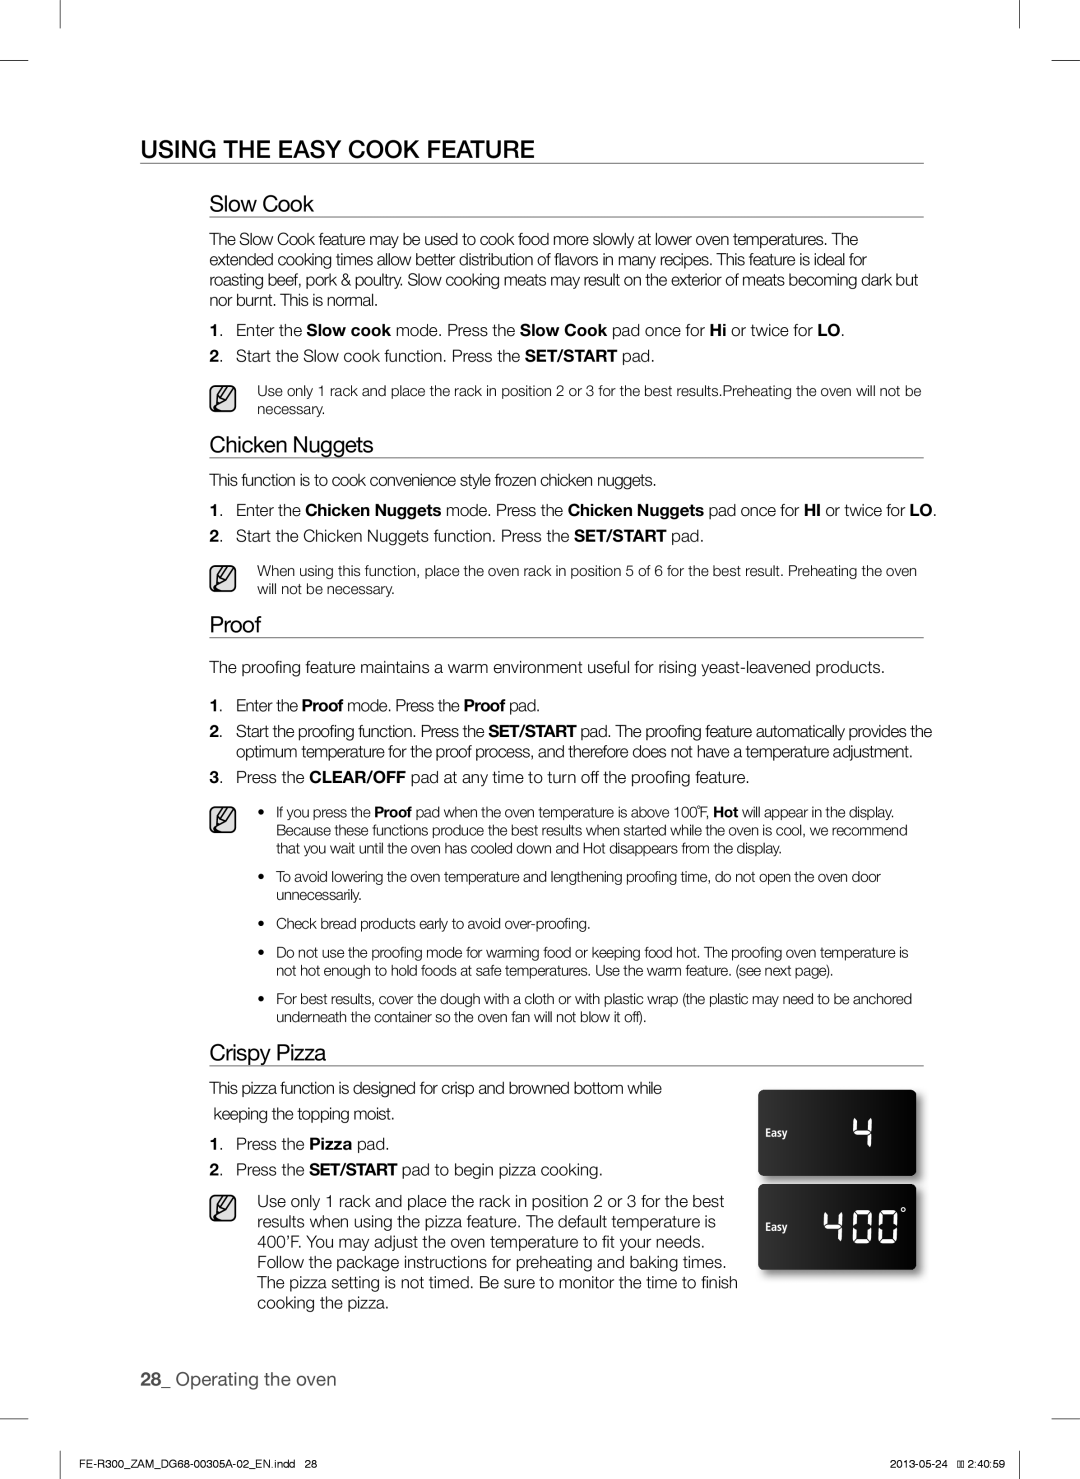
This pizza function is designed for crisp and browned bottom while keeping the topping moist.
1. Press the Pizza pad.
2. Press the SET/START pad to begin pizza cooking.
Use only 1 rack and place the rack in position 2 or 3 for the best results when using the pizza feature. The default temperature is 400’F. You may adjust the oven temperature to fit your needs.
Follow the package instructions for preheating and baking times. The pizza setting is not timed. Be sure to monitor the time to finish cooking the pizza.
28_ Operating the oven