Lietotāja rokasgrāmata
Lūdzu, glabājiet šo pamācību turpmākai lietošanai
Rokasgrāmatas lietošana
Vispirms izlasiet šo
Rokasgrāmatas lietošana
Prečzīmes
Norādījumu ikonas
Autortiesības
Izslēgšanas taustiņam
PAR Divx Video
Saturs
Saturs
Saziņa
Iestatījumi
Akumulatora uzlāde
Salikšana
Komplektācija
Salikšana
SIM vai Usim kartes ievietošana
Atmiņas kartes ievietošana papildiespēja
››Atmiņas kartes formatēšana
››Atmiņas kartes izņemšana
Izņemiet SD karti
››Pārslēgt lidojuma režīmā
Darba sākšana
Ierīces ieslēgšana un izslēgšana
››Pārslēgt klusuma režīmā
››Taustiņi
››Indikatora ikonas
Darba sākšana
››Skārienekrāna bloķēšana vai atbloķēšana
Skārienekrāna lietošana
››Skārienekrāna pagriešana
Pareizs laiks
Iepazīšanās ar sākumekrānu
››Vienumu pievienošana sākumekrānam
››Īsceļu paneļa izmantošana
Piekļuve lietojumprogrammām
››Vienumu pārvietošana uz sākumekrānu
››Lietojumprogrammu kārtošana
Ierīces pielāgošana
››Iestatiet ekrāna bloķēšanu
››SIM vai Usim kartes bloķēšana
››Teksta ievade ar Swype tastatūru
Teksta ievade
››Teksta ievades metodes maiņa
Tekstu var ievadīt, atlasot rakstzīmes virtuālajā tastatūrā
››Teksta kopēšana un ielīmēšana
››Teksta ievade ar Samsung tastatūru
Ievadiet bieži izmantotos simbolus
››Tīmekļa lapu pārlūkošana
Tīmeklis
Pārlūks
Atvērt numura sastādīšanas ekrānu
››Vairāku lapu atvēršana
››Informācijas meklēšana ar balsi
››Grāmatzīmju veidošana izlases tīmekļa lapām
Readers Hub
››RSS plūsmas adreses pievienošana
Market
News and Weather
Samsung Apps
››Skatīt informāciju par laikapstākļiem
››Lietojumprogrammas atinstalēšana
YouTube
››Lejupielādējiet un instalējiet lietojumprogrammu
››Videoklipu skatīšanās
Ikdienas apskats
Maps
Places
Google Search
Navigācija
28 Tīmeklis
››E-pasta ziņu sūtīšana
Saziņa
Google Mail
››E-pasta ziņas skatīšana
Pasts
››E-pasta konta iestatīšana
Talk
Ziņas
››Balss pasta ziņu noklausīšanās
Zvanīšana
››Īsziņas vai multiziņas skatīšana
››Zvanīšana un atbildēšana uz zvanu
››Izmantojiet balss zvana laikā pieejamās opcijas
Zvanīšana
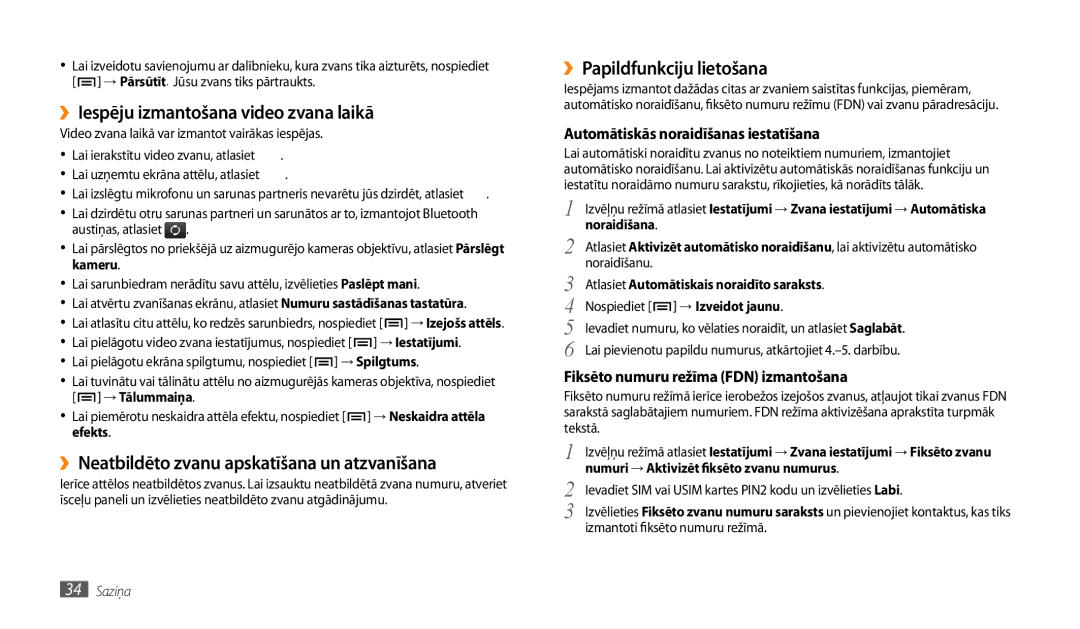
››Papildfunkciju lietošana
››Iespēju izmantošana video zvana laikā
››Neatbildēto zvanu apskatīšana un atzvanīšana
Atlasiet Automātiskais noraidīto saraksts
Zvans → Video zvana pārsūtīšana
››Zvanu arhīvu apskatīšana
Pārsūtīšana
Atlasiet nosacījumu
››Mūzikas failu pievienošana ierīcei
Izklaide
Mūzika
››Mūzikas atskaņošana
››Atskaņošanas saraksta izveide
Music Hub
Kamera
››Mūzikas atskaņotāja iestatījumu pielāgošana
››Fotografēšana
Kameras statusa un iestatījumu pārbaudīšana Izšķirtspēja
››Fotoattēlu uzņemšana smaidoša foto režīmā
››Fotoattēlu sērijas uzņemšana
››Panorāmas fotoattēla uzņemšana
→ Nepārtraukts
››Pielāgot kameras iestatījumus
››Fotoattēlu uzņemšana pašportreta foto režīmā
››Videoklipa ierakstīšana
Pārbaudiet videkameras statusu un iestatījumus Izšķirtspēja
››Videokameras iestatījumu pielāgošana
Iespējām Iespēja Funkcija Baltā balanss
Skaņas signālu
Video
Nodzēst Atjaunot videokameras iestatījumus
››Fotoattēla skatīšana
Galerija
››Videoklipa atskaņošana
››Kontakta izveide
Personiskā informācija
Kontakti
››Kontakta atrašana
››Kopēt vai pārvietot kontaktus
Kalendārs
››Kontaktu grupas izveide
››Kontaktu importēšana vai eksportēšana
Piezīme
››Savienojums ar Samsung Kies
Savienojamība
Savienojumi ar datoru
››Sinhronizēšana ar programmu Windows Media Player
››WLAN atrašana un savienojuma izveide
Wi-Fi
››WLAN funkcijas aktivizēšana
››Manuāla Wlan pievienošana
››Mobilā AP funkcijas aktivizēšana
Mobile AP
USB tīkla pieslēgums
Lai aktivizētu Mobile AP funkciju, atlasiet Mobile AP
››Bluetooth ierīču meklēšana un savienošana pārī
Bluetooth
››Bezvadu Bluetooth funkcijas ieslēgšana
››Datu sūtīšana, izmantojot Bluetooth bezvadu funkciju
AllShare
››Failu atskaņošana citā ierīcē ar Dlna funkciju
Savienojumi ar TV TV izejas režīms
››Aktivizēt atrašanās vietas pakalpojumus
Grāmata
Rīki
ThinkFree Office
››Dokumentu pārvaldīšana tiešsaistē
Mani faili
››Dokumenta apskatīšana un rediģēšana ierīcē
››Atbalstītie failu formāti
Fotorāmis
Modinātājs
››Modinātāja signāla pārtraukšana
Uzdevumu pārvaldnieks
Pasaules pulkstenis
››Modinātāja signāla dzēšana
Voice Search
Piekļuve iestatījumu izvēlnei
Iestatījumi
Bezvadu funkcija un tīkls
Zvana iestatījumi
Atrašanās vieta un drošība
Skaņas iestatījumi
Displeja iestatījumi
Mainiet displeja iestatījumus
Iestatīt SIM kartes bloķēšanu
Programmas
Konti un sinhronizācija
Izstrāde
Meklēt
Konfidencialitāte
SD karte un tālruņa krātuve
Valoda un teksts
››Balss atpazīšanas iestatījumi
Balss ievade un izvade
››Samsung tastatūra
››Teksta pārveide runā iestatījumi
Datums un laiks
Pieejamība
Par tālruni
Izvēlni Bloķēt SIM karti
Problēmu novēršana
Problēmu novēršana
Izejošie zvani nesavienojas
Pārbaudiet, vai netiek bloķēta ierīces iekšējā antena
Atverot mūzikas failus, tiek parādīti kļūmes paziņojumi
Izslēdziet ierīci, ja tā norādīts
Drošības pasākumi
Sargājiet ierīci, akumulatorus un lādētājus no bojājumiem
Neizmantojiet ierīci citu elektronisku ierīču tuvumā
Izslēdziet ierīci sprādzienbīstamā vidē
Neizmantojiet ierīci elektrokardiostimulatora tuvumā
Izslēdziet ierīci, atrodoties lidaparātā
Neglabājiet ierīci magnētisko lauku tuvumā
Neļaujiet ierīcei samirkt
Neglabājiet ierīci uz nelīdzenas virsmas
Nenometiet ierīci un nepakļaujiet to citu veidu triecieniem
Esiet uzmanīgi, izmantojot ierīci pārvietojoties
Runājot pa ierīci
Dzirdes saudzēšana
Nenēsājiet ierīci aizmugures kabatā vai ap vidukli
Izstrādājuma pareiza likvidēšana
72 Drošības pasākumi
Drošības pasākumi
Sērijas uzņemšana 39 skatīšana 43 uzņemšana
Alfabētiskais rādītājs
Atbalstītie failu formāti
Indikatora ikonas
Konti un sinhronizēšana
Importēšana vai eksportēšana 45 izveide
ThinkFree Office Tīmekļa pārlūks
Iespēju izmantošana 34 veikšana
EN 50332-2
Saskaņā ar mūsu atbildību atzīstam, ka šis produkts
EN 50332-1
EN 62311
Kies sinhr. ar datoru instalēšana

