GT-P1000CWATWO, GT-P1000CWAVIP, GT-P1000CWACRO, GT-P1000CWDMSR, GT-P1000CWATRA specifications
The Samsung GT-P1000 series, including models GT-P1000CWATRA, GT-P1000CWDMKO, GT-P1000CWDMSR, GT-P1000CWACRO, and GT-P1000CWAVIP, represents a significant milestone in the evolution of mobile computing devices. Launched in 2010, these tablets are part of Samsung's Galaxy Tab lineup, offering users a portable and versatile option for both media consumption and productive tasks.One of the standout features of the Galaxy Tab GT-P1000 is its display. The device is equipped with a 7-inch TFT LCD screen, which delivers a resolution of 1024 x 600 pixels. This provides sharp images and vibrant colors, making it an excellent choice for watching videos, browsing the internet, or reading e-books. The compact size of the tablet enhances its portability, allowing users to easily slip it into a bag or purse.
The GT-P1000 series tablets are powered by a 1 GHz ARM Cortex-A8 processor, coupled with 512 MB of RAM. This combination ensures smooth multitasking capabilities, enabling users to run various applications simultaneously without significant lag. The tablets originally shipped with Android 2.2 (Froyo), but they have been able to receive updates to later versions of the Android operating system, enhancing their performance and features over time.
Storage options on the GT-P1000 series range from 16GB to 32GB, depending on the specific model. Additionally, the device includes a microSD card slot, allowing users to expand their storage capacity by up to 32GB. This feature is particularly useful for those who store large files such as videos, music, and applications.
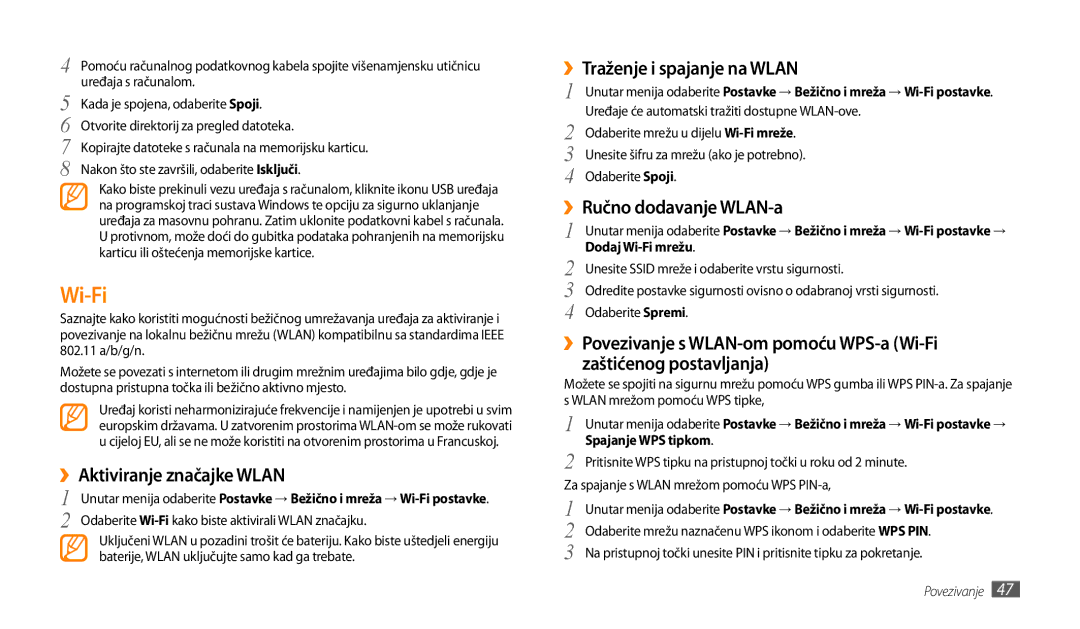
Connectivity features on the GT-P1000 models include Wi-Fi and optional 3G capabilities, enabling users to stay connected to the internet wherever they go. The models also come equipped with a front-facing camera for video conferencing and a rear camera for taking photos, enhancing the social experience for users.
Built with a sleek design, the Galaxy Tab GT-P1000 series emphasizes portability and usability. With its lightweight body and user-friendly interface, users can navigate through apps and settings effortlessly. The inclusion of Samsung's TouchWiz interface provides customizable options, allowing users to tailor their device according to their preferences.
In conclusion, the Samsung GT-P1000 series tablets, including the various models in the lineup, offer a combination of portability, performance, and connectivity that caters to a wide range of users. While they may be considered entry-level tablets by today's standards, their legacy as one of the pioneering devices in the tablet market is well established.

