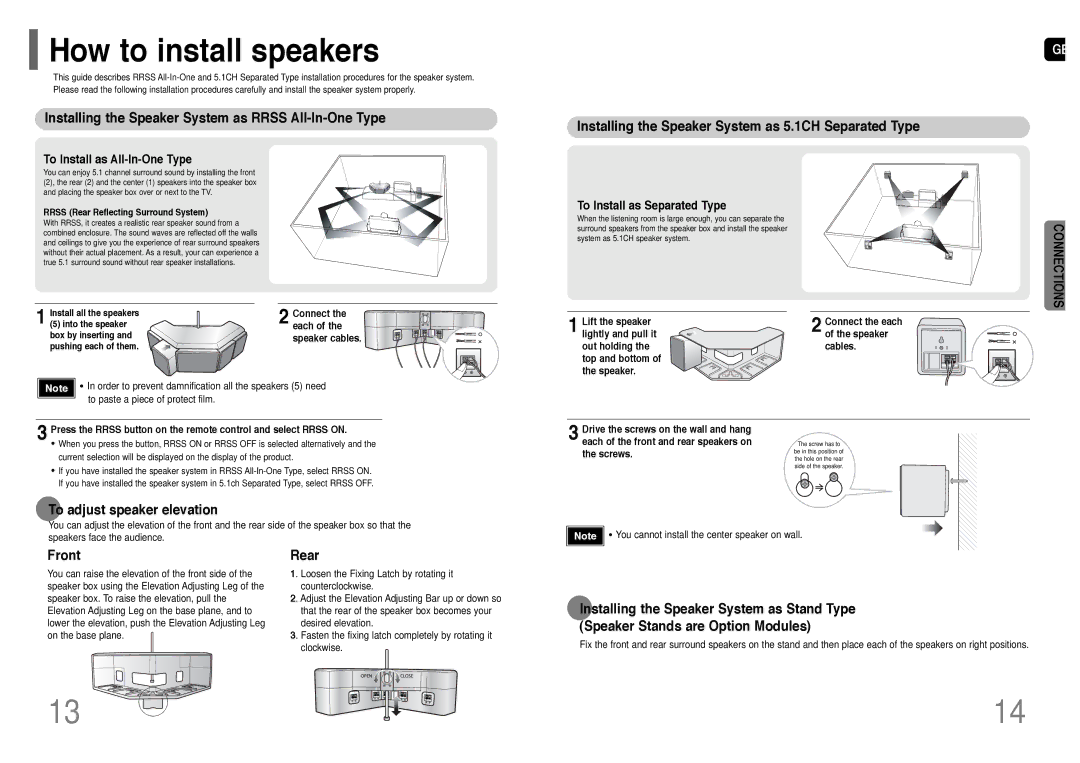
HT-RP16R/XFO specifications
Samsung, a global leader in consumer electronics, offers an impressive lineup of home theater systems, among which the HT-TP12R/XFO, HT-RP16R/XFO, HT-P10KR/XFU, and HT-P10R/XFO stand out for their innovative features and exceptional audio performance. Each model presents a unique blend of technology and design, catering to different consumer preferences and home environments.The HT-TP12R/XFO is designed for those who seek comprehensive sound in a compact form. This system includes a versatile 5.1 channel setup that envelops the listener in a rich audio landscape. With its Dolby Digital and DTS technologies, the HT-TP12R/XFO ensures that movie nights feel like a cinematic experience, delivering crisp dialogue and booming sound effects. The user-friendly interface and wireless streaming capabilities further enhance convenience, allowing users to connect seamlessly via Bluetooth or USB.
Moving to the HT-RP16R/XFO, this model takes home theater to another level with enhanced sound clarity and deeper bass response. Equipped with Samsung's proprietary Crystal Clear Sound technology, it minimizes distortion and maximizes audio fidelity, perfect for music lovers and movie buffs alike. The HT-RP16R/XFO also features an intuitive smart hub, simplifying access to streaming services and content providers while supporting various file formats for multimedia playback.
The HT-P10KR/XFU is noted for its distinct sleek design and superior connectivity options. This system supports 4K upscaling, ensuring that older content looks fantastic on modern displays. The wireless rear speakers eliminate the hassle of cable management, providing a clean aesthetic. Additionally, its multi-room functionality allows users to expand their listening experience to different areas of the home, controlled effortlessly via a smartphone app or voice commands.
Lastly, the HT-P10R/XFO model perfectly balances performance and affordability. It offers a 5.1 surround sound experience without compromising quality. With advanced connectivity options such as HDMI ARC, users can easily connect their television and other devices for a streamlined experience. The built-in equalizer allows for custom sound settings tailored to personal preferences, enhancing the overall listening experience.
In conclusion, Samsung's HT-TP12R/XFO, HT-RP16R/XFO, HT-P10KR/XFU, and HT-P10R/XFO home theater systems exhibit remarkable technological advancements and user-friendly features. Each model is designed to meet the diverse needs of consumers, providing immersive audio experiences for movies, music, and gaming, making them excellent choices for anyone looking to upgrade their home entertainment setup.

